Our secret to making frugal garden borders? These simple herb border beds using cardboard and the no-dig method! This method is so quick and easy you won’t believe it. If you’re looking to add some new flower or herb beds to your garden or home, check out this easy process for yourself! No sod cutters or back-breaking dirt work required!
What Does “No-Dig” Gardening Mean?
No-dig gardening literally means not digging down into the natural topsoil for planting. The process typically includes placing thick layers of cardboard, dirt, manure, and mulch onto the top of the sub-soil to plant into.
What are the benefits of no-dig planting?
- No-dig gardening preserves the microbiome of the soil from being disturbed. Useful critters like worms go unharmed with the no-dig method.
- No need to pay for fuel to run a tiller in your garden area.
- It prevents dormant weed seeds from being revived and taking over your planting area.
- No-dig planting preserves the integrity of the topsoil, which is useful and should not be removed.
- It’s a great way to recycle unwanted cardboard.
- This method is less back-breaking, as you don’t need to do a lot of extra digging or sod removal.
- It is less expensive since you don’t need yards and yards of new dirt to be filled into an area that has had sod removed.
- It’s simple, fast, earth-friendly, and frugal.
For the best information on the no-dig gardening, be sure to check out Charles Dowding. He is the absolute the king of the no-dig method!
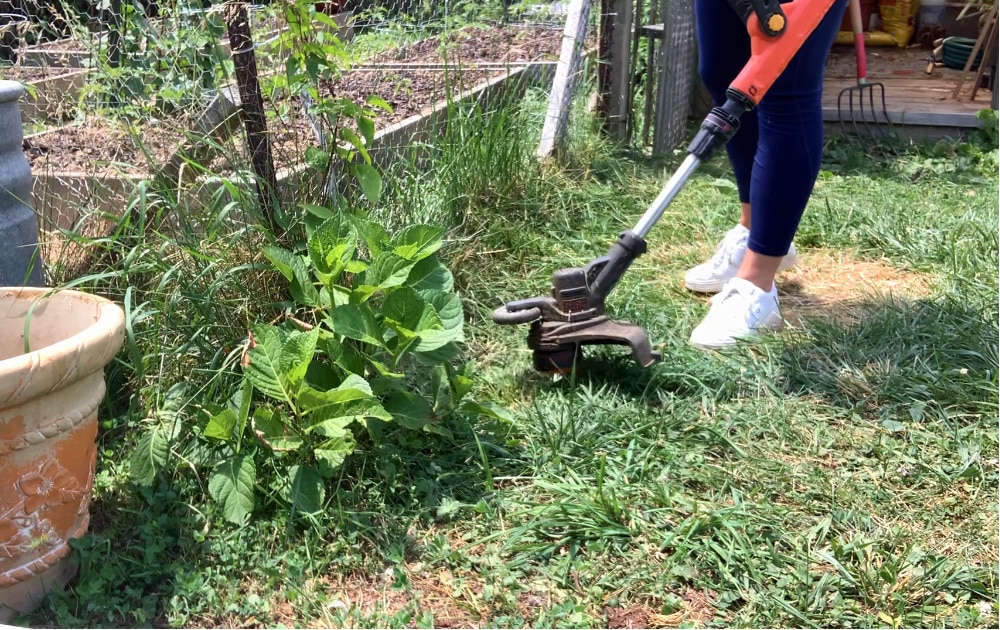
Step 1: Weed Whack the Garden Border Bed Area
Measure and prepare the herb border area around your garden. Once you have decided the desired area, go ahead and cut the grass down so that the cardboard has a secure, flat spot to be laid.
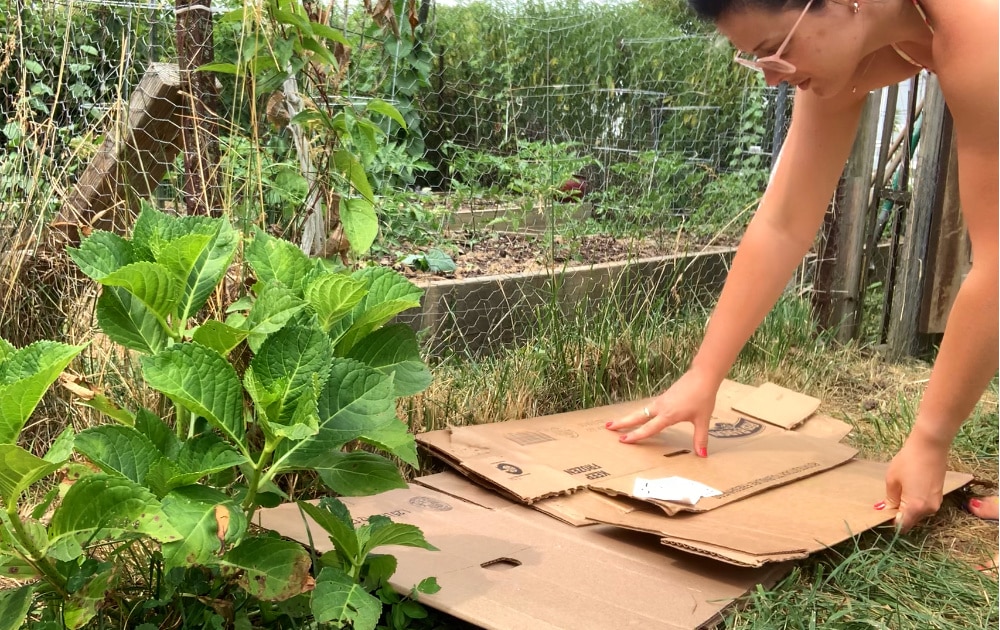
Step 2: Placing Recycled Cardboard on the Border Area
After you have chosen and prepared the garden border area, measure and place a thick layer of cardboard down. It is best to have an idea of the desired width of the border beds so you can measure the cardboard accordingly.
We got a stack of free cardboard from our local Dollar General store. Be sure to check out your local grocery store, big box store, or dollar store for free cardboard to recycle for this project.
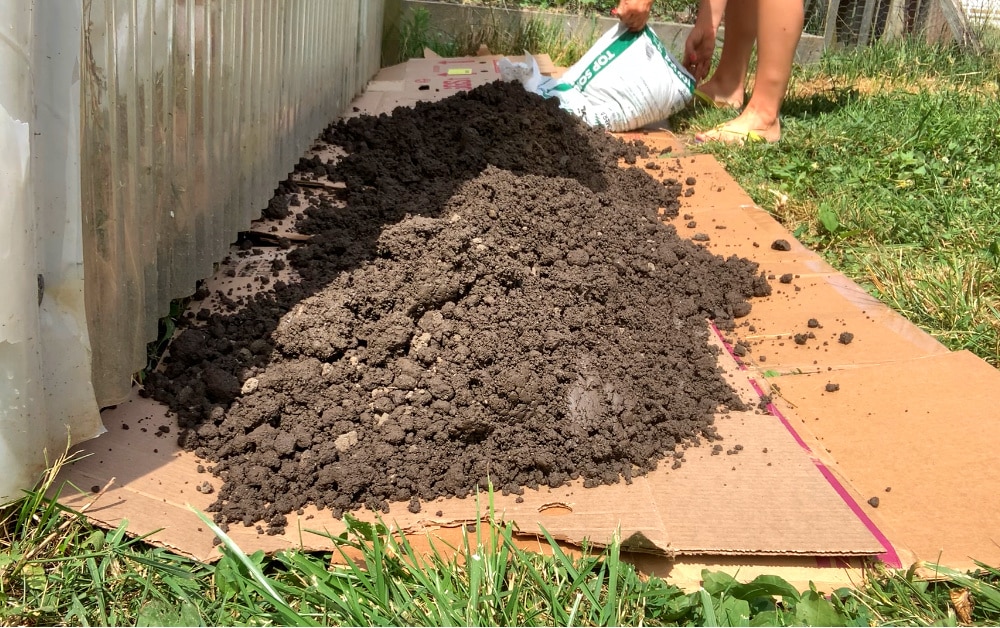
Step 3: Adding Topsoil on Top of the Cardboard
Now it is time to add a nice layer of topsoil to the top of the prepared cardboard. Shoot for at least 4 to 6 inches of topsoil. For plants that need more rich soil, try to add between 6 and 10 inches of topsoil, and possibly some aged manure.
Because we are planting herbs in these new border beds, the soil does not need to be super well fertilized or thick. Herbs tend to thrive in less than ideal soil. They don’t need too much extra nutrients to grow well. In fact, many herbs prefer rocky, dry soil.
Step 4: Time to Add Mulch to the Borders
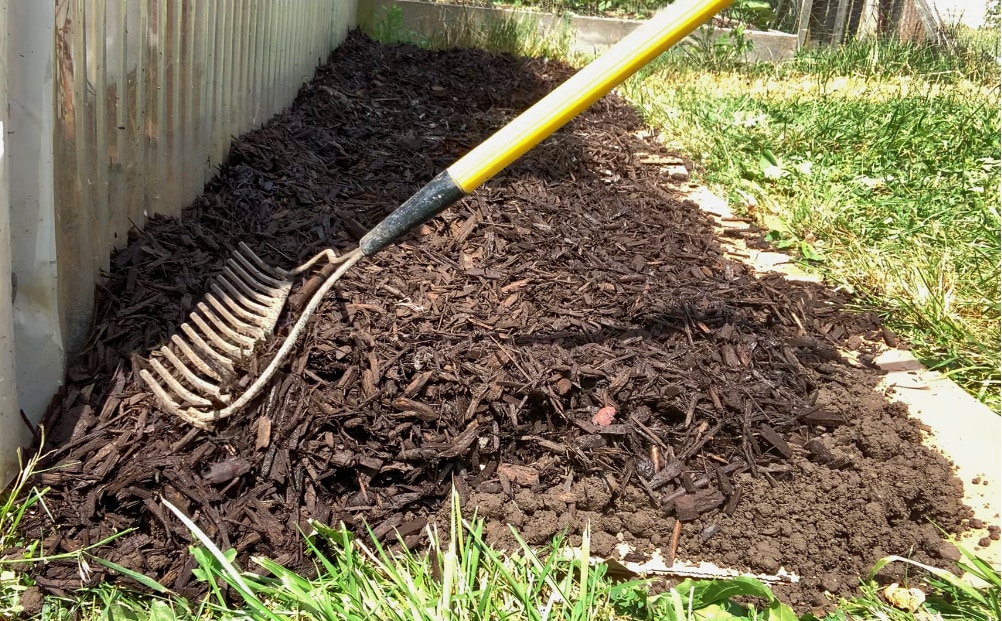
The final step in the no-dig process is to add a thick layer of mulch on top of the prepared topsoil. Mulch has several benefits:
- It’s aesthetically pleasing. It makes sharp, clean borders.
- It helps preserve the integrity of the soil by helping retain moisture and keeping soil from washing away during a rain or watering.
- Mulch helps prevent weeds.
Step 4: Time to Start Planting Your No-Dig Herb Borders
Last but not least, it’s time to start planting your herbs! This is the fun part.
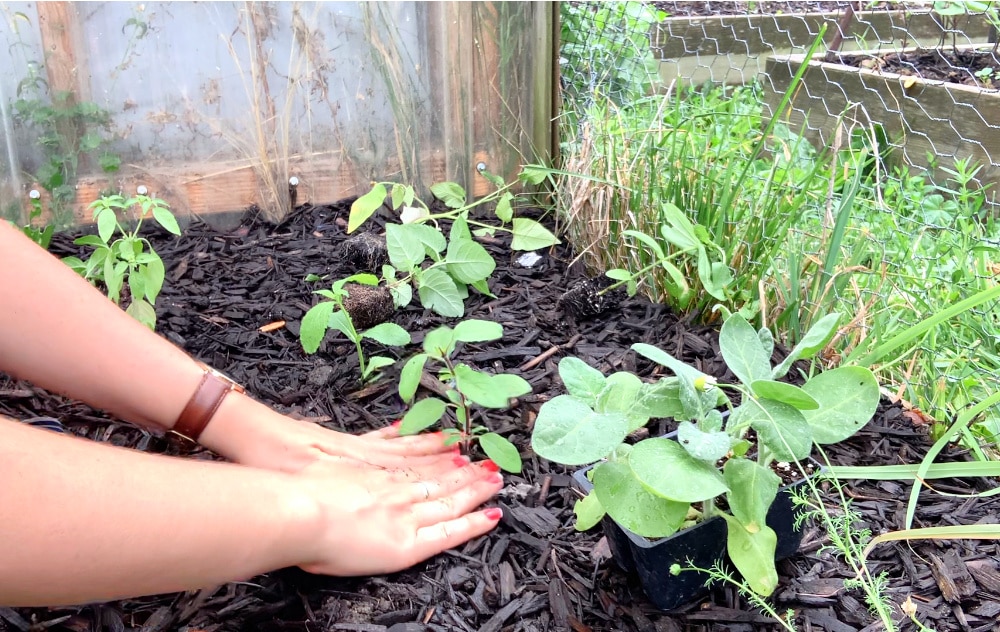
- Start by doing some plant placement. Decide what plants you want to plant where. Gently lay the herbs into position until they are all placed in the best and most ideal areas of the beds.
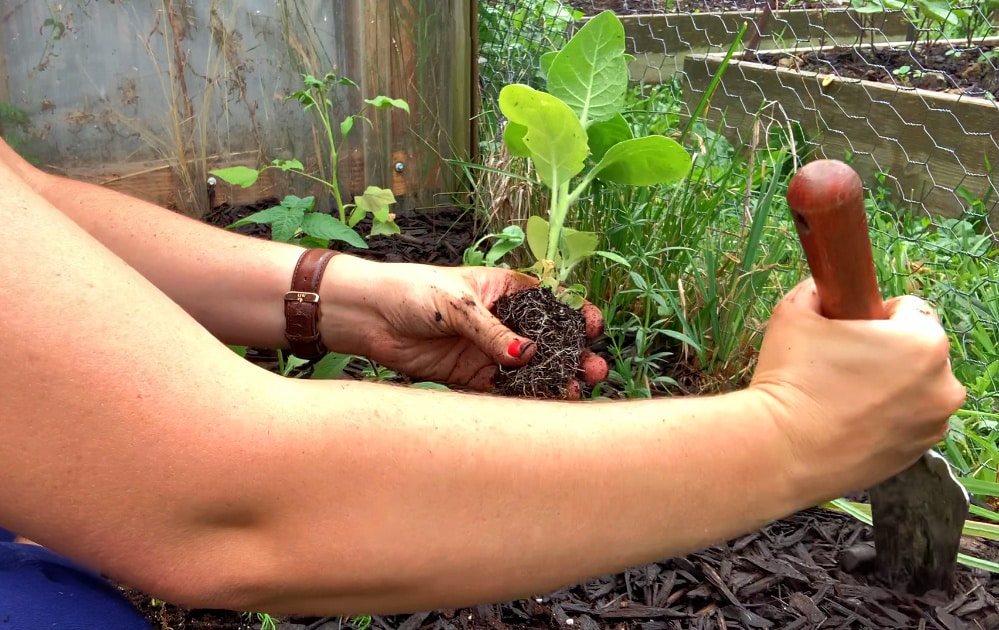
- Dig a small hole with a garden spade.
- Break up any root-bound plant bottoms, and place the root ball of the plant into the prepared hole.
- Be sure to cover the root ball and a small portion of the bottom stem well with dirt and mulch.
- Finally, be sure to water the newly planted herb borders well! The new plants will need a good drink of water right away.
Frugal Tips for Planting No-Dig Garden Borders
You can save a lot of money on all of your gardening and flower bed projects by starting your own seeds and raising your own plants. Plants propagated and grown at a greenhouse can easily cost between $10 and $25 each, while growing your own can cost pennies. We encourage you to try giving growing your own garden plants for yourself! It’s very rewarding and super frugal!
In Conclusion
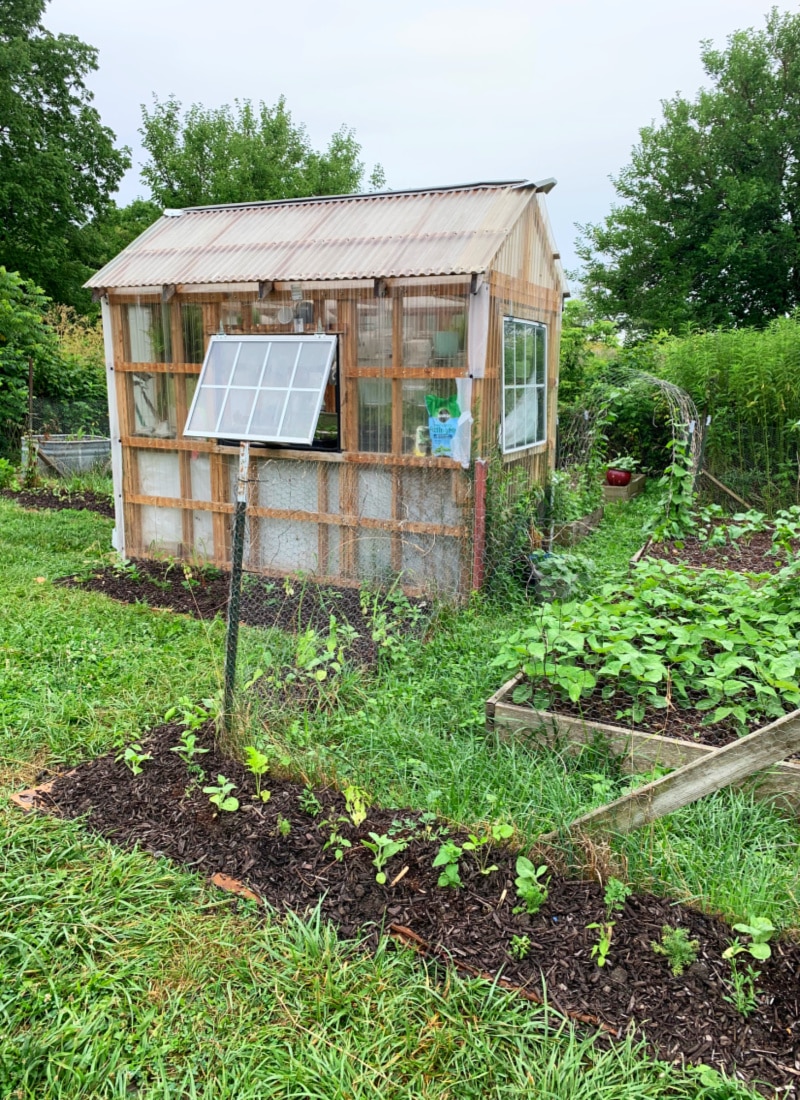
This no-dig garden border method is so simple and so fun! We hope you feel inspired to try growing your own herb borders around your potager garden. If you give it a try, let us know in the comments below how it went for you!

I did this for sunflowers around my chicken house. I love the instantaneous results. 🙂
Yes! Exactly! It’s so fun to get flower beds in an hour or two instead of a week! LOL!