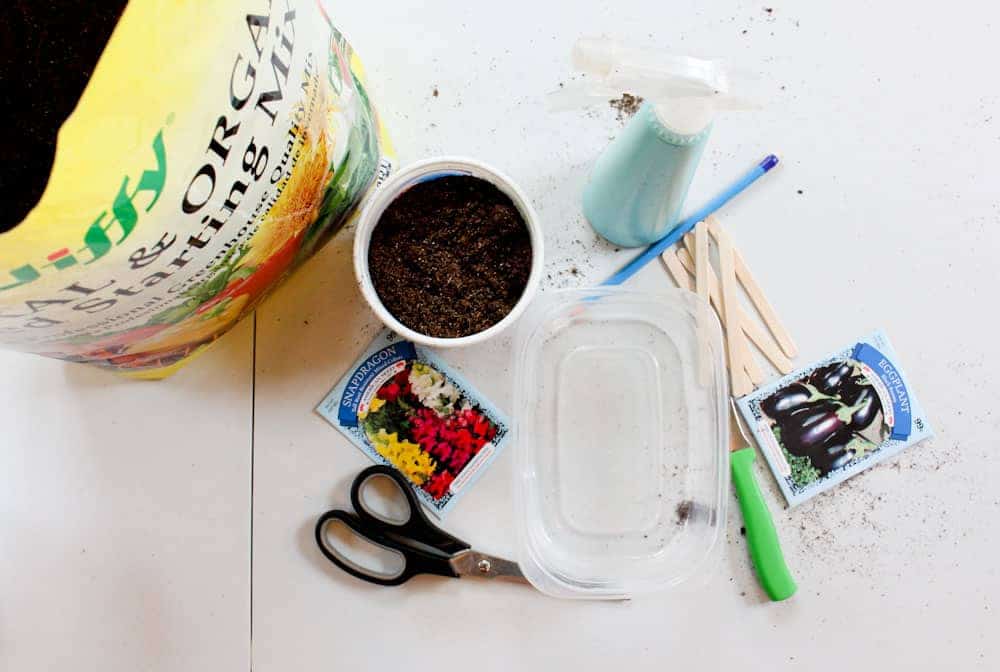
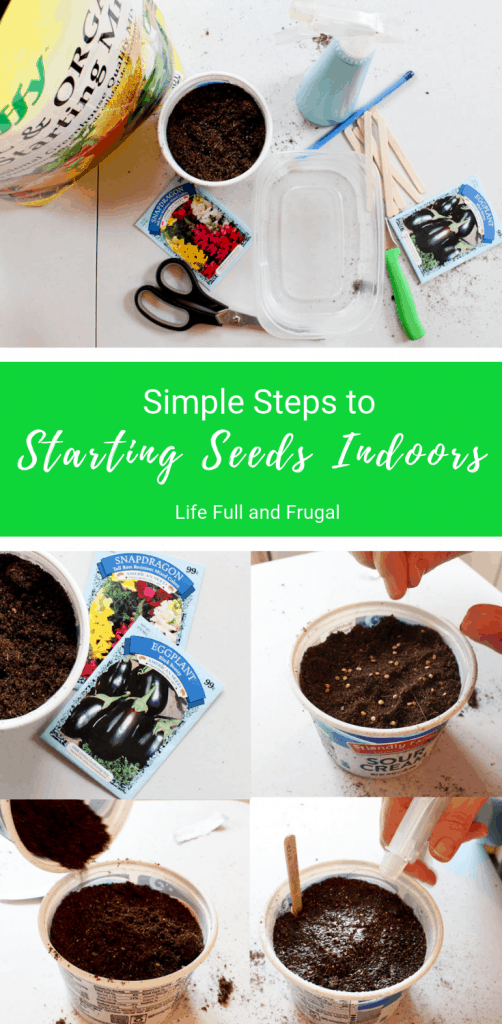
Spring is officially upon us! Now is the time to start putting into motion all the plans we have for preparing our summer flower beds and vegetable gardens. Follow along as we go through the first of a three part series to start seeds, transplant, and eventually cultivate your own plants this year. Here in part 1 we share our 8 simple steps to starting seeds indoors this Spring.
Tip 1: Pay Attention to the Seed Pack Directions
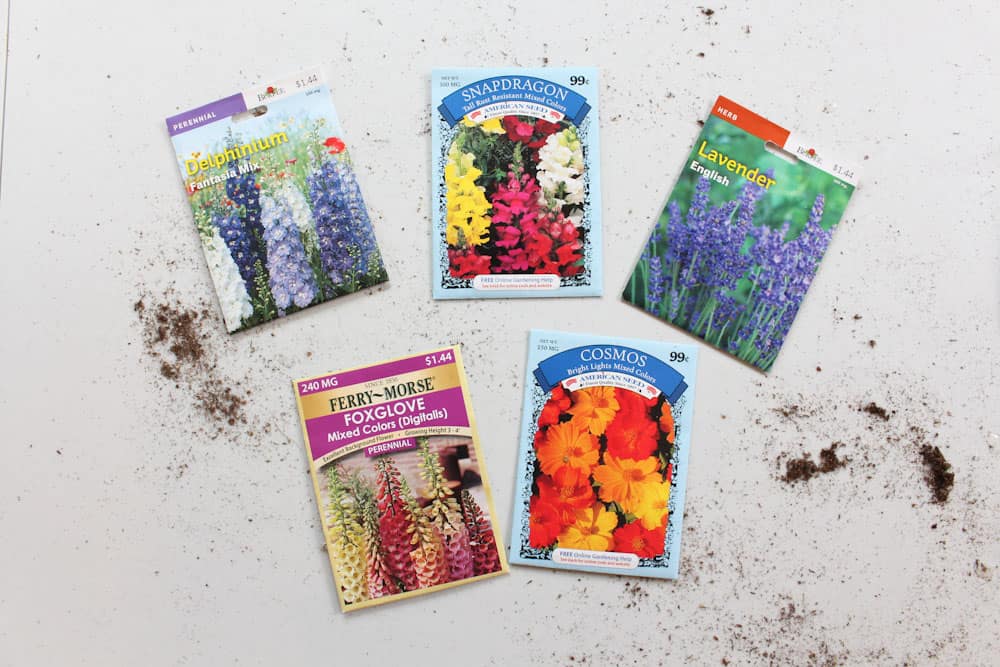
When you buy seeds, be sure to read the directions on the back of the seed packet. This may seem redundant, but most of us tend to skip this part of the process and give it our best guess. The back of the seed packet includes very important information about germination time, zone, plant placement, watering suggestions, plant size, and the place of origin. This is a very helpful tip for starting your seeds indoors.
Tip 2: Be Sure to Pay Attention to Your Zone and Your Last Frost Date
The zone you are in on the back of the seed packet is something you should pay close attention to when starting seeds indoors. The zone will indicate when it’s safe to place your plants outside so that they are not killed by frost. When starting seeds indoors, first find the last frost date of your zone and then subtract the number of weeks it will take to have a plant ready to put outside. For example, Ohio’s last frost date is May 15th. If we want to start snapdragons seeds indoors, they will need 6-8 weeks to grow before planting them outside. That means the plants should be started sometime between March 20th and April 3rd.
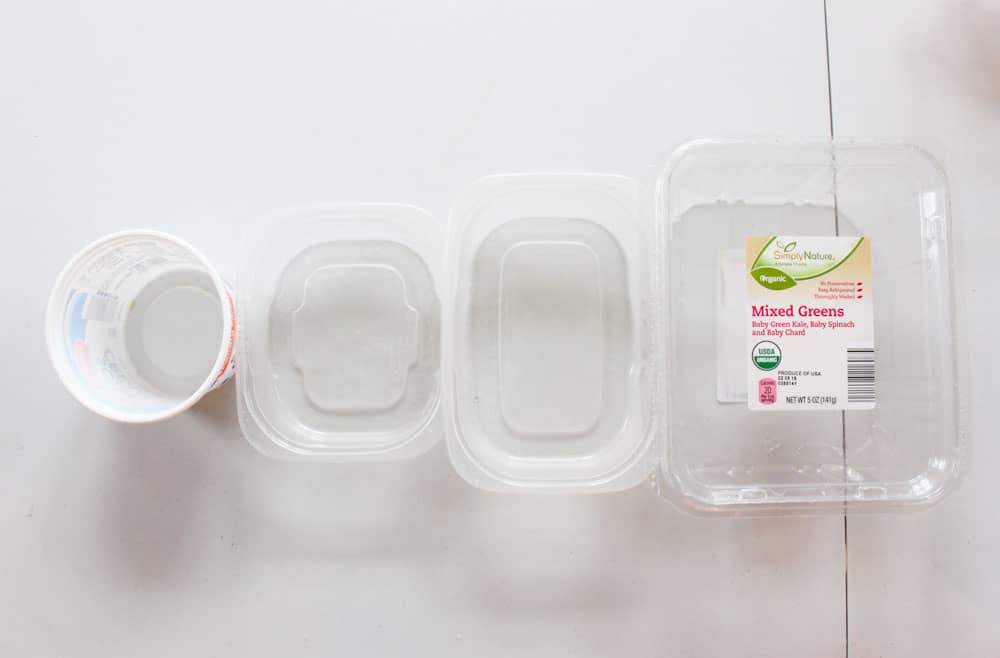
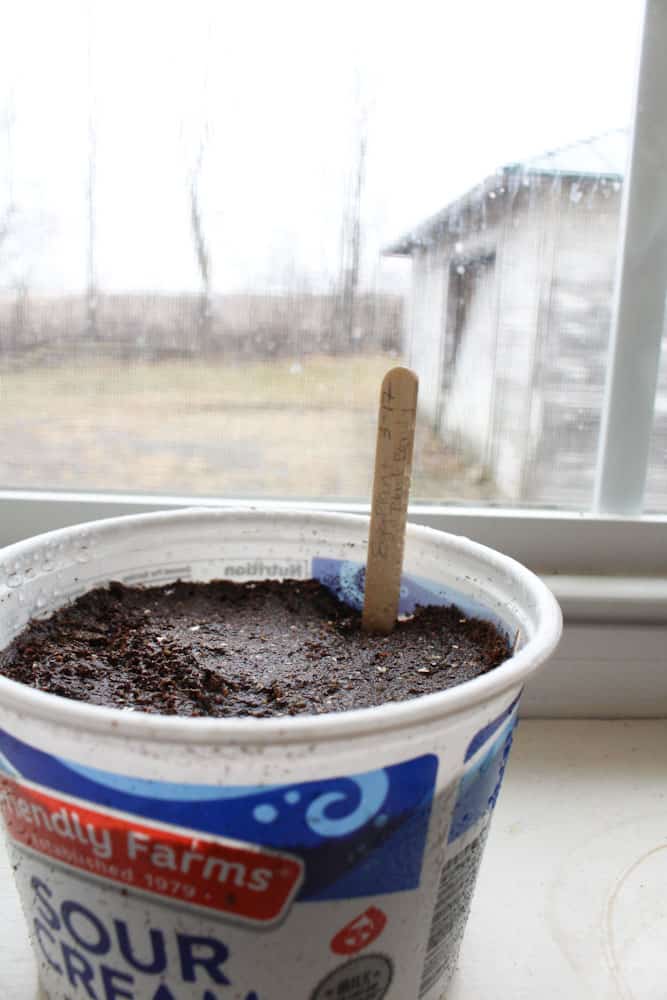
Tip 3: Use Recycled Plastic Containers to Start Seeds Indoors
Do not go out and buy seed starter kits to start your seeds indoors. They are expensive and unnecessary. We have used anything from empty sour cream containers, clear plastic salad boxes, and lunch meat containers from the grocery store. These containers are free and are being recycled, which is great for the environment. It’s a win-win. They can even be washed and used again next year.
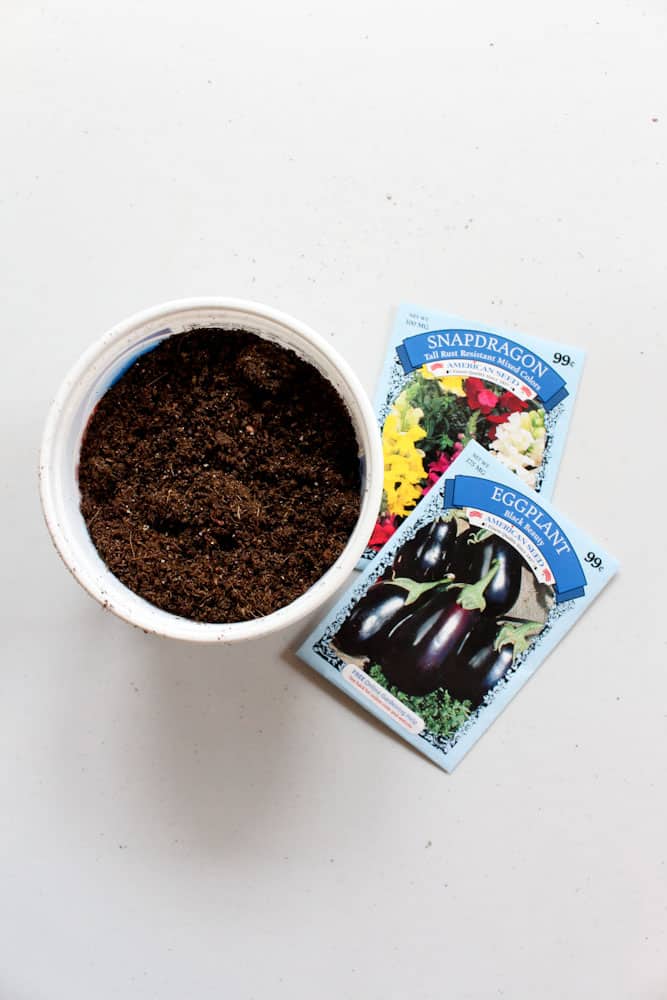
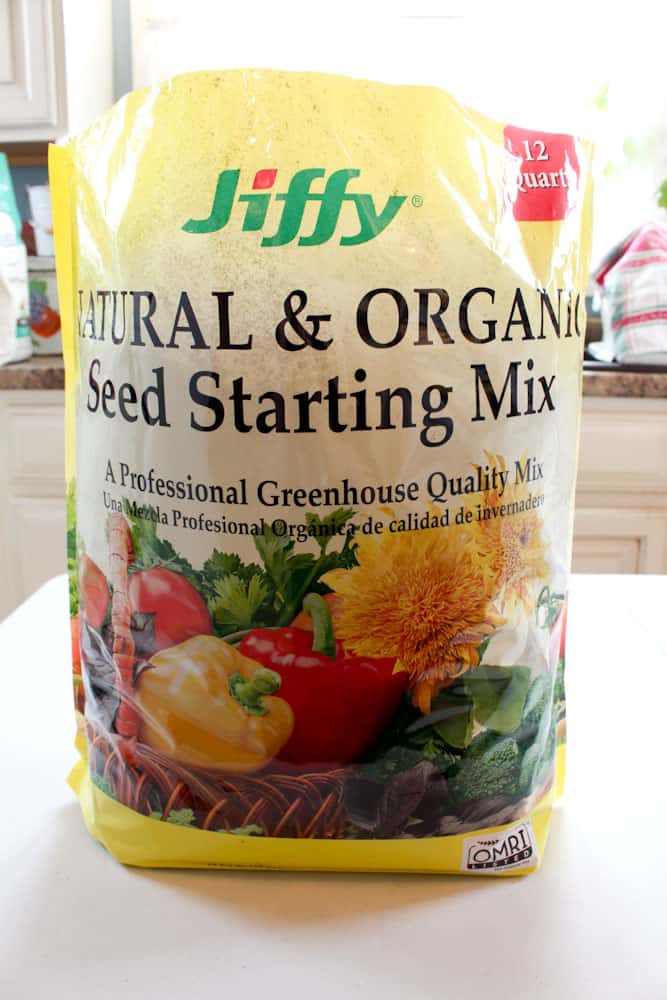
Tip 4: Be Sure to Use Seed Starter Soil When Starting Seeds Indoors
Many people make the mistake of using heavy potting soil to start their seeds indoors. Potting soil is typically too heavy and holds too much water, which can bog the soil down and potentially make the seeds rot. Seed starting soil is very light, and lacks nutrition, which is great in order to simply get the seeds sprouted. You are basically only trying to get the seed to establish roots with as little effort as possible. Seeds starting soil is the perfect way to start seeds indoors. In cases where the seed starter feels a bit too light, you can cut in a small amount of regular potting soil where needed.
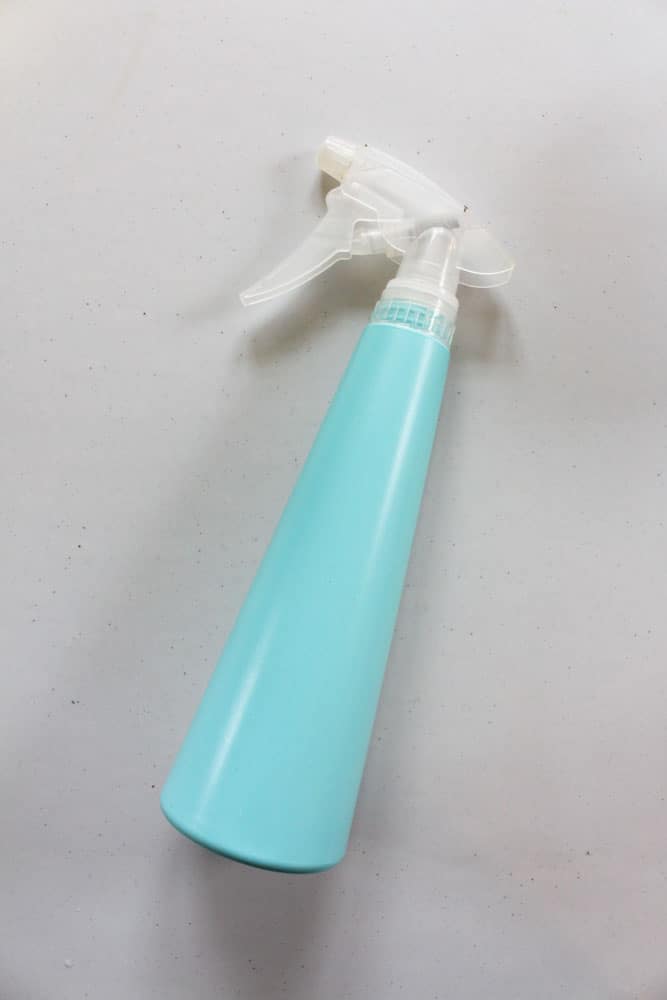
Tip 5: Use a Simple Spray Bottle to Water Your Seeds Indoors
Using a simple plastic spray bottle is the best way to water your seeds. The gentle misting setting allows the seed starter to be well watered, but not drenched. Conventional watering cans can allow too much water on the soil, which can either drown them out, or roll off completely. A good misting with a small spray bottle 2 or 3 times daily is the best way to water your seeds indoors. If you live in a very dry home (maybe you heat with a wood burner, for example) you may need to water your seeds more than 2 or 3 times daily.
Tip 6: Place Your Seeds in a Warm Place with Plenty of Light
Once your seeds have been planted in the seed starter soil and misted, place them in a warm, sunny spot. Ideally, a South facing window in an area of the house that is well heated. Do not place your seed starts in a cool area such as a back porch or unheated room. This is the best way to allow your seeds to get a good start when starting them indoors. For more info click here.
Tip 7: Make Sure you Have Good Airflow Around Your Seed Starts
When starting seeds indoors, be sure that there is plenty of airflow around the starts. This is especially important for those that live in places with high humidity, or are starting seeds in a place like their basement. If there is not enough airflow around your starts, seeds can get mildew or mold and then eventually rot. If you are concerned, a small fan is very helpful in keeping extra moisture away from the seed starts.
Tip 8: Keep the Soil Damp at All Times
With Tip 7 just being stated- remember! This is about balance! You do not want your seeds too wet, but the soil SHOULD be damp at all times. You do not want your seeds drying out. Make sure that you check the soil several times a day and keep it damp. Not too wet, not too dry! Try to keep a good balance with watering.

Frugal Tip:
The Dollar Tree carries American Seed brand seeds. This brand is all non-GMO and they even carry heirloom varieties. At the Dollar Tree they are 4 for $1, or $.25 each! A pretty amazing deal.
8 Tips to Starting Seeds Indoors Video:
How to Start Seeds Indoors-Planting Instructions Video:
For you Inspiration Boards on Pinterest:
0 Comments