The seedlings that you started indoors 4 to 6 weeks ago should be getting mature and ready for transplanting. Follow along as we move on to the next step in the seed starting process together. In this post we will share how to transplant seedlings into their own individual cell packs.
How to Know if Your Seedlings Are Ready for Transplanting
Seedlings are typically ready for transplanting when the stems are getting long and leggy and a second set of leaves are starting to form. The leggy stems will eventually make great root systems, which is a great start. Not to mention a second set of leaves on the seedling also shows that the plant is getting strong enough to transplant into it’s own cell.
Tools You Will Need to Transplant Your Seedlings
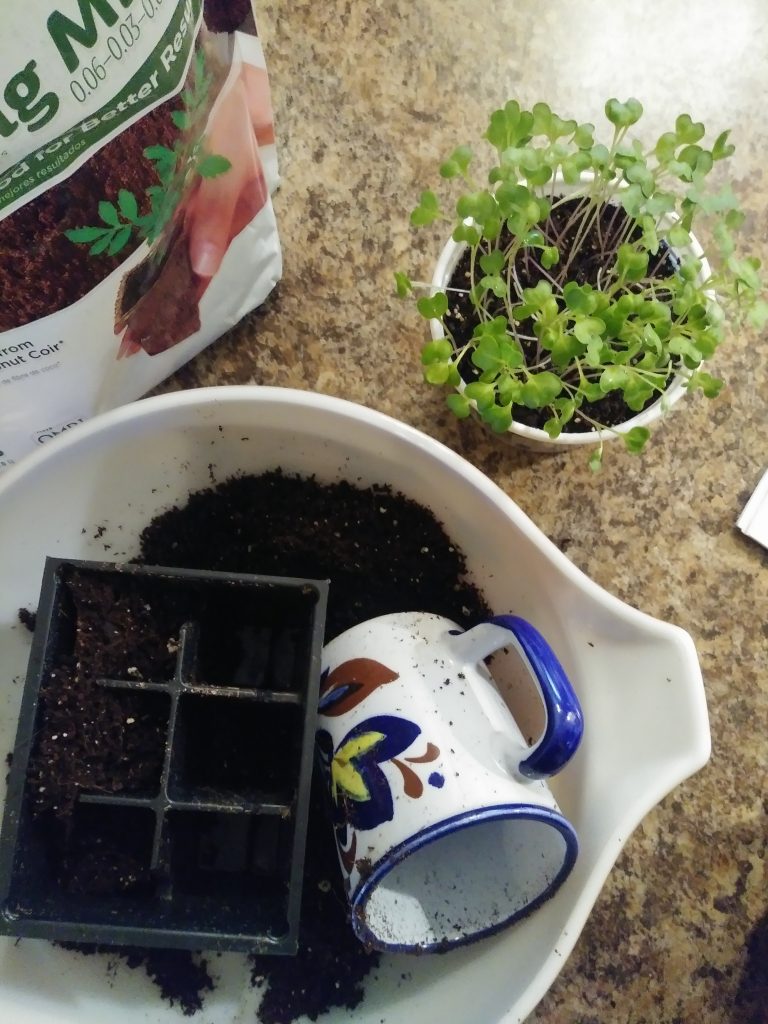
The tools you will need to transplant your seedlings include:
- Potting soil/seed starter soil (sometimes potting soil can be too dense, so seed starter soil can help lighten it up when needed)
- Recycled black cell packs from the garden center
- A watering can or spray bottle with water
- A scooping tool like a mug or sour cream container
- A pencil
- Your mature seedlings
- A place that you don’t mind getting dirty. We have the greenhouse to work in this year, but in years past we have used the kitchen counter. However something like newspaper or cardboard on your work surface can help save you from a big mess.
How to Transplant Seedlings into Individual Cells Packs
Step 1: Prepare your potting soil. We find that mixing about 3 parts potting soil to 1 part seed starter mix makes the soil a bit lighter and easier to work with. Not to mention it helps allow more aeration to the soil so that it doesn’t get too bogged down when watering.
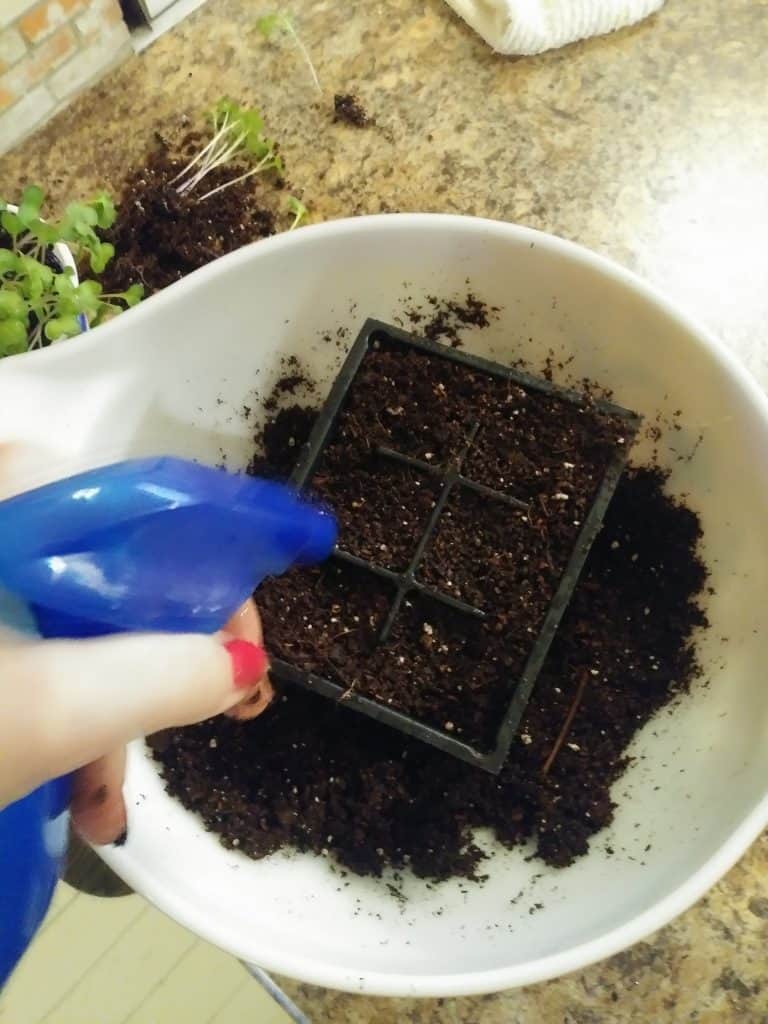
Step 2: Take a tray of recycled seed cells (the typically come in 4 or 6 cells) and fill them to the brim with potting soil.
Step 3: Water the soil-filled cells well with the watering can or spray bottle. Most importantly, the soil should be totally soaked. Place the tray of seed cells back on your work surface.
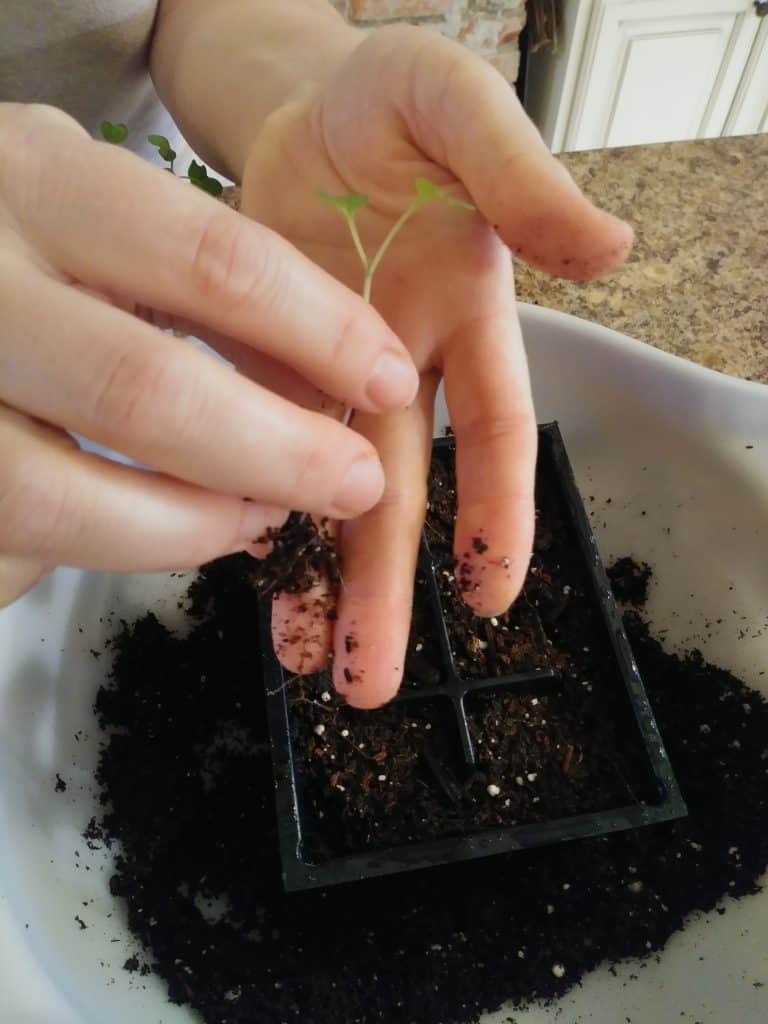
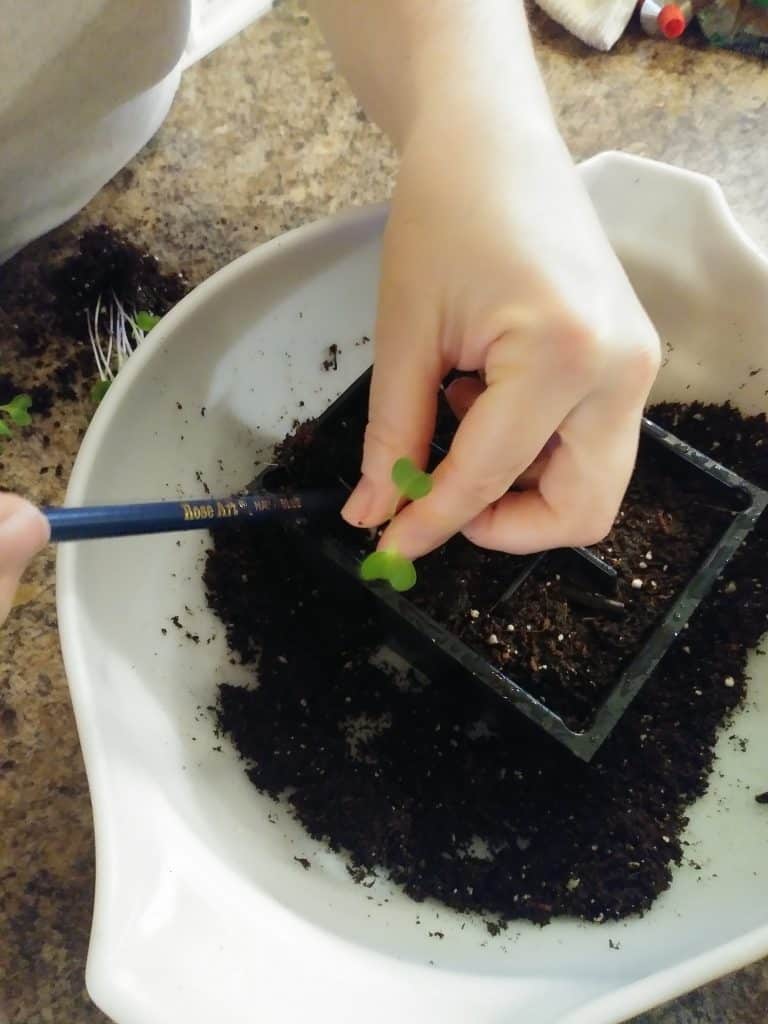
Step 4: Take your pencil and poke holes in each individual cell, moving the pencil back and forth a bit in order to make sure the hole is wide enough for the seedling.
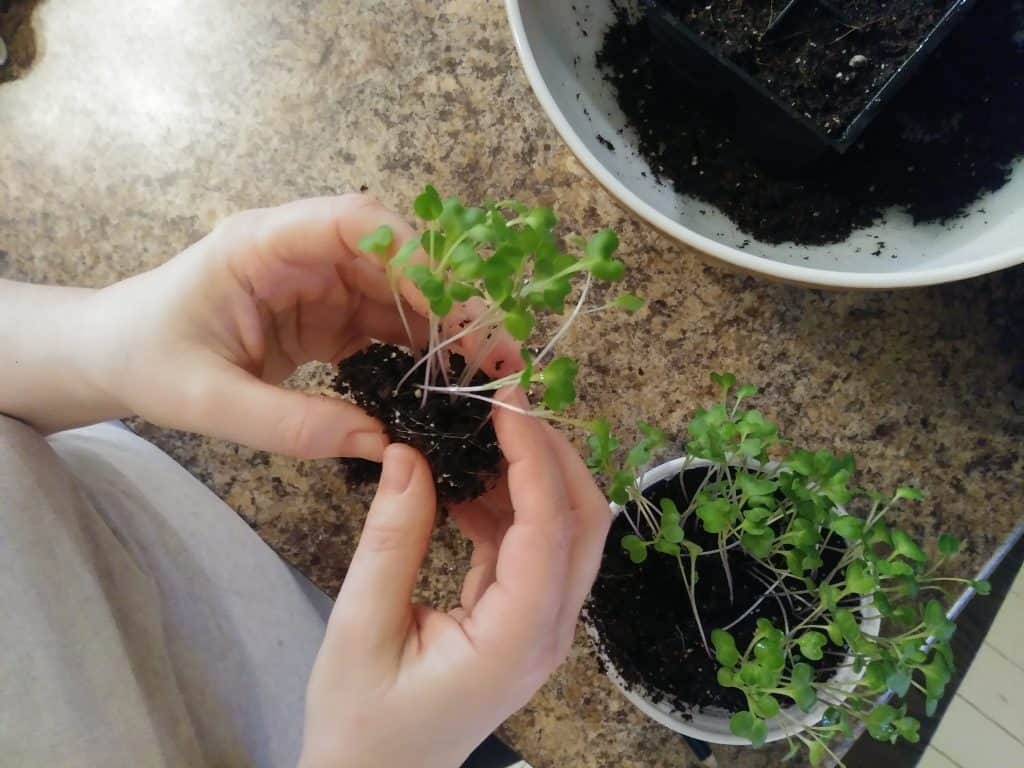
Step 5: Very carefully take a chunk of your seedlings from your starter container. This is very delicate work. Separate each seedling, being careful not to damage the stem or leaves. You may not be able to separate the roots without slightly tearing a few, but don’t worry too much about that.
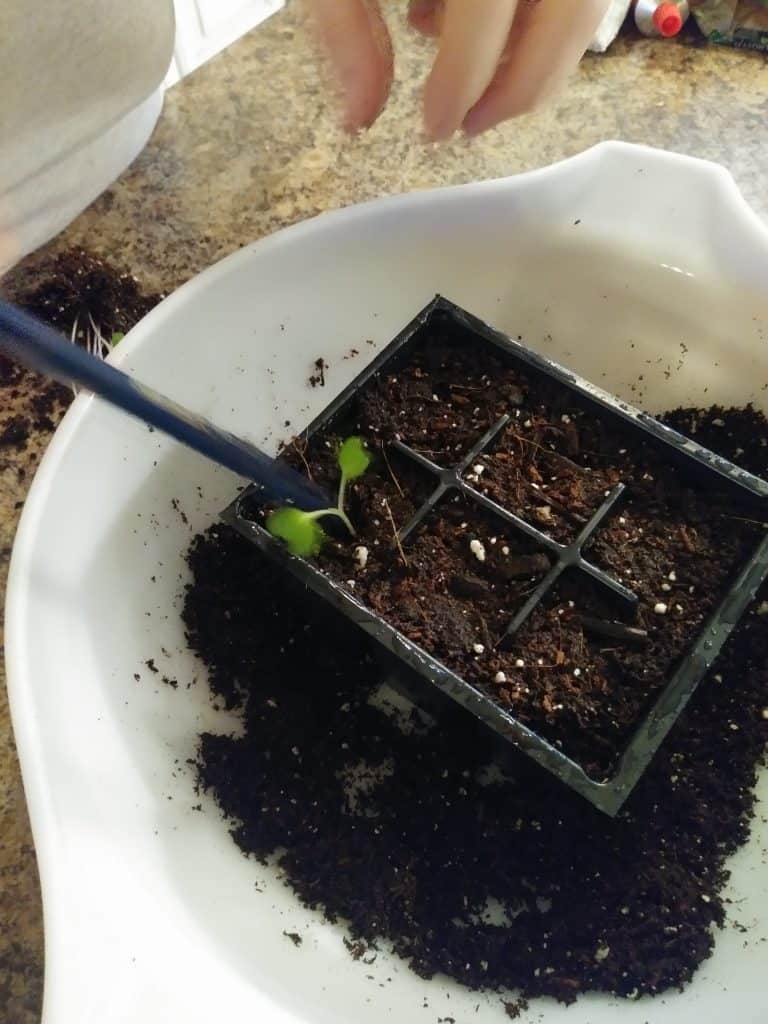
Step 6: Gently place a seedling on each of the seed cells that have you prepared. Next, take the pencil (eraser side down) and 1/2 to 3/4 of the way up the stem, gently push the seedling down. The majority of the stem should be in the hole. After that, be sure to stuff the roots down as well. Carefully cover the hole with soil. The stem that has been buried will fill with roots, which makes a stronger root system. Stems that are left long and leggy will be tossed by the wind and weakened.
Care for Seedlings After Transplanting
Lastly place the tray of transplanted seedlings in a bright warm spot. If you do not have a greenhouse, a South facing window, or under a grow lamp will work just fine. Most importantly be sure to keep the transplanted seedlings well watered, warm, and well ventilated.
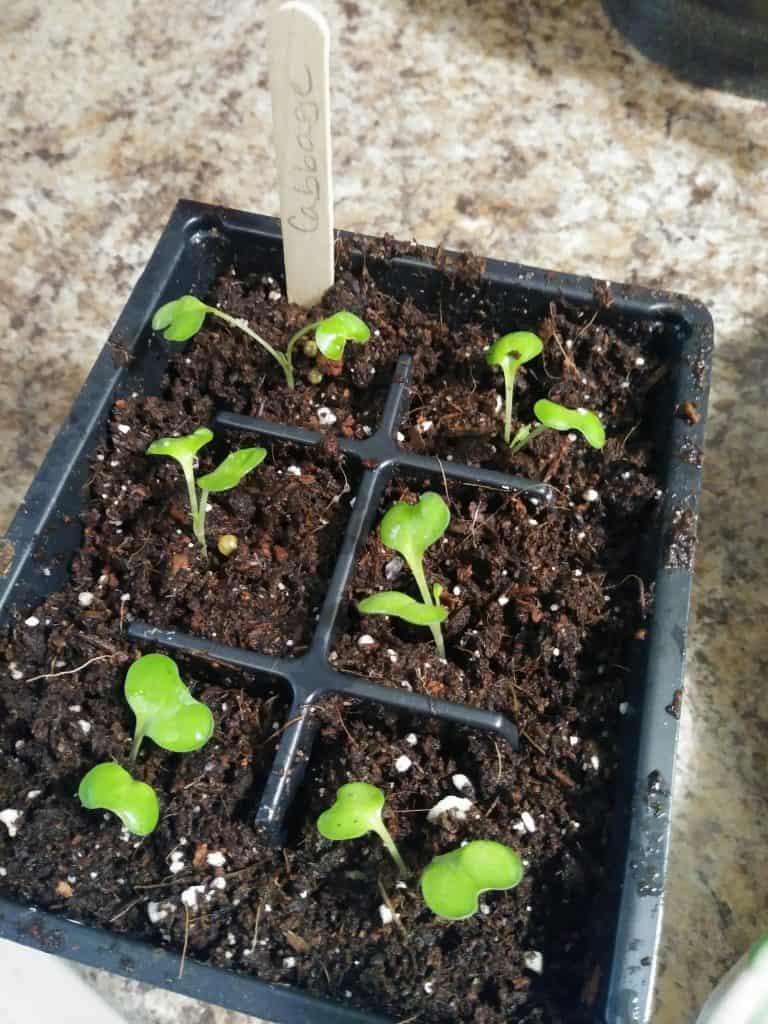
As a result of your hard work, in about 4 weeks your plants should be very mature and ready to be planted into your garden or flower bed!
For more information on transplanting seedlings click here.
Be blessed and happy gardening!
-Sierra and Starla
0 Comments