It seems that sourdough has become a buzzword of sorts in the last year or so. That innate desire to get in touch with our roots and make the things our ancestors made is making a comeback! Is it any wonder? What’s more comforting that a warm loaf of bread, fresh out of the oven?
And so today we are sharing our recipe to make your own wild yeast sourdough starter right in your own kitchen! It’s a simple, tactile process that will leave you feeling rewarded and excited to bake. So let’s get started!
This post contains affiliate links. As an Amazon Associate we earn from qualifying purchases. When you click on our affiliate links and make any purchase, we may make a small commission at no extra cost to you. To read our full affiliate disclosure click here.
What is a Sourdough Starter?
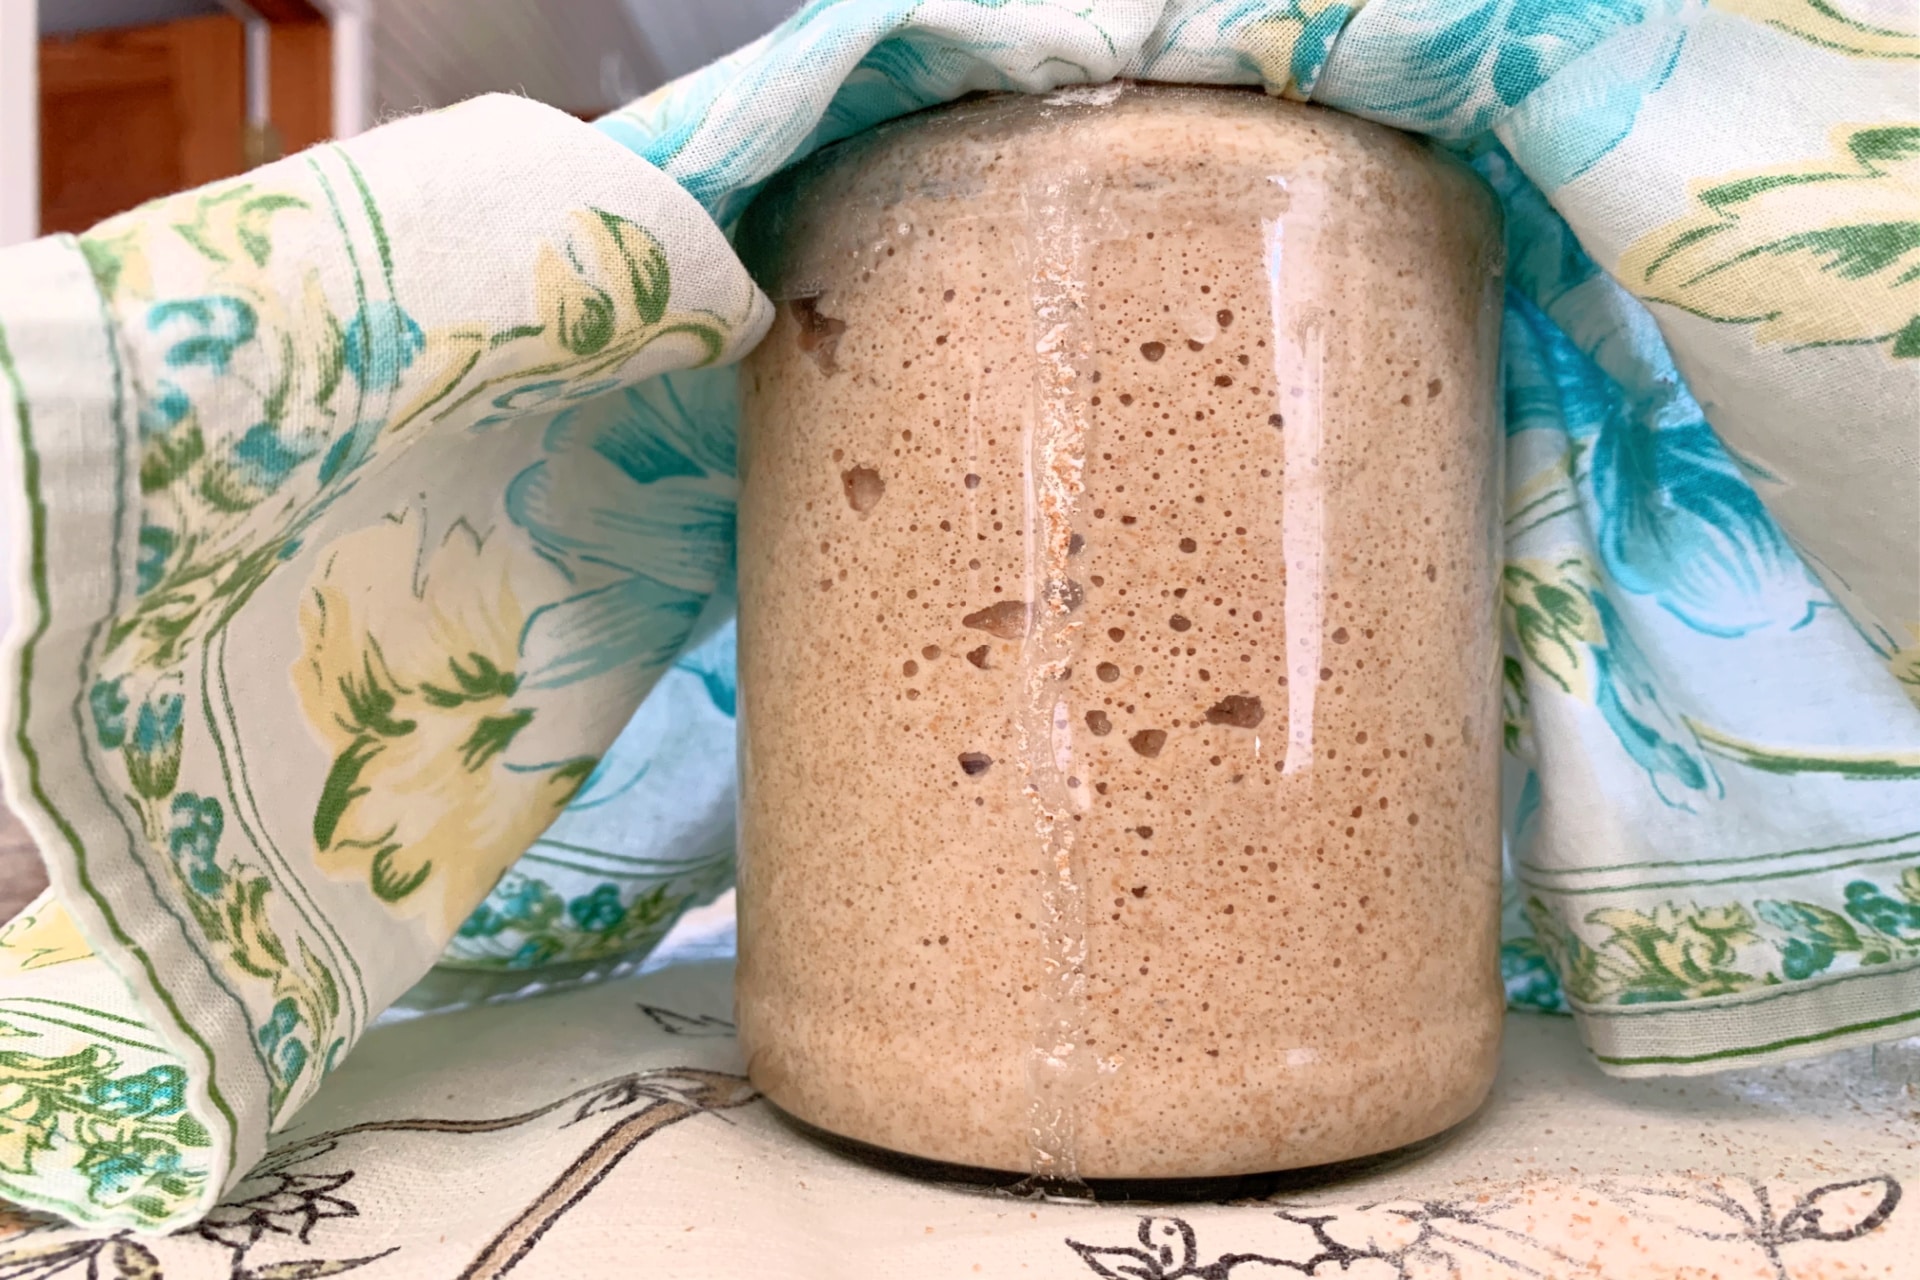
A sourdough starter is quite literally a living world of yeast and lacto-basilli that a home baker houses in a jar. The work that the yeast and bacteria do is mutually beneficial and almost like a friendship between the two parties. Long before the advent of commercially produced yeast, sourdough was the way home bakers leavened their breads and pastries.
How Does Wild Yeast Work in The Sourdough Starter?
Do you remember science fair projects from grade school and middle school? Wild yeast and bacteria will make you think of those science classes from back in the day!
You see, the air, surfaces of your countertops, your hands and the general environment of your home are absolutely covered in tiny natural yeasts and bacterias. Making a sourdough starter is just a simple way of harnessing those tiny yeasts and bacterias in order make a natural leavening agent for baked goods.

Science & Health Benefits of a Sourdough Starter
Bacteria that produce lactic acid will help to acidify the dough, which creates the unique flavor of sourdough. The lactic acid helps increase nutrition by breaking down phytic acid in the flour. This process also neutralizes enzyme inhibitors, and helps to break down the protein, gluten. This is great news for people with gluten intolerance!
The yeasts you’ve harnessed are tolerant of the acidic environment, so they are free to live without the invasion of other putrefying bacterias. Because of this, they can make enzymes, reproduce, and break down flour. These yeasts also help make the carbon dioxide that allows the bread to rise.
All of this metabolic activity is going on in the sourdough starter jar. Ultimately the process of sourdough allows the ingredients of bread, or other baked goods, to be pre-digested, or much easier for your digestive system to break down. A wild yeast sourdough starter is a living world that will leaven your bread, pre-digest the grains, and make it taste sensational!

Tips and Tricks Before You Get Started
- Flour: We recommend using King Arthur flour. This company only uses all American wheat. They are also part of the Non-GMO Project. However, you can use whatever you can afford or is available to you. This recipe can be used for both whole wheat or white/all-purpose flours.
- Timing: This process will take about 7 days to complete. This depends much on the temperature of your home, and the humidity outside. It may take a few more days depending on the circumstances.
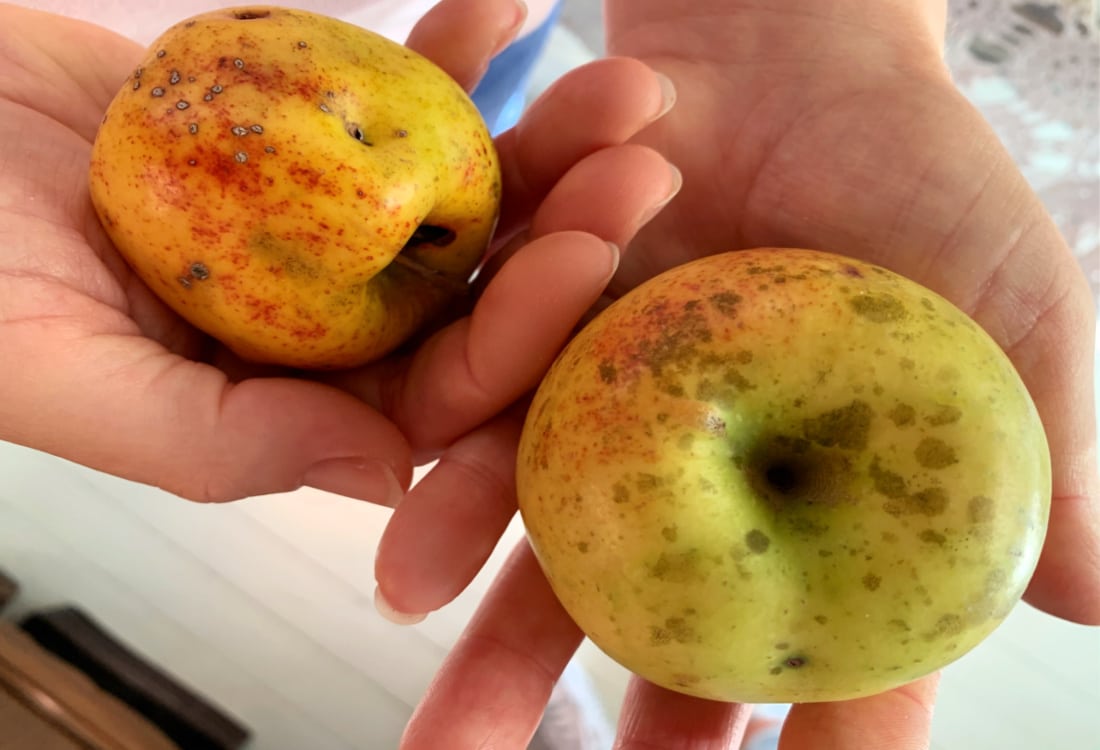
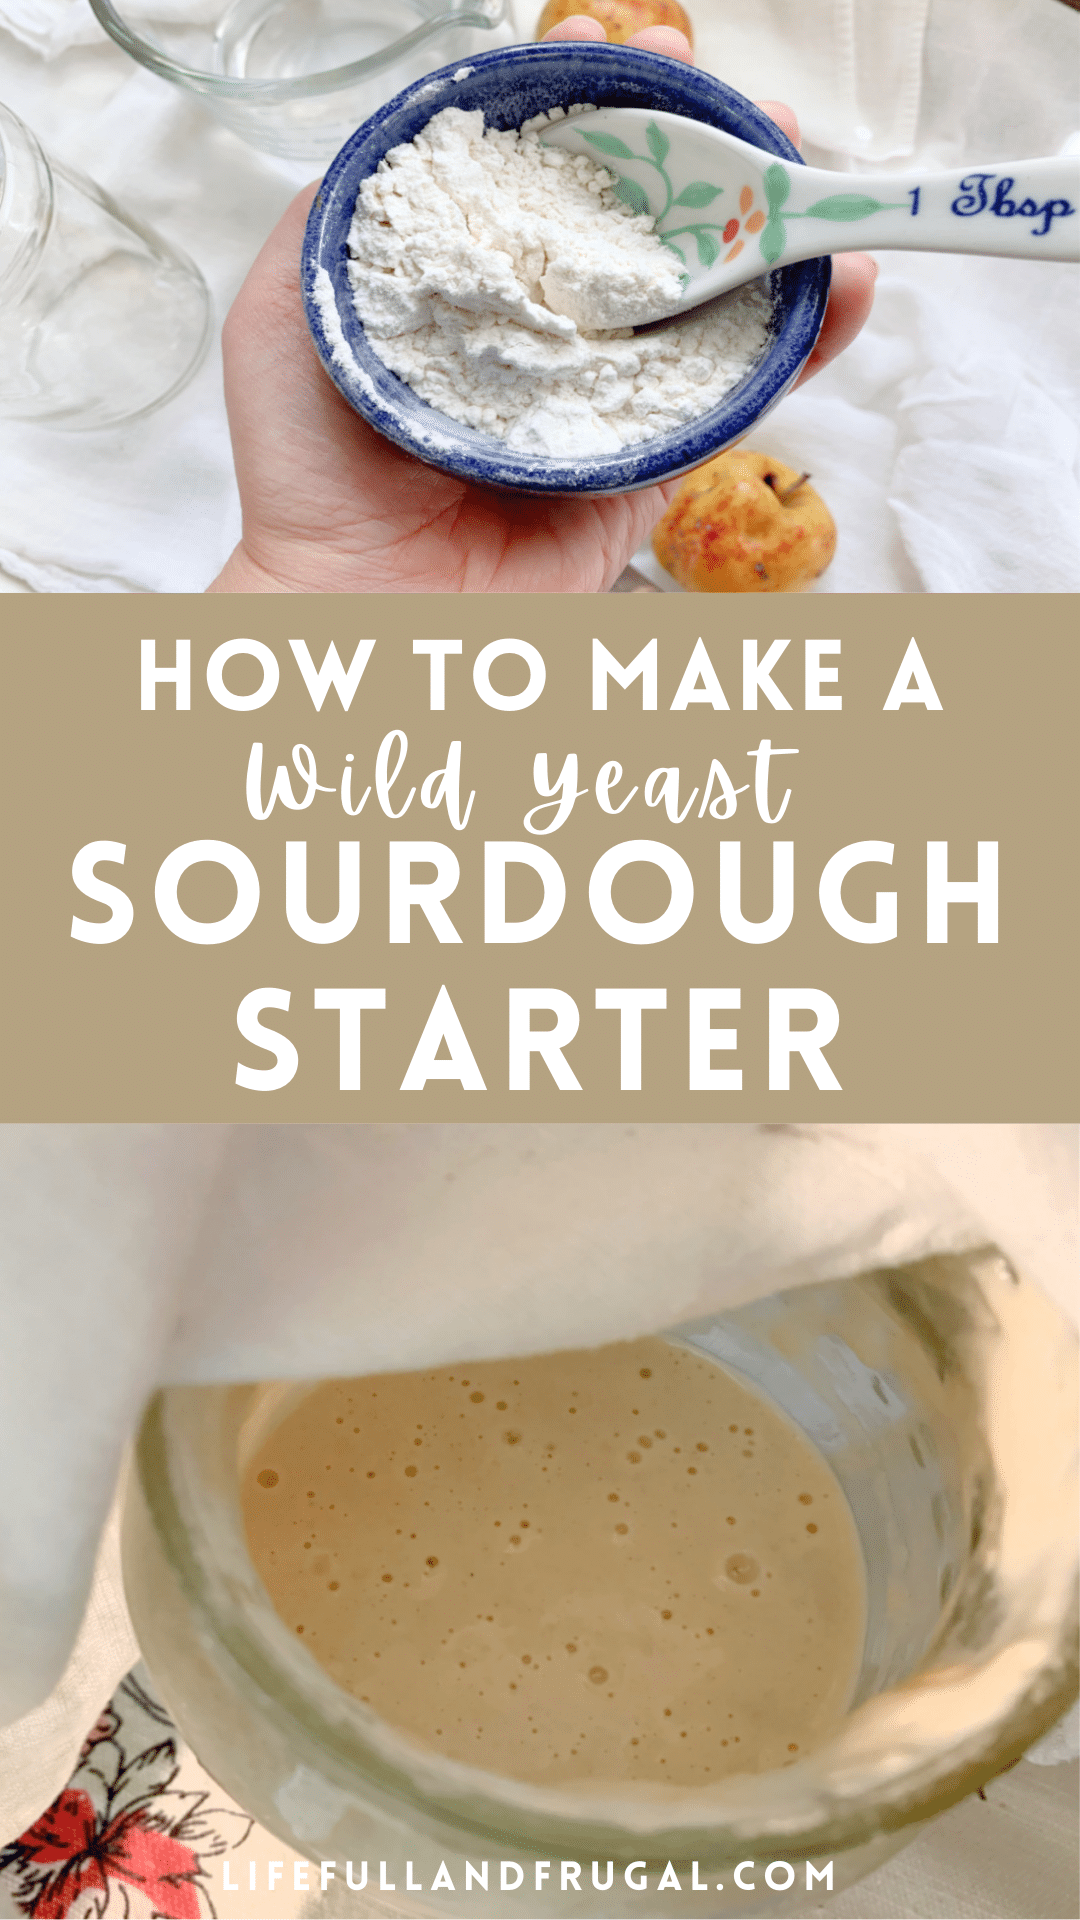
- Invite wild yeasts in: If you are struggling with your sourdough starter, consider placing chemical-free fruits or veggies around the starter. The wild yeasts from this produce will help with the process of growing the sourdough. We used fresh, un-sprayed apples.
- Consider taking the starter outside: Placing the starter in a grassy area, or on the porch is another way to invite wild yeasts to come and colonize the starter. It’s also helpful to open the windows of your home to bring in fresh air.
- Keep other fermented foods around: This is yet another way to invite good bacteria and yeasts to join your sourdough starter colony. We keep kombucha starters and sauerkraut on our countertops.
- Keep the starter in a warm place: Avoid placing the starter near A/C vents and other cool places. It really needs a warm environment to promote the growth of those good bacterias.
- Keep harsh chemicals away: Do not use anti-bacterial soaps or cleaners near the starter. This could easily kill the starter (which is made from bacterias.)
- Stay positive and be patient: This is a process! It takes time and patience. Have fun, be kind to yourself, and keep positive energy around your sourdough starter.
How to Make a Wild Yeast Sourdough Starter Recipe
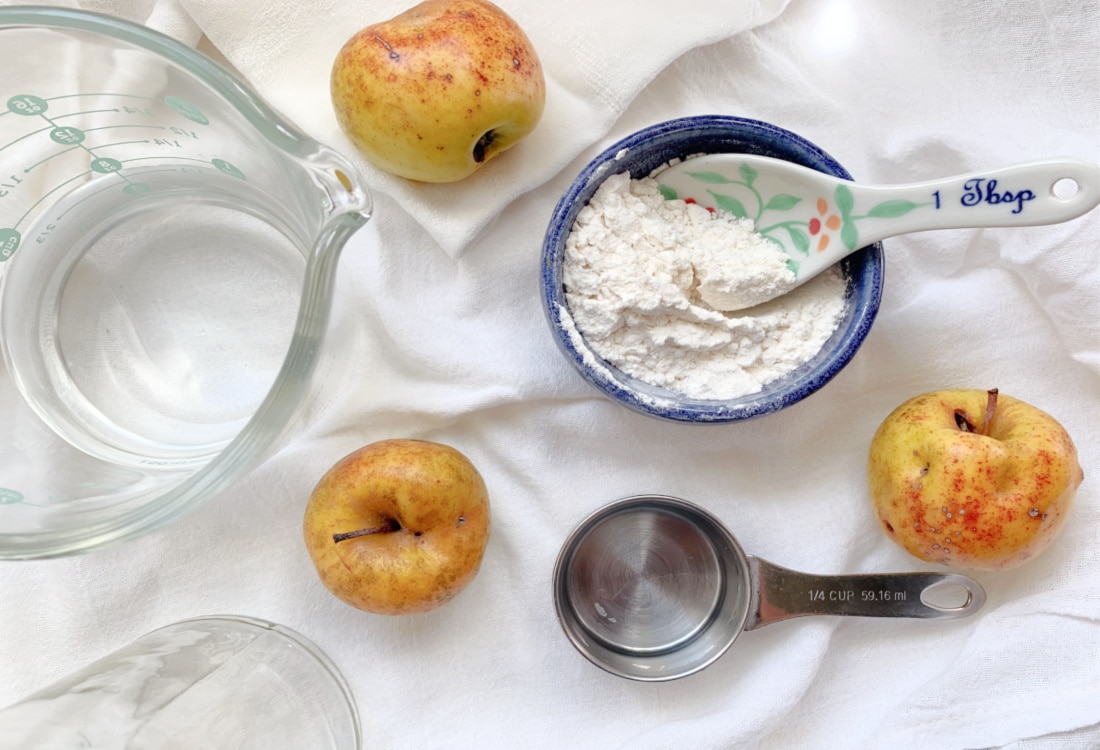
What you’ll need to get started:
- A clean quart jar (a recycled jam jar or Ball Mason jar is fine)
- Whole Wheat (slightly easier), or All-Purpose flour
- Water (NOT chlorinated or softened! Use well or filtered water)
- A clean cloth (like a cloth napkin or wash cloth)
- A rubber band
- Time
Recipe and Schedule
Day 1:
In a clean jar place 6 Tbsp of flour and 1/4 Cup of water. Stir well. Place a cloth loosely over the lid and secure with a rubber bad. Leave until tomorrow (about 24 hours.)
Day 2:
Repeat the same process as before. Add 6 Tbsp of flour and 1/4 Cup of water to the jar. Stir well. Replace the cloth loosely over the top, and secure with the rubber band. Leave the starter on the countertop until tomorrow.
Day 3:
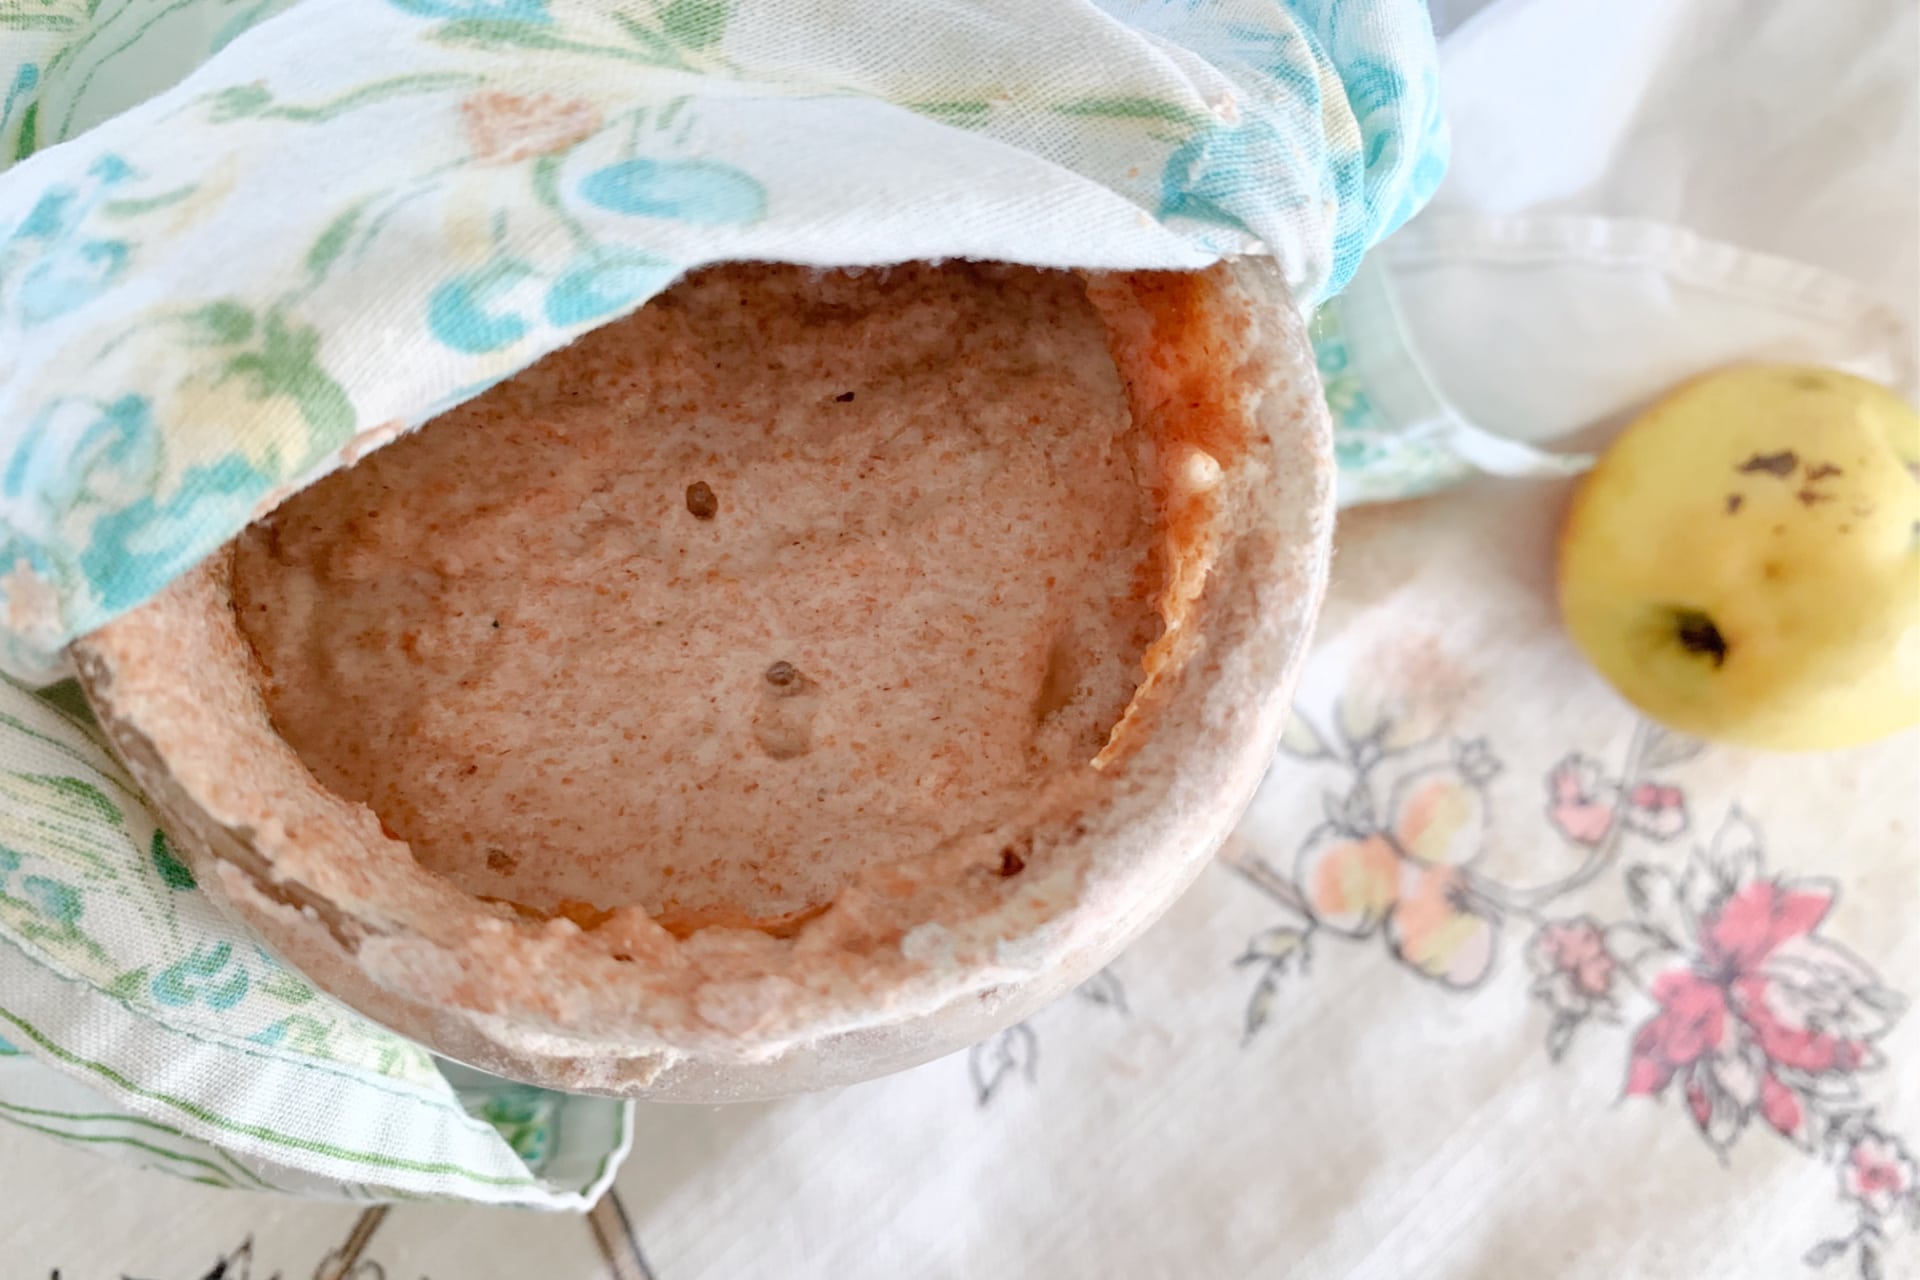
By day 3 you should be seeing some bubbly activity in the starter. If you do NOT see any bubbles by day 3, you may need to consider starting again.
Stir the starter well. Next, pour off 1/2 of the starter and discard. To the remaining starter, again, add 6 Tbsp of flour and 1/4 Cup of water. Stir well and cover as usual.
At this point we did place some fresh, un-sprayed apples around the starter to encourage those wild yeasts to join the starter colony. That is totally optional.
Day 4:
Once again, you should be seeing some bubbling in the starter on day 4.
Stir the starter well. Now, pour off another 1/2 of the starter and discard. To the remaining starter add the usual 6 Tbsp of flour and 1/4 Cup of water. Stir the starter well again, cover, and set aside until tomorrow.
Day 5:
We’re back to normal for today. To the starter add 6 Tbsp of flour and 1/4 Cup of water. Stir the starter well. Cover again with the cloth and set aside until tomorrow.
Everyday you should be seeing progressively more bubbling on the wild yeast sourdough starter. Stay with it!
Day 6:
Double feeding day! At about 9:00 am feed the starter 6 Tbsp of flour and 1/4 Cup of flour.
At about 9:00 pm, feed the starter once again. Per the usual, feed 6 Tbsp of flour and 1/4 Cup of water. Stir well, and cover the starter until tomorrow.
The double feeding should speed up the fermentation process, bulking up the activity in the starter.
Day 7:
Last feeding! Like always, feed the starter 6 Tbsp of flour and 1/4 Cup of water. Stir the starter well.
**IF** the starter seems a little thin (like pancake batter), ONLY add the flour. This may vary depending on the temperature and humidity of your home, or even the weather outside. It’s better to have the starter slightly thicker than too thin.
Your wild yeast sourdough starter should be ready to go! Now it’s time to put it to good use!
Commit to Trying it Out
Now the that sourdough starter is complete, commit to trying it out with an actual sourdough recipe. There are so many options out there! We highly recommend our Multigrain Sourdough Sandwich Loaf.
Storing Your Sourdough Starter
Many sourdough bakers insist on feeding their starters multiple times a week. This is never something we’ve done on our sourdough journey (well over 15 years.) The sourdough starter, once well developed, bubbly and alive, can be simply placed in the fridge until you need it. Placing the starter in the fridge allows it to go into a state of dormancy. It’s still very much alive.
When you are ready to bake with the starter again, pull it out of the fridge and allow it to come to room temperature. Next, simply feed the starter according to the recipe you are following.
Leftover and excess starter should be placed back in the original jar, and then back into the fridge for next time. Our sourdough sandwich loaf recipe feeding schedule allows for about 2 Cups of starter to be left over for the next time you bake.
Other Great Sourdough Resources
Some of our absolute favorite true and authentic sourdough baking cookbooks:


*By true and authentic, we mean these recipes are for true, long-soak, gut-healthy sourdough recipes. Adding a cup of cast-off starter to a regular cake recipe (without the process of long-soak fermentation) does not make it magically a gut-healthy food.
Interested in some other gut-healthy food recipes? Check out our recipes for:
Nuances and Quirks of Sourdough Starters and Making Sourdough
Like most living foods, the environment that they live in is very important. Keeping positivity, kind words, good music, other living foods, and joy in your home with help the process of making sourdough so much more successful. Don’t forget that this is not really an exact science. Weather patterns, extreme temperatures, environmental issues, and seasonal changes can all effect the process of growing a sourdough starter. It’s very nuanced. Get a feel for whether or not you really need to add water one day, or maybe you just need flour. Work with it. Be patient. Have fun.
Feeling inspired? Pin it for later!
Loved reading about all of the science behind wild yeast! Great tip to place your starter near fruits and veggies. Excellent information thank you for sharing.
Thank you for checking it out, Julie! So glad you enjoyed it! Have a blessed day:)
I like the step-by-step tutorial. It looks so easy to make. I haven’t make sourdough before. I can’t wait to try it. Thank you so much for sharing!!!
Yay! So glad you found this helpful, Ada! Let us know how it turns out for you! =)
This is such a detailed, comprehensive, and helpful tutorial! It’s great for anyone learning how to make a sourdough starter!
Well that means a lot coming from you, Anja! So glad you enjoyed it! Thanks so much for checking it out! God bless you! =)