Do you have cucumbers coming out of your ears? (This is something our mom always said about the garden bounty….something was always coming out of our ears!) We’re here to help! Today we are sharing our version of old fashioned lacto-fermented dill pickles. These tangy and garlicy pickles are so easy to make! Best part? No canning required! So let’s get started!
An Over-Abundant Garden Harvest
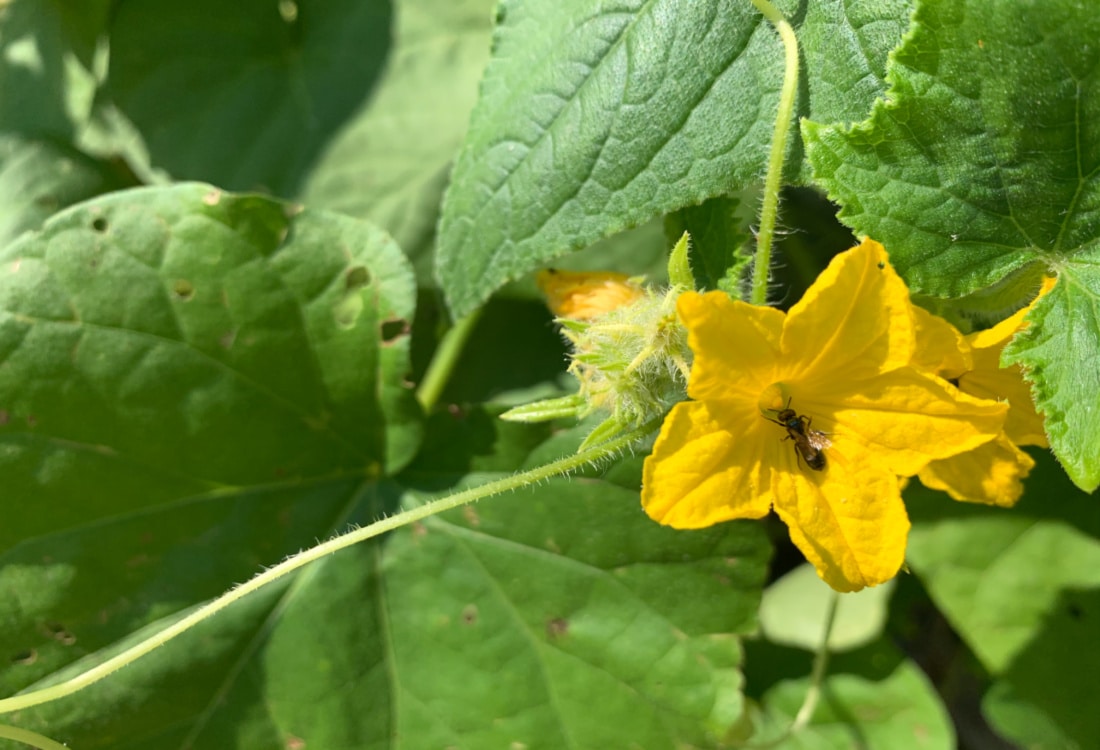
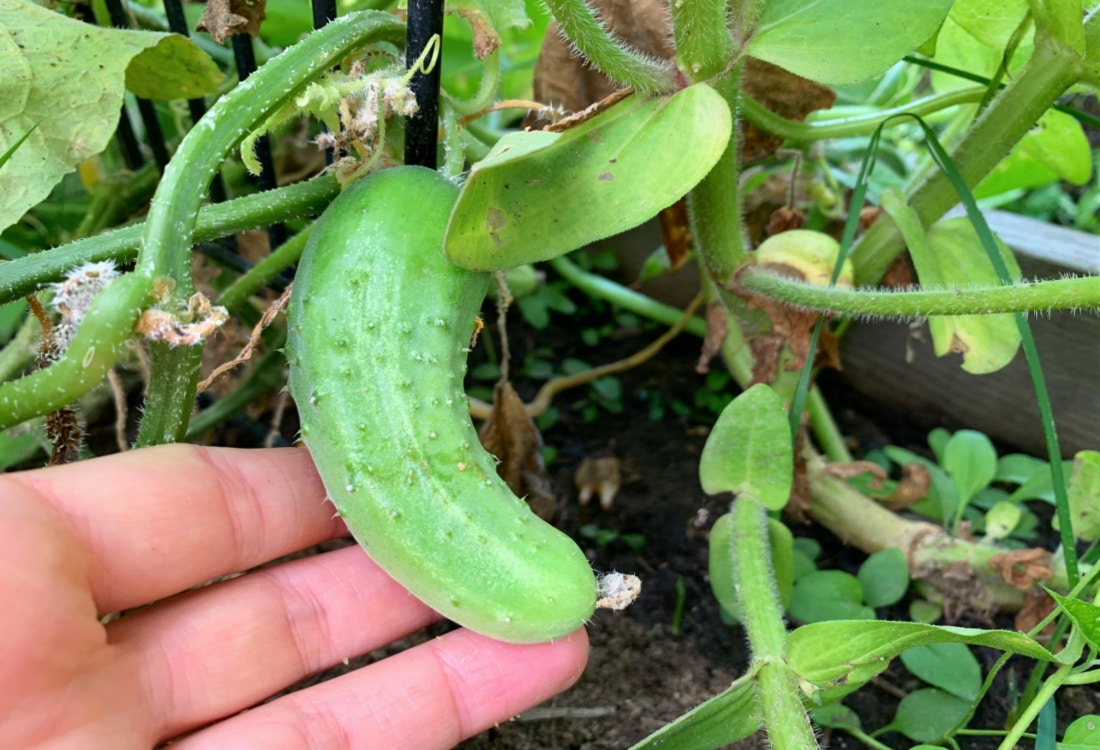
We love to grow a garden. This year has been so blessed because we have had the most perfect balance of sunshine and rain all summer long. Unlike the year 2020, our garden is looking fabulously lush. To our complete wonder and surprise, we have had an over-abundance of cucumbers. These little rascals have historically been tricky for us to keep alive, so we’re happy as can be!
This post contains affiliate links. As an Amazon Associate we earn from qualifying purchases. When you click on our affiliate links and make any purchase, we will make a small commission at no extra cost to you! It’s a simple and convenient way to support the sisters of Life Full and Frugal! To read our full affiliate disclosure click here.
Pickling Cucumbers the Old-Fashioned Way
Did you know that you can pickle just about anything with a salt brine? This method is typically used in Eastern Europe to pickle anything from sauerkraut, to peppers, tomatoes, onions, or cucumbers. The sky is the limit! The method is sometimes referred to as “brining” or the “open crock” method of preservation. This is the ultimate “old fashioned” way of preserving food as it’s been around for centuries! What better way to make old fashioned dill pickles?
Old Fashioned Lacto-Fermented Dill Pickles: What are the benefits?
Another wonderful aspect of brining is that it does not require you to heat up the kitchen for canning. If you’ve tried canning before, you know it can be quite a task! Huge canners full of hot water, steam, messy counter tops, waiting, hoping things seal properly! You know the drill. It’s not easy!
Besides being a much simpler job, lacto-fermenting your dill pickles is much healthier as well. The salt water mixes with the natural bacterias living on the surface of the pickles to convert them into lactic acid. Lactic acid not only aids in the preservation process, but it also prevents harmful bacterias from growing and also increases your body’s ability to uptake vitamins and enzymes. This, in turn, significantly increases your body’s ability to have a healthier digestive system. Gut health is ultimately good overall health. It’s all connected.
Old Fashioned Lacto-Fermented Dill Pickles Recipe
Supplies you will need:
A large metal strainer
3 quart sauce pan
8-10 cup Pyrex measuring pitcher
Wide mouth canning funnel
4-6 quart jars (depending on the size of your cucumbers)
4-6 cannings seals and lids

Before you start: Sterilization
Before starting on your old fashioned lacto-fermented dill pickles, your quart jars should be sterilized with boiling water. This prevents any residue or bad bacterias from interfering with the fermentation process. If your dishwasher has a “sanitization” cycle, you can also run the jars through this cycle instead of using boiling water.
Bring some water to boil in a 3 quart sauce pan. Add both your canning seals and lids to sterilize. Keep the lids in the hot water until you are ready to place them on the jars. The lids should be screwed onto the jars while they are still hot.

Old Fashioned Lacto-Fermented Dill Pickle Ingredients
Between 30-40 fresh pickling cucumbers
2/3 cup Himalayan pink salt (or Celtic sea salt)
13 cups of water
8-12 cherry leaves (or 1/2 tsp of black tea per jar) You can also use oak or grape leaves.
12-18 cloves of garlic (you can use as many as you like)
1/4 of a fresh cabbage cut into 2 inch squares
Mix these ingredients together in a separate bowl:
1 tsp red pepper flakes
1 tsp whole black peppercorns
2 tsp mustard seeds
2-3 tsp dill seeds OR fresh dill flowers (1 or 2 per jar)
*Please note that the video shows a DOUBLE recipe. The recipe here indicates a single recipe, which makes 4 to 6 quarts of dill pickles.

Pickling Directions
Clean each of your cucumbers with fresh, cool water, removing any spikes or dirt. Set the cleaned cucumbers aside in a strainer to drain.
Add 13 Cups of water and 2/3 Cup of Himalayan pink salt to a stock pot. Place this on the stove top on high heat to allow the salt to completely dissolve. Allow the brine to come to a boil. The Himalayan pink salt (or Celtic sea salt) seems to prevent the pickles from being too salty.
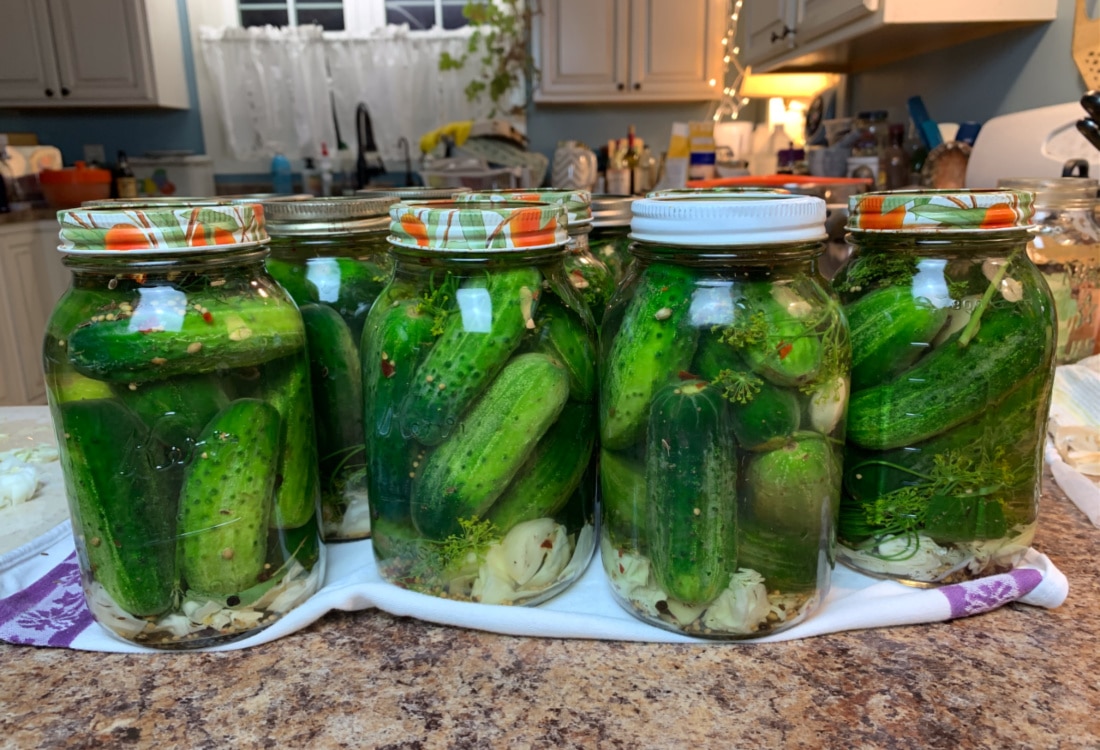
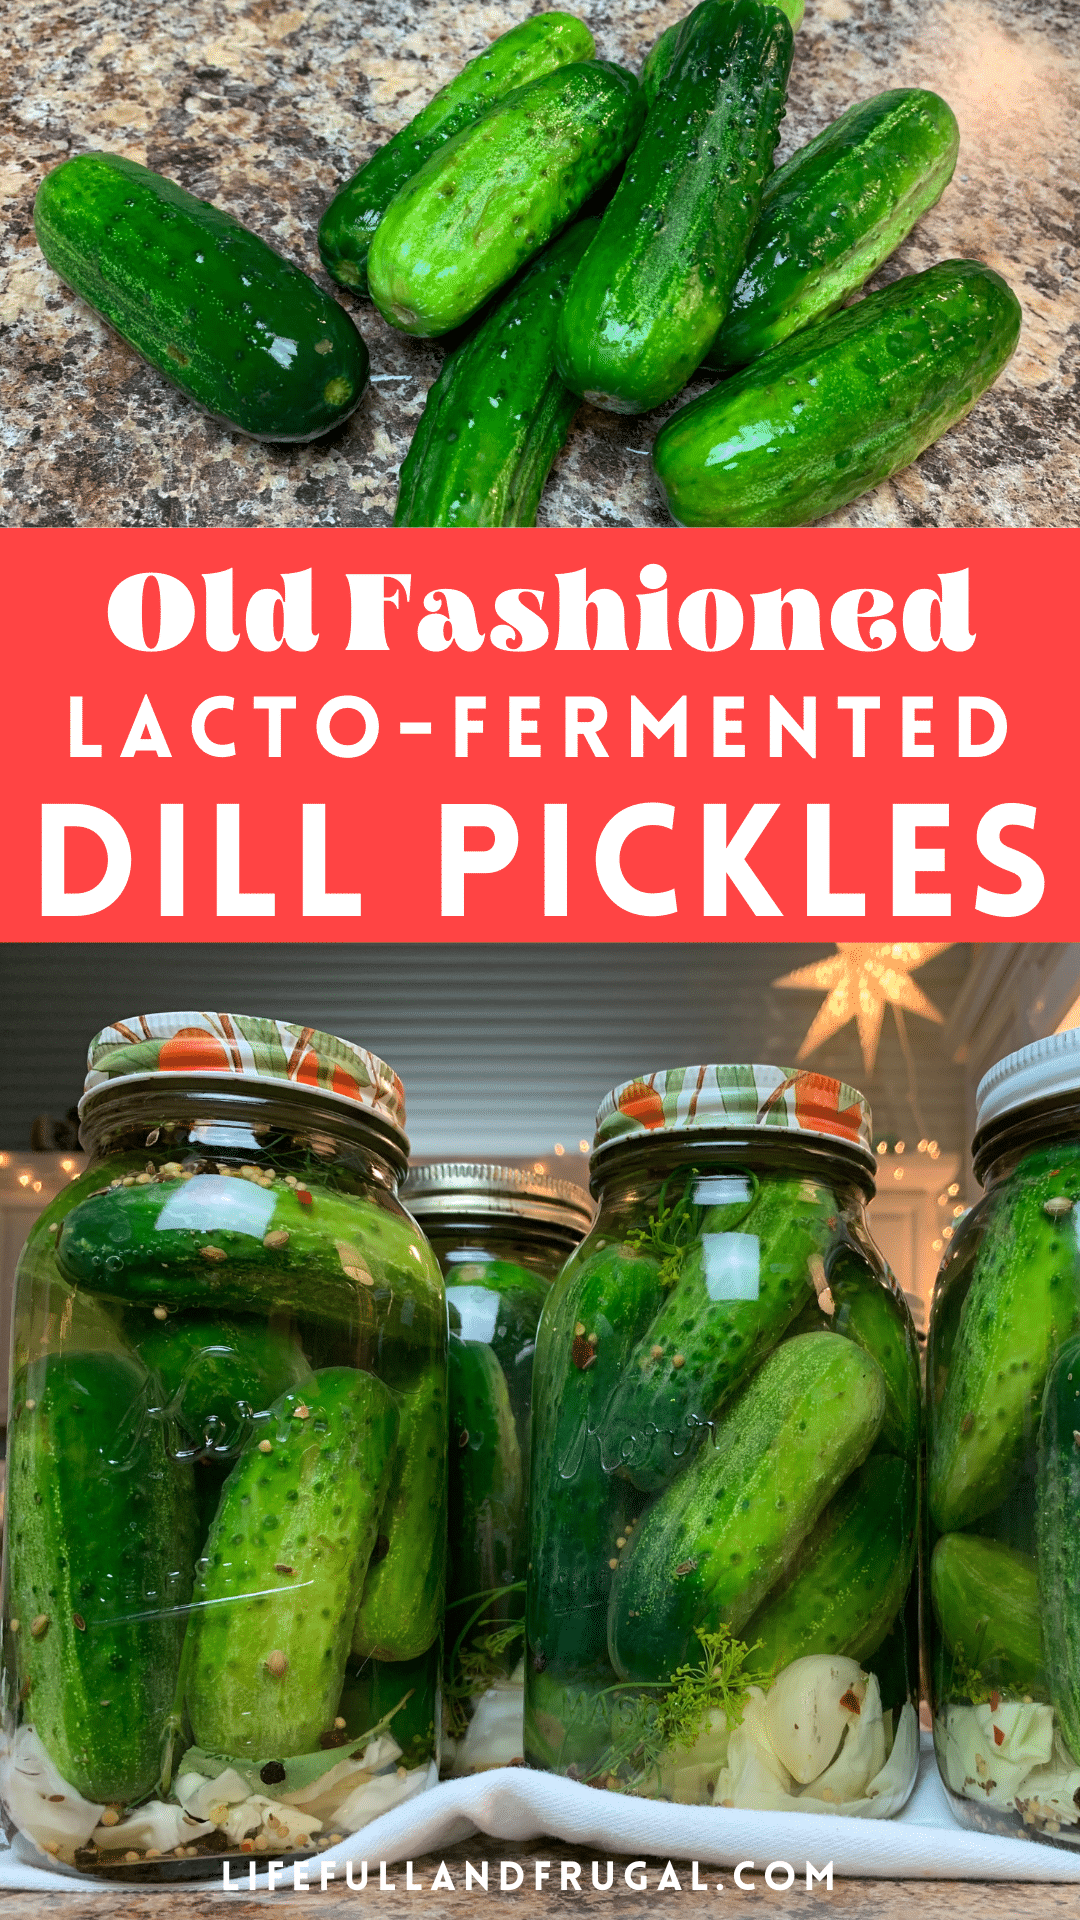
To each of your quart jars, add a 2 inch square of cabbage, 1-2 garlic cloves, 1 or 2 cherry leaves (or 1/2 tsp black tea), and 1 or 2 fresh dill flowers (if you have them).
Add the cucumbers to the jars, vertically. Pack them in as tightly as you can. It all depends on the size of your cucumbers.
Top each jar with another clove of garlic, another cherry leaf (if this is what you are using instead of tea), and another dill flower. Evenly distribute the spice mix from above between each jar. This should be about 1 or 1.5 tsps per jar.
Finally, top the jar with the hot brine, leaving about 1/4 to 1/2 inch of head space at the top.
With a hot, clean cloth, wipe the rim of each jar to make sure there is no brine or residue leftover. Now screw on the hot sterilized lids as tightly as possible.
The Fermentation Process Begins!
Once the jars of pickles are closed tightly, place them in a warm place for a week. Be sure to keep them out of direct sunlight. We typically keep ours on the kitchen countertop, covered with a tea towel. After 1 week, place them in a cool place to continue the fermentation process for about 6 weeks. A cool place could be your basement, a closet, a cellar, etc.
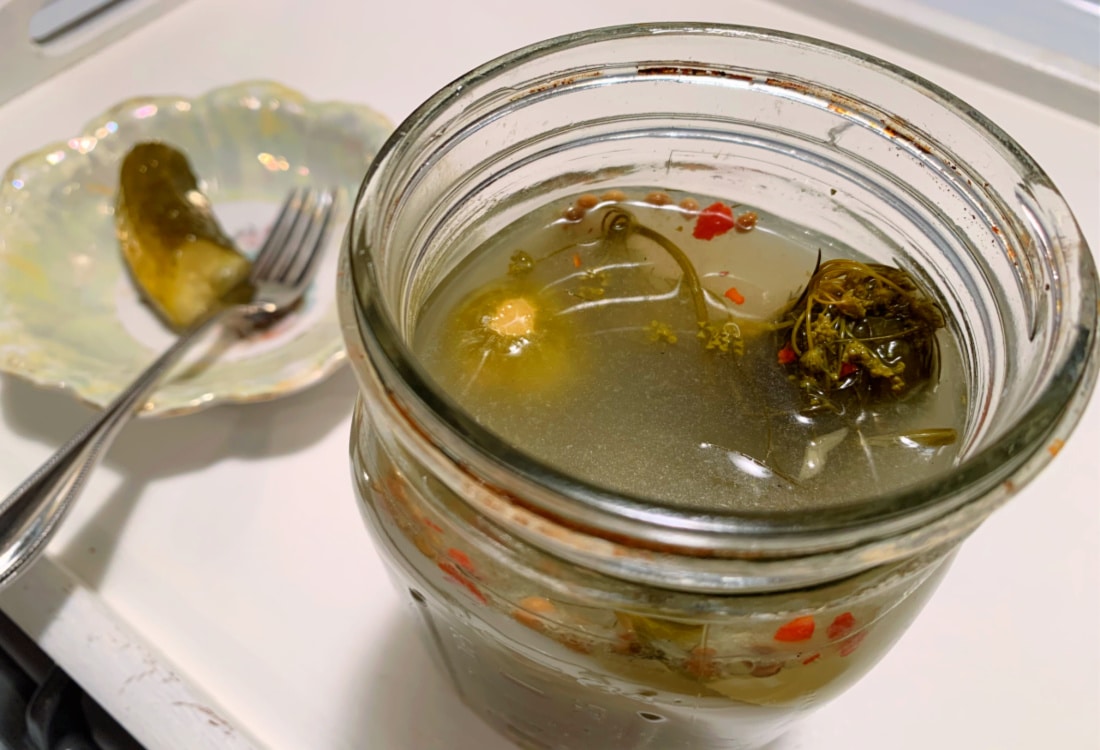
They should be fully fermented and ready to eat within 6 weeks. They should last at least 6 months in a cool place. But you’ll love them so much that they won’t last that long, trust us!
Lacto-Fermented Dill Pickles: Other Notes and Tips
Avoiding Unnatural Ingredients
If you noticed, we have one particular ingredient that seems kind of funny for a dill pickle recipe- cherry leaves. Cherry leaves (also oak & grape leaves, or black tea) contain tannins. Tannins contain antioxidant and antibacterial properties that help in food preservation. In this case, these tannins help preserve the crunchiness of the dill pickles. Unlike alum, which most people use for pickling, tannins have no negative health side affects.
How the Lacto-Fermentation Process of the Dill Pickles Works
Take note that these jars do not seal like they would with normal canning. A buckled lid is not a problem, as this is a normal part of the lacto-fermentation process of the dill pickles. The dill pickles should be bubbly and effervescent when you open the jar. Remember, this is a LIVING food! As with ALL home fermentation, use caution and common sense. The nose knows. If the pickles smell rancid or putrid, throw them out.
More Lacto-Fermentation Inspired Recipes:

Now It’s Your Turn to Try Your Own Old Fashioned Lacto-Fermented Dill Pickles!
Ready to try your hand at making your own lacto-fermented dill pickles at home? Let us know how it goes for you in the comments below! We’d love to hear about your recipe variations as well! Happy pickling!
Feeling Inspired? Pin It For Later!
0 Comments