How to Make Sourdough Bread: A Multigrain Sandwich Loaf
Can you feel the littles signs pointing towards autumn in the air? It makes me want to bake! Today I’m happy to share how to make my tried and true multigrain sourdough sandwich loaf bread. Though the idea of making sourdough can be intimidating, trust me when I say this recipe has been tested time and again and it never disappoints.
What is Sourdough?
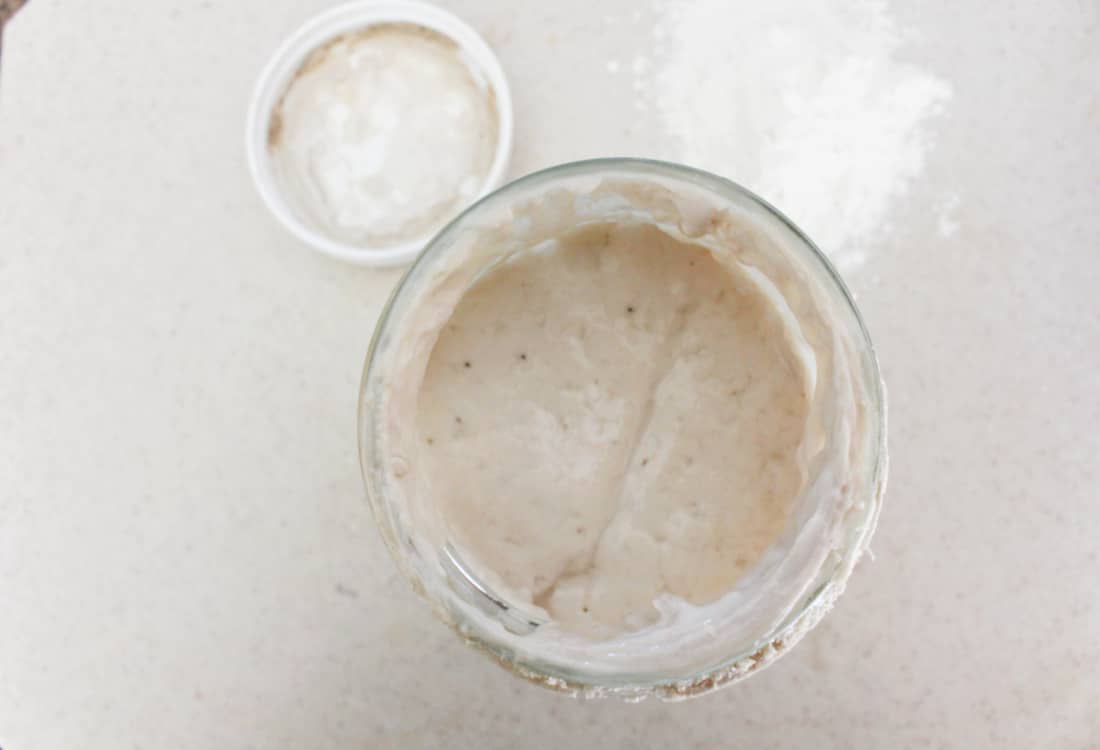
Sourdough is a symbiotic relationship between lactobacillus and yeast living in a flour and water mixture. Wild yeast from the surrounding air, flour, or other natural sources, such as grapes, is captured and harnessed through the fermentation process. This colony of good bacterias and yeast can be housed and nurtured and literally live for hundreds of years if it is properly cared for.
Wild yeast sourdough has been the traditional form of leavening for centuries, long before the production of commercial yeast or baking soda. Everything from cakes and pastries, to breads and sweet rolls was leavened with a sourdough starter.
This post contains affiliate links. As an Amazon Associate we earn from qualifying purchases. When you click on our affiliate links and make any purchase, we will make a small commission at no extra cost to you! It’s a simple and convenient way to support the sisters of Life Full and Frugal! To read our full affiliate disclosure click here.
Health Benefits of Sourdough Bread
Like most lacto-fermented foods, the health benefits of sourdough are many. Generally speaking, we are a culture which suffers greatly from a lack of B vitamins in our diets. The relationship between the wild yeast and bacteria actually makes B vitamins.
Sourdough also helps to break down gluten, which is great news for those of us with gluten intolerance issues.
Worried about GMOs and glyphosate? The process of traditional long-soak sourdough breaks down and disarms poisons such as glyphosate that may be lurking. Pretty incredible!
These tiny creatures also help to break down phytic acid, which is very difficult for the body to process. Phytic acid is what God made to help preserve grains and seeds, which is great for their freshness, but very hard on the human gut. Sourdough also neutralizes enzyme inhibitors. Enzyme inhibitors literally keep you from being able to properly digest food, which can result in gas, and other uncomfortable tummy issues.
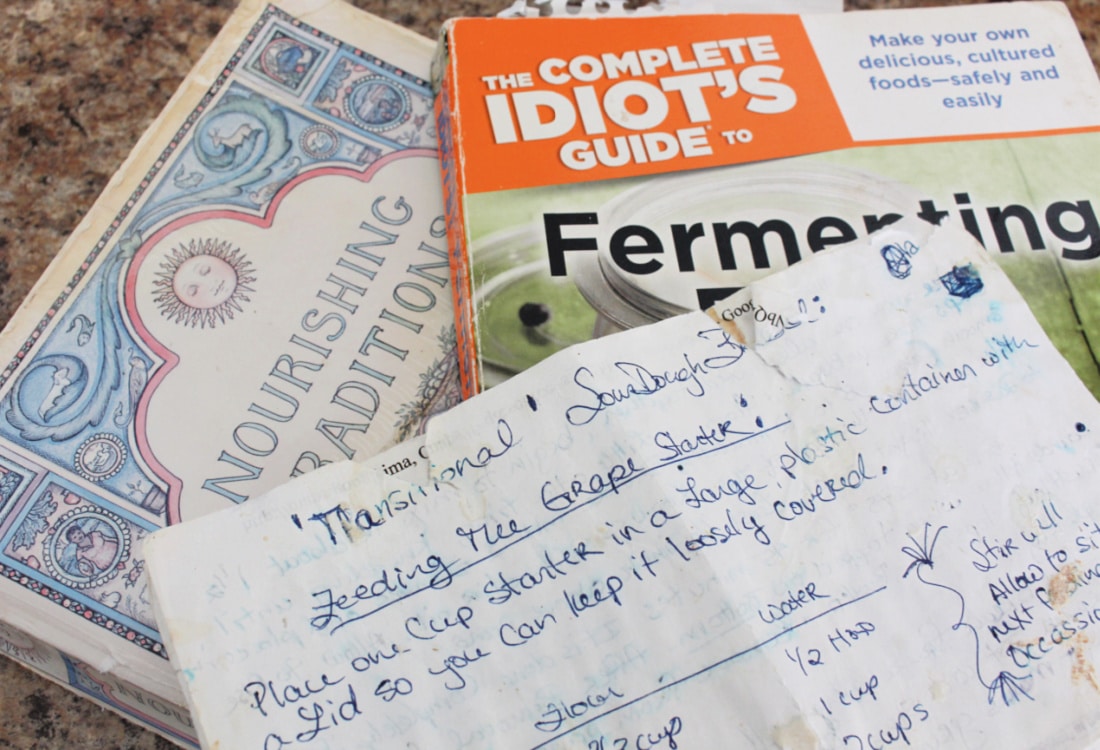
For more helpful information on gut-healthy foods and fermentation, check out Nourishing Traditions and The Complete Idiot’s Guide to Fermenting Foods.
Making Your Own: The More Frugal Option
As usual, we encourage our followers to learn to make their own delicious foods from scratch not only because it’s typically healthier, but also because it’s way more frugal! You can save so much money by learning these old fashioned skills.
How to Make Sourdough Bread: A Multigrain Sandwich Loaf Recipe
Prep time: 2 days (or about 18 hours), as long as you have a sourdough starter prepared in advance. Serving size: 3 sandwich loaves of bread
What You’ll Need to Get Started
- A nice, large mixing bowl. A crock or large stainless steel bowl is great.
- 4 Cup Pyrex measuring pitcher
- A quart jar
- Dough scraper
- Consider getting a kitchen scale (not necessary for beginners)
- Measuring cups
- Measuring spoons
- A rubber spatula
- 3 bread pans (never wash them- allow them to be seasoned like cast iron)
- A sourdough starter (learn how to make one here)
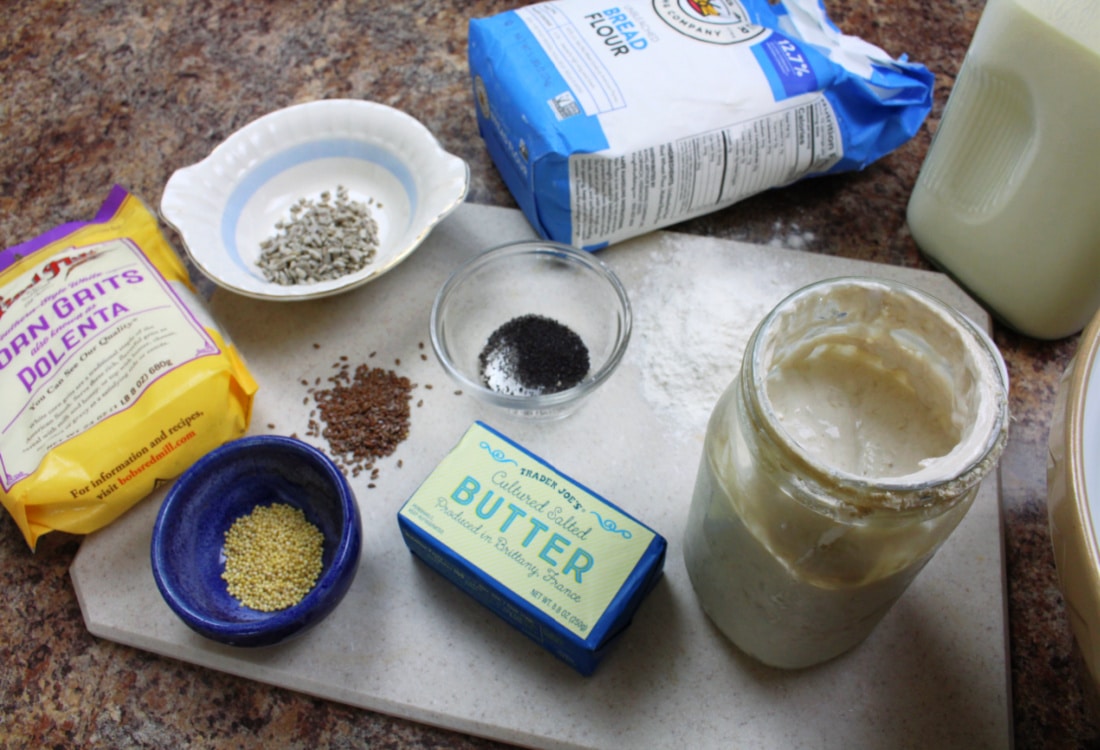
Multigrain Sourdough Bread Ingredients
6 Cups of sourdough starter (which you will feed for 2 days- directions below!)
2 ¼ Cups sour milk, kefir, buttermilk, or watered-down yogurt
4 Cups of King Arthur whole wheat flour
2 Cups of mixed seeds (options: flax, millet, sunflower seeds, poppy seeds, quinoa)
5 Cups of King Arthur all-purpose flour
½ Cup of lard, coconut oil, or butter (plus 2 Tbls for pans, and 3 Tbls for the tops after baking)
4 ½ tsp of sea salt
BEFORE YOU START! Feeding your sourdough starter:
Day 1, First Feeding: 5:00 or 6:00 pm
In a mixing bowl, add 2 Cups of sourdough starter. To the starter add 2/3 Cup of bread flour and 1/2 Cup of water. Stir the mixture well. Cover the bowl with a tea towel, leaving it on the countertop until 10:00 or 11:00 pm that evening.
Day 1, Second Feeding: 10:00 or 11:00 pm
To the starter add another 1 1/4 Cup of bread flour, along with 1 Cup of water. Stir well. Replace the tea towel over the bowl, and leave the mixture on the countertop until tomorrow morning.
Day 2, Third and Final Feeding: 8:00 or 9:00 am
Finally, add another 2 1/2 Cups of bread flour to the starter. Next, add 2 more Cups of water. Stir the sourdough starter well until everything is completely combined. Your sourdough starter is now ready to make bread!
Sourdough Multigrain Loaf Directions
In a large bread bowl, add 6 Cups of your prepared sourdough starter from above. There should be extra starter, which can be stored in a mason jar with a lid in the fridge for another time.
To the 6 Cups of starter, add 2 Cups of mixed seeds and grains. We like to use flax, millet, sunflower seeds, poppy seeds, and quinoa. That is totally up to you!
Next up, add 4 Cups of whole wheat flour to the mix. Following the whole wheat flour, add the 2 1/4 Cups of sour milk, kefir, buttermilk or watered-down yogurt.
Add 5 Cups of King Arthur all-purpose flour to the bowl next. Finally, add 1/2 Cup of lard, coconut oil, butter or some other natural fat to the bread mixture.
Get your hands dirty!
Now is the time to get your hands in the bowl and start combining all of these beautiful ingredients! Be sure to rub everything together well, making sure to break up the fat so that its evenly distributed throughout.
Kneading the Dough
Once all of the ingredients are combined, remove the dough from the bowl and begin to knead it well for at least 5 minutes.
Add the salt. After kneading the dough for 5 minutes or so, flatten it slightly, and then sprinkle the 4 1/2 teaspoons of salt over the top. Begin to knead the dough again to evenly distribute the salt throughout the dough. You will want to knead for at least another 5 minutes. DO NOT ADD THE SALT before this step!
Allow the Dough to Rise
The sourdough bread dough is now well kneaded, and it should be smooth and bouncy. Cover the dough with your choice of fat so that it does not stick to the bowl. We used lard. Place the greased dough back into the large bread bowl. The bowl should now be covered with plastic wrap, and a tea towel.
Allow the dough to rise on the countertop until about 7:00 pm that evening.
7:00 pm: The Dough Has Risen!
By 7:00 pm your dough should have risen to about double its original size. Remove the risen dough from the bowl, and begin to divide it evenly into thirds. This is not an exact science. You can eyeball the sizes, or you can also use a scale to make sure the three loaves are all the same size.
Grease the bread pans. Be sure to grease each of the bread pans well with lard, coconut oil, or butter.
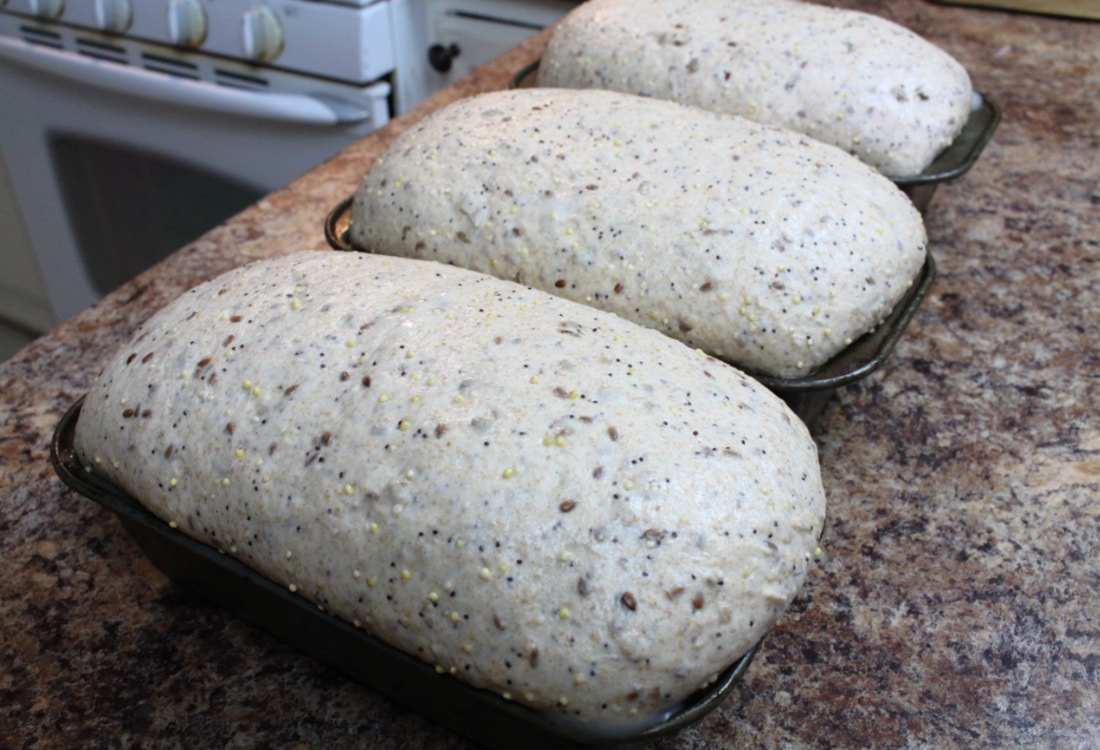
Begin to knead the three loaves into shape. With a rolling motion, push and pull the dough back and forth, pinching the edges into the middle. The pinched edges should come together tightly, while the bottom becomes smooth and taut. Place each loaf gently into the prepared pans, seam side down, smooth side up.
A Second Rise in the Bread Pans
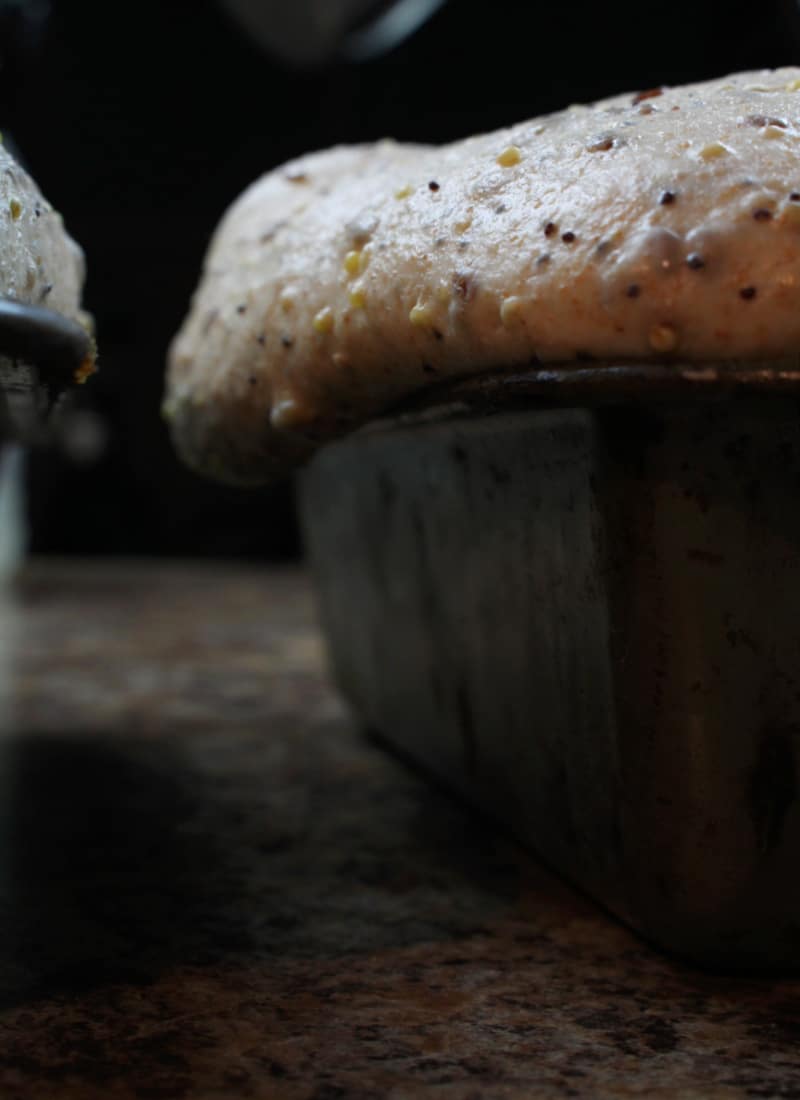
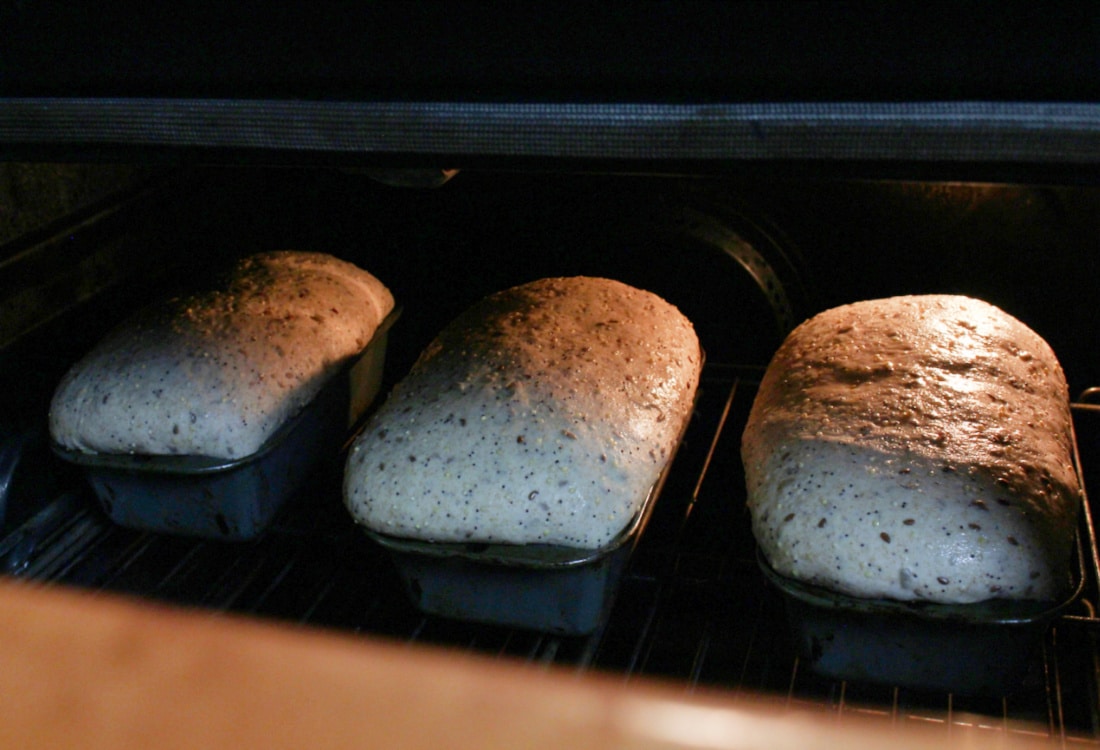
Once loaves are placed in the pans, grease the top of each loaf with fat, then place the pans into a cool oven. Cover the pans with plastic wrap and a tea towel. Turn on the oven light (for a bit of heat), and then close the oven door. Allow the loaves to rise for another 2 hours in the oven.
Time to Bake the Sourdough Bread
The loaves have risen for 2 hours and should be ready to bake. Remove the loaves from the oven, along with the tea towel and plastic wrap. Pre-heat the oven to 375 degrees.
Place the 3 multigrain sandwich loaves in the 375 degree oven for 55 minutes.
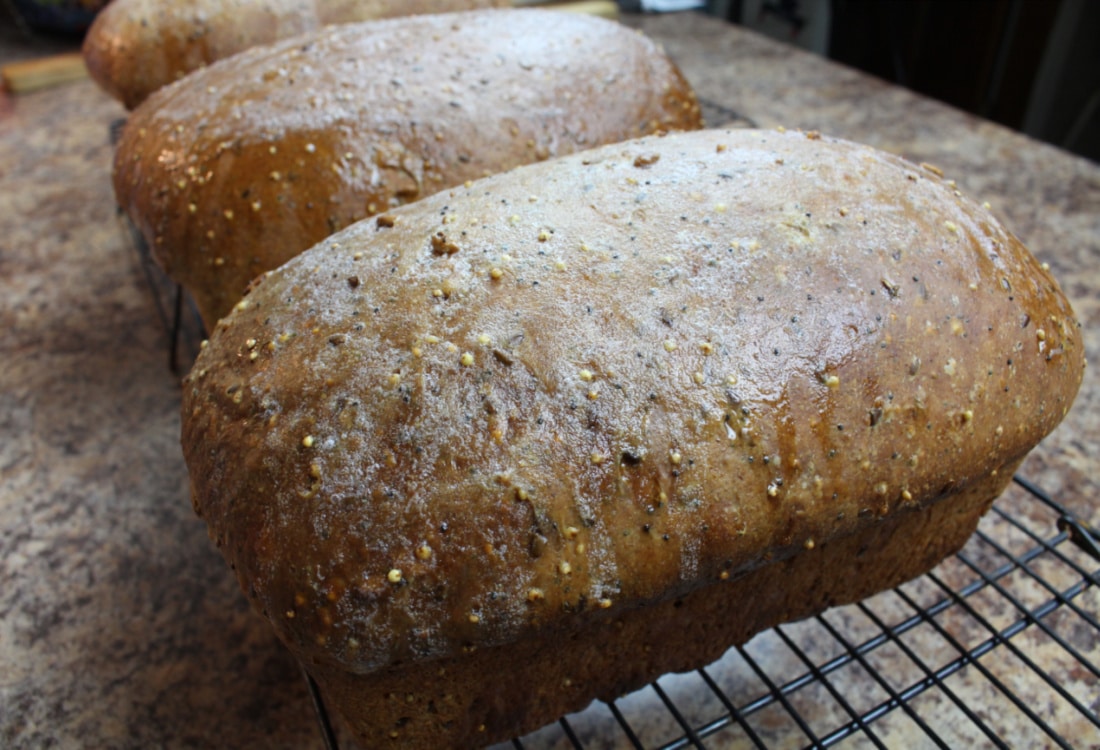
After 55 minutes the bread should be perfectly golden. Remove the loaves and smear each with a layer of butter. Finally, remove the loaves from their pans and place each on a cooling rack to cool completely. Or burn your fingers to get a fresh slice before its completely cool. That’s totally up to you! Enjoy!
Suggestions for Storage
We like to keep one loaf in the fridge for daily toast or sandwiches, and freeze the other two for later. It’s best to make sure the bread going into the freezer is in a good freezer bag, or you can also do a double layer of bread bags. Make sure it is well secured when closing the bag so that the bread does not get freezer burnt.
Recipe Variations
We like to diversify our intake of different seeds and grains, hence the “multigrain” element of this recipe. You can totally try different combinations of seeds and grains in your bread! Some other delicious options to try are cornmeal, cooked brown rice, or oatmeal. Don’t have any mixed grains handy? No problem! Just replace those 2 Cups of grains with all-purpose flour.
Tips and Tricks to Succeed at Making Sourdough Bread
- Just keep trying. This is an art, not a science. You will have some flops! Eat them anyway.
- Be patient. Sourdough is a process that can take several days. It is worth the wait
- Sourdough is not the same as yeast. Wild yeast is exactly what it says it is; it’s “wild”. It can have a mind of its own. The warmer it is, the quicker it will ferment. The cooler it is, the slower the fermentation will be. Keep an eye on it.
- You don’t have to mill your own flour. You can, but you don’t have to! Try to buy good flour. Our favorite is King Arthur, which is non-GMO verified and all American wheat
- Practice makes perfect. Enjoy the sensuousness of the experience. Enjoy the smell. Mix it up. Have fun!
Interested in other gut-healthy foods and drinks?
Check out our other recipes:

Thanks Starla for taking the time to write all this out. It is very similar to how I make Sourdough bread. I slice all the loaves and put the extra in the freezer.
Where did you find the info that sourdough disarms glyphosate and other toxins. I would really like to read the research on that. I’ve always thought that but never found the proof!