How to Make an Easter Egg Piñata
In this post I will be sharing with you how to make an Easter egg piñata. This is a really tactile, fun, and messy project that is sure to bring a lot of laughs and memories to your family! Follow along as we go through each step together in this fool-proof Easter project that the whole family is sure to enjoy.

A New Easter Tradition

To be honest, my family did not have many holiday traditions growing up. I do remember the occasional Easter egg hunt, but they were few and far between. I’ve found that as I’ve gone into adulthood it’s been really fun to come up with new ways to celebrate the holidays with the kiddos. Easter egg hunts are a blast, but why not try something new? And what can be more satisfying than beating the heck out of something only to have tons of candy fall out at the end?! Enter the Easter egg piñata, my friends! Your kids are going to go wild for this one!

holding an easter basket of candy life full and frugal

This post contains affiliate links. When you click on our affiliate links, we will make a small commission at no extra cost to you! It’s a simple and convenient way to support the sisters of Life Full and Frugal!

What You’ll Need For Your Easter Egg Piñata: 

For this project you are going to need the following items:
A 12″ latex party balloon
A mixing bowl
2 or 3 cups of all-purpose flour (depending on the size of the balloon)
2 or 3 cups of water (depending on the size of the balloon)
Old newspaper
Something to set the balloon on (I used a 6 cup measuring pitcher)
Colorful tissue paper
A dull pencil
Some scissors
Tacky glue
A box knife
Some thick ribbon or craft wire
Lots of candy

Directions to Make an Easter Egg Piñata

The Balloon & Papier-Mâché Portion

  • Cover your work surface with something like newspaper, a drop cloth, or some cardboard.Blow up your balloon to the desired size. Heads up- the larger the balloon, the more the work! Be aware of the limits of your time and patience.
 
In the mixing bowl, add 2 cups of all-purpose flour, and 2.5 cups of water (you may need to add more water- it should be pretty soupy). Mix the flour and water together well with a whisk.
newspaper for a pinata life full and frugal
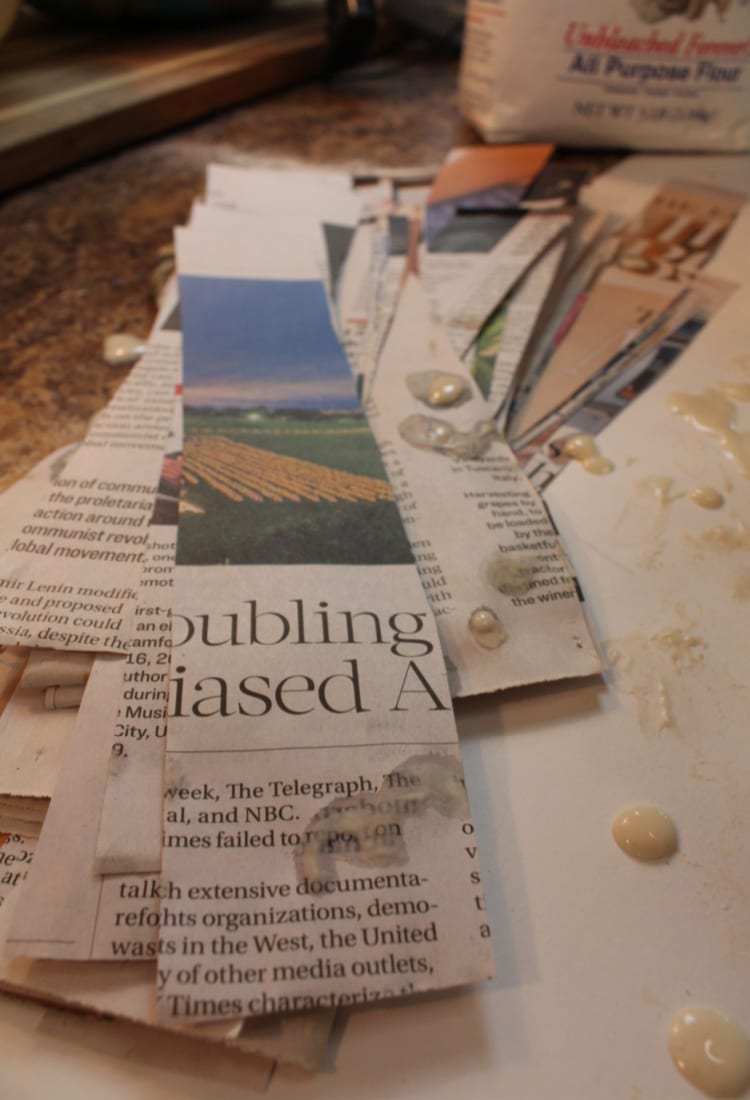
  • Cut your newspaper into long strips- about 2″X12″. This is not exact science- just do the best you can to make long strips. You will need a pretty good pile of newspaper strips, as you will be doing about 4 layers.
 
Place your balloon on something like a 6 cup measuring pitcher. You will need something wide enough for the balloon to balance on, but narrow enough that the balloon doesn’t fall down into it.
making an easter egg pinata life full and frugal
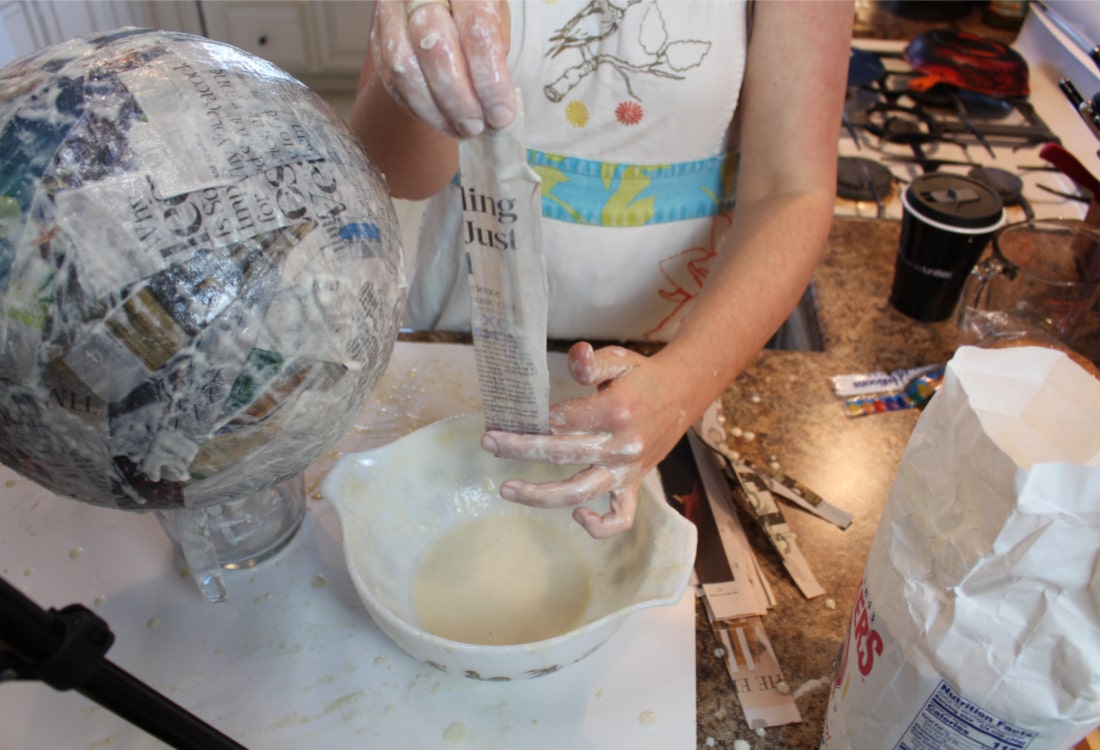
  • Start dipping your newspaper strips into the flour and water mixture. As you pull the strip out of the mixture, remove excess liquid, and then place the strip onto the balloon. Cover the entire balloon vertically, then switch the direction of the balloon, and cover horizontally. Repeat the process twice, making 4 total layers- vertical, horizontal, vertical, horizontal.
 
Once the balloon is totally covered with the 4 layers (make sure there are no holes), place the completed piñata in a dry place for 24 hours to dry completely. About halfway through, it is a good idea to flip the balloon upside down so that both ends dry properly. I set my completed piñata in front of a small fan to help it dry.

The Piñata Should Be Dry Within 24 Hours

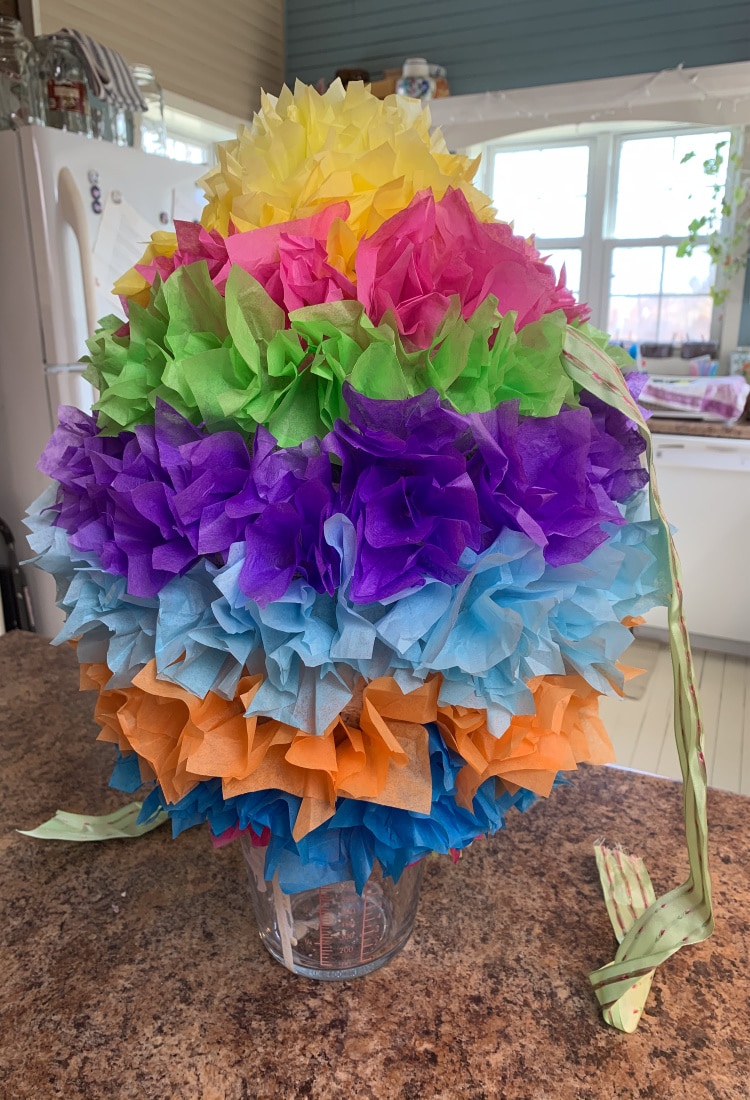
Decorating with Tissue Paper

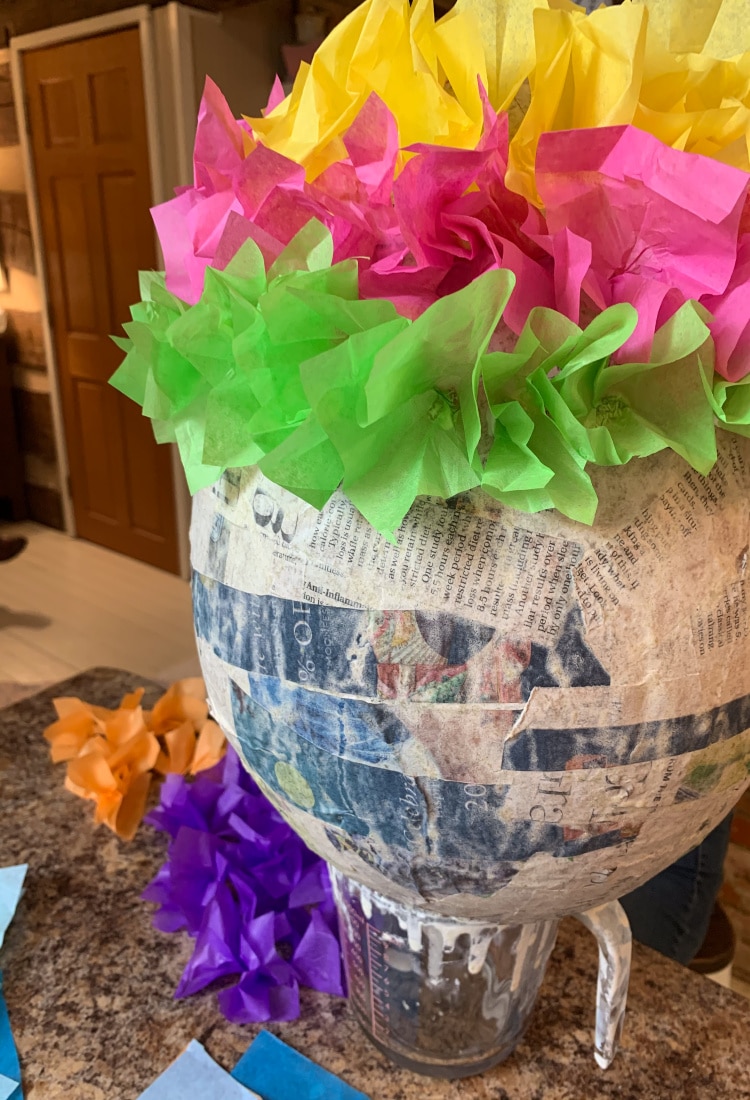
  • Cut your colored tissue paper into strips, and then squares, about 3″X3″.
 
Take the point of a dull/blunt pencil and push it gently into the middle of a square of paper, gathering the paper tightly, but gently, around the pencil. At the pointed end, add a dot of tacky glue to the paper, and apply it to the surface of the pinata. Repeat the process to make stripes of different colors over the entire surface.
 
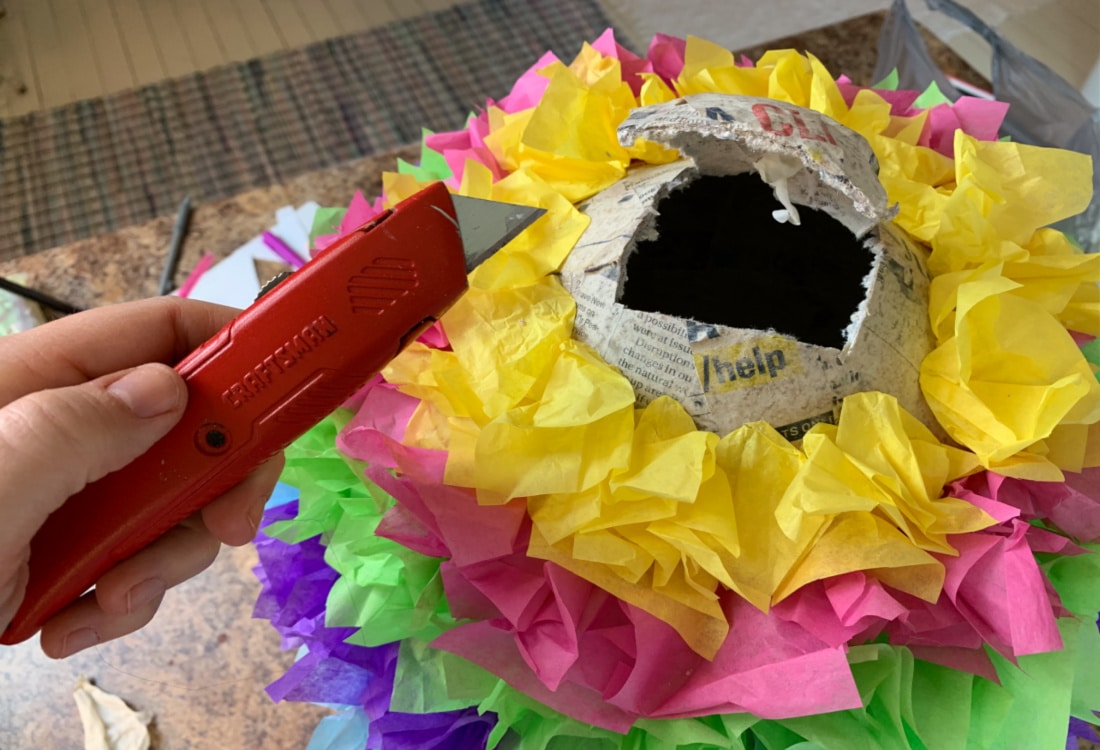
  • Be sure to leave a small section at the top bare of tissue paper, so that it can be cut open to add the candy. I left about 4″-5″ at the top of the egg for this opening.
 
As the upper level begins to dry, it can be flipped upside down to complete the bottom layers.
placing tissue paper on a pinata life full and frugal
colorful easter egg pinata project life full and frugal
  • Once all of the glue is dry, take a box knife and cut a flap about “3X3″X3” into the top of the piñata (it should not be decorated yet). Pull it open gently, and then add the candy.
 
While the flap is still open, poke a hole on each side of the upper part of the egg to string your ribbon or wire through, so that the piñata can be hung up. You may need to put your hand inside the piñata through the opening to string the ribbon through. Once it is strung, you are ready to close the top.
 
  • Place a line of glue on each side of the flap, and close the top up. You may need to hold it for a minute or two. Proceed with decorating the rest of the top with your tissue paper squares.
 
Once the glue is dry (it won’t take long), you’re ready to roll! By this time the kids will be begging to hit the piñata!
opening a pinata to add candy life full and frugal
a multi colored easter egg pinata life full and frugal

A Versatile Project

This Easter egg piñata turned out lovely! Decorating with the individual pieces of tissue paper did take quite a bit of time, but I love things like that. If you are limited on time, especially with kids, you do not have to do these individual pieces! It would be just as beautiful (and a lot quicker and easier) to just cover with a few layers of one color and then maybe add some polka dots, or other simple decorations that can be glued on. If needed, keep it simple!
 
Here in Ohio, it is always a gamble whether or not the weather will be nice for Easter. This is something that may be a great activity for indoors as well! If you have the space, by all means, have the kids hit the piñata in the house or garage this year!
 
The stick we used needed some jazzing up, so I added several pieces of pretty ribbon to the end to make it look like a huge magic wand! That was a fun little addition!

Sourcing Your Materials
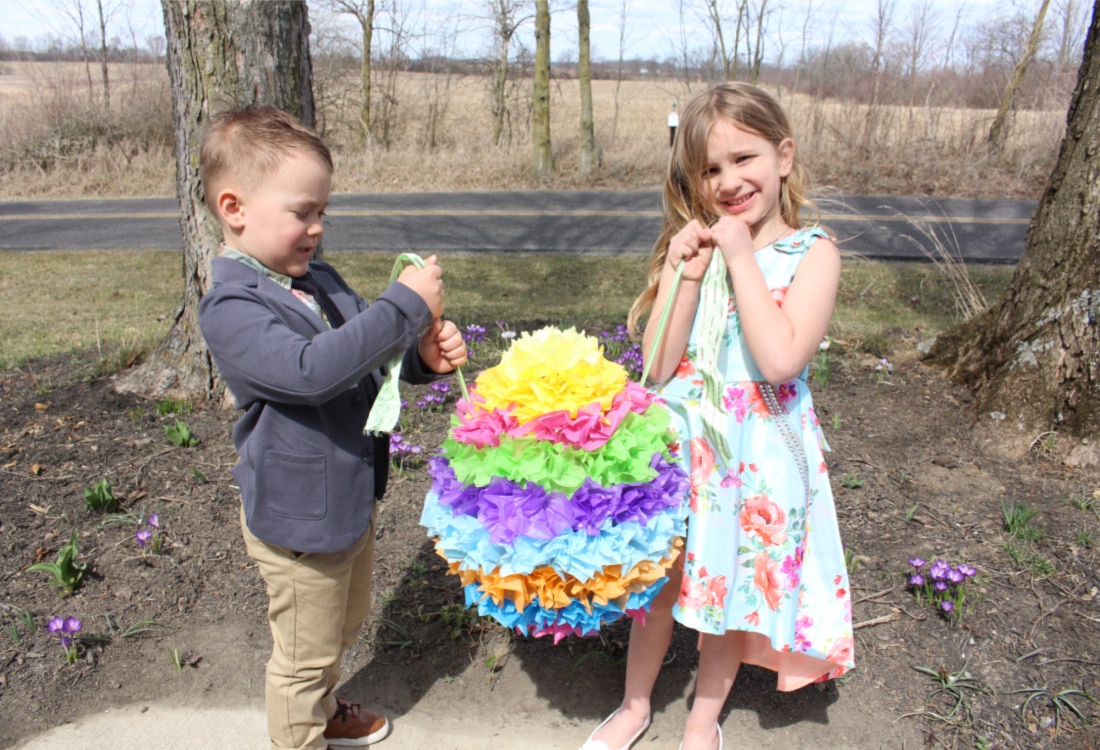
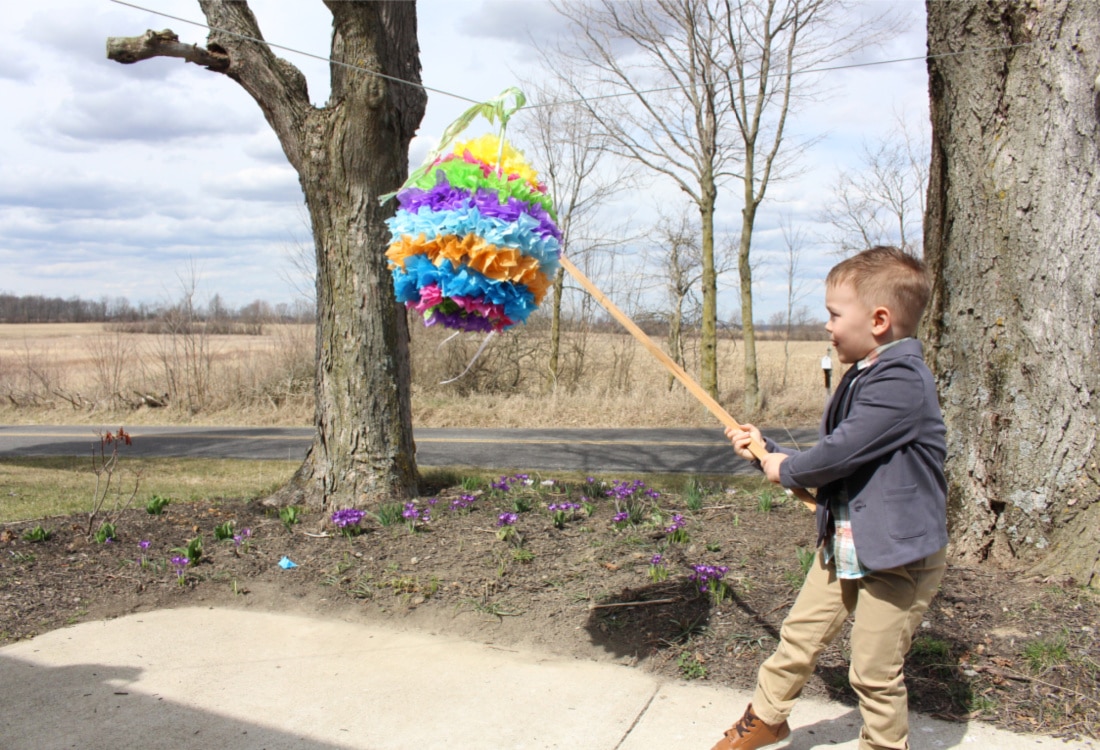
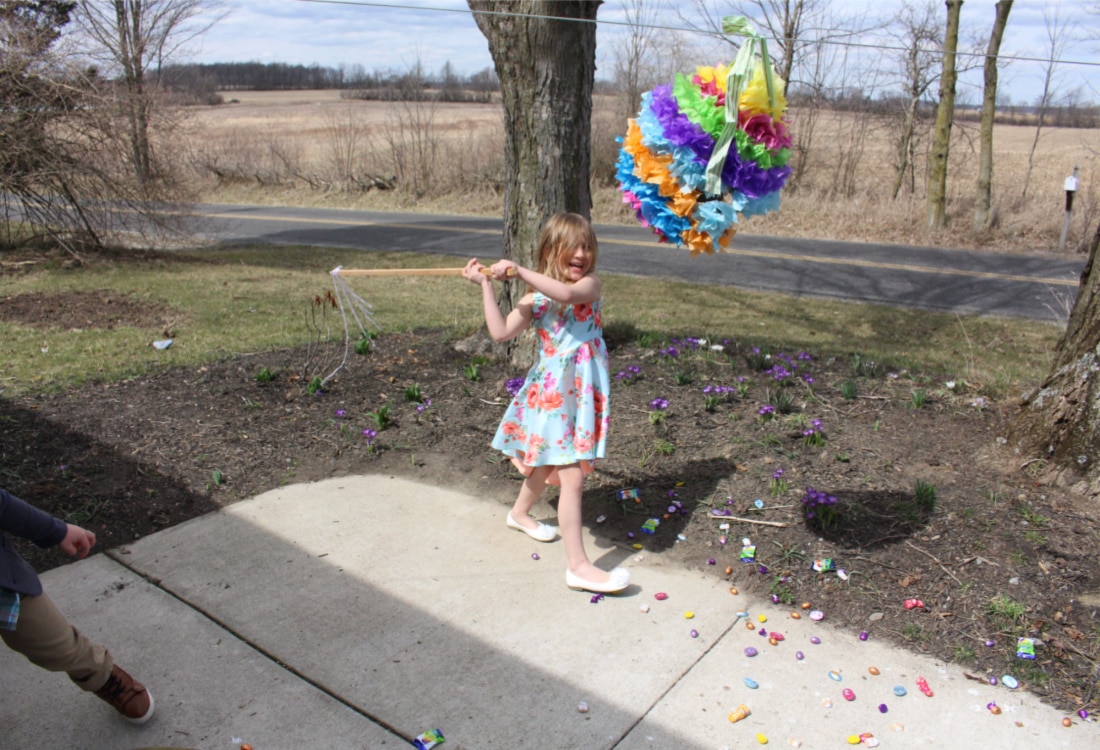
We got almost everything for this project at the Dollar Tree. The balloons, glue, tissue paper and some of the candy all came from the Dollar Tree. Aldi is also a wonderful source for Easter candy this time of year. Sometimes you can even find tissue paper and other crafting supplies in the “aisle of shame” at Aldi as well. The beautiful thing about Aldi is you never know what you might find! Dollar General is also a great place to source fun art and crafting supplies. If you need ribbon or crafting wire, you should be able to source those things from one of the dollar stores as well. Funny enough, though Dollar General is not expensive, you will definitely spend more there than at the Dollar Tree.
 
I think I can safely assume you have some flour in your kitchen cupboard and some old newspaper in a pile somewhere. We don’t actually get the newspaper at our house, but our dad was happy to supply us with a bag of old newsprint. And hopefully your hubby or dad can hook you up with a box knife as well.
kids holding an easter egg pinata life full and frugal

Let the Fun Begin!

So this Easter, let’s get the kiddos dressed up, get outside to enjoy the sunshine and spring flowers, and enjoy this beautiful and unique Easter egg piñata together! We wish you all a blessed and happy Easter celebration with your loved ones!
For more Easter inspiration, you can check out how to create A Sweet Easter Table Setting and An Easter Tree and reflect on The Power of the Resurrection
little boy hitting an easter pinata life full and frugal
hitting an easter egg pintata life full and frugal

6 Comments

  1. Jersey VanOrden

    Loved this girl! Brought back sweet memories when my children were younger, I made them use a blindfold lol-I will share on FB, great job, and congrats on your full-time blogging!

    Reply
    • Sierra Foor

      Thank you so much, Jersey! Your support and love means so much to me! This was definitely a fun project to do with the kids!! <3

      Reply
    • Sierra Foor

      Thank you so much, Shari! I really appreciate it!:)

      Reply
  2. Ashly

    I love this idea! I’m looking for ways to make Easter more fun since we still can’t have big gathering. Thanks for the inspo

    Reply
    • Sierra Foor

      Thank you so much for checking it out, Ashly! Yes, the kids absolutely loved it!:) Enjoy!

      Reply

Submit a Comment

Your email address will not be published. Required fields are marked *

Pin It on Pinterest

Shares
Share This

Share This

Share this post with your friends!