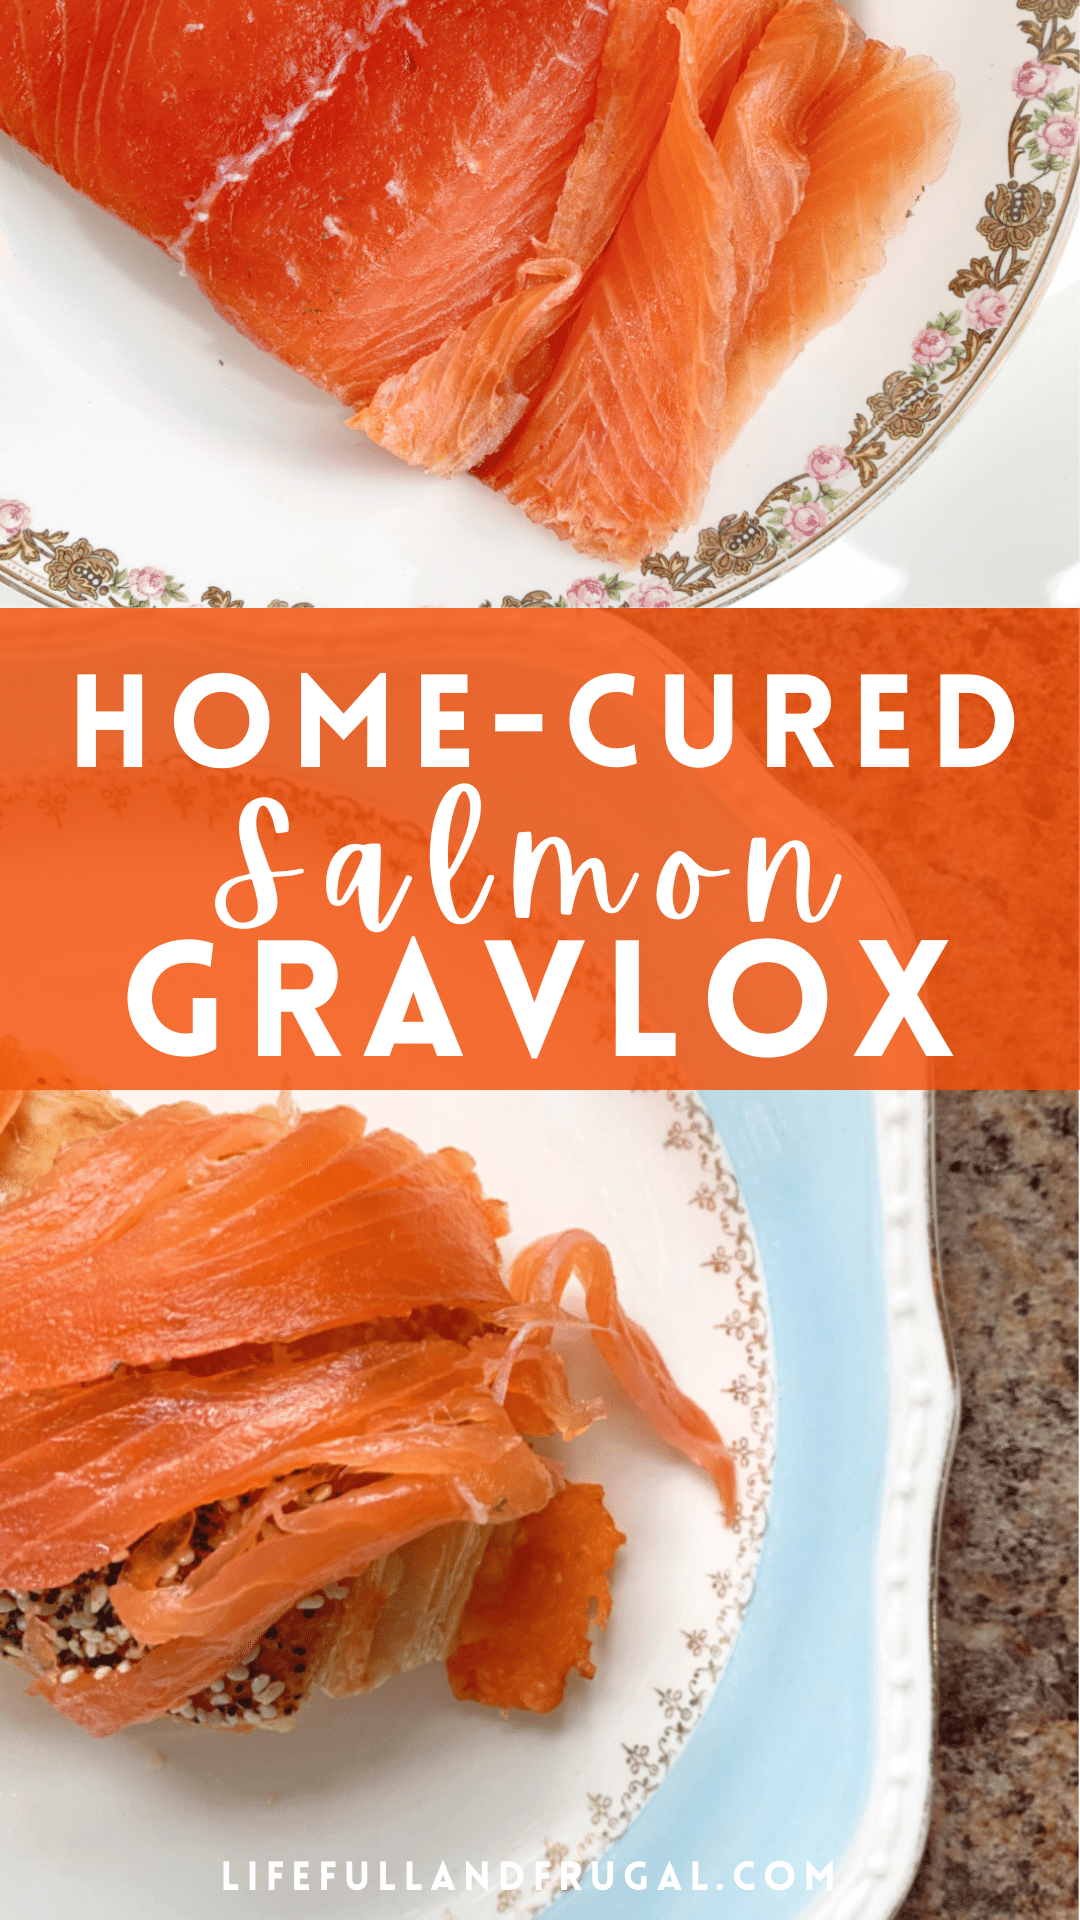
I think I must be part grizzly bear. I absolutely love cured and smoked salmon. Here is our simple recipe for home-cured salmon gravlox! You’re going to love this flavorful, frugal take on the Scandinavian classic. It’s so delicious, you may not want to share…
What is Gravlox?
Gravlox (also known as “gravlax”) is a famous Scandinavian cured and/or smoked salmon dish served with various cold finger foods. “Grav” meaning “grave”, and “lox” or “lax” meaning “salmon”, indicates the process of burying the salmon in a curing “grave“. The cure is traditionally a mixture of salt and sugar, which engulfs the salmon for a specific time, curing the salmon into silky deliciousness.
I enjoy purchasing the occasional package of smoked Norwegian salmon from the grocery store. The packages include about 3 ounces of smoked salmon for about $4.50. It’s worth the splurge sometimes, but I wanted to figure out if I could find a more frugal option by making my own homemade version. And I wanted to use our trusted “use what you have” concept to see if I could make it just as delicious as the store bought stuff!
This post contains affiliate links. As an Amazon Associate we earn from qualifying purchases. When you click on our affiliate links and make any purchase, we may make a small commission at no extra cost to you. To read our full affiliate disclosure click here.
How to Make Your Own Home-Cured Gravlox
A big shout-out to Joshua Weissman for inspiring my rendition of this recipe. If you don’t know his work, be sure to check him out! He makes the most decadent foods right in his own kitchen, and empowers other regular folks to tackle any recipe for themselves.
Tools You’ll Need
- A cookie sheet
- Plastic cling wrap
- 2 flat glass storage dishes, 1 larger and 1 smaller. The smaller should fit inside of the larger dish. We used a 9″ X 6.5″ and a 8″ X 5.5″ glass dish for this recipe.
- Various canned goods to be used as weights.
- A very sharp knife.
Home-Cured Gravlox Recipe
- About a 1 lb. salmon fillet (skin on, plenty of fat)
- 1/2 Cup of sugar
- 1/3 Cup salt
- 3 Tbs. of dried dill weed
- 1 Tbs. dried dill seed
- 1 Tbs. black peppercorns (or peppercorn melange)
- 1 Tbs. juniper berries
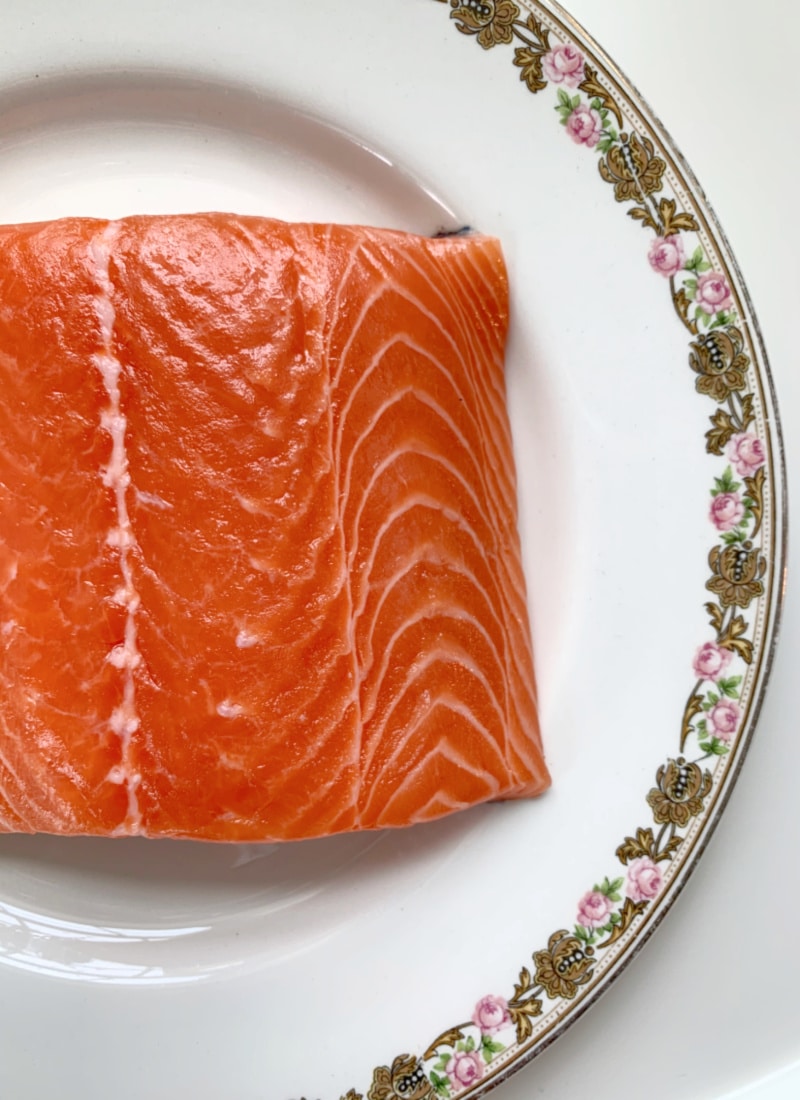
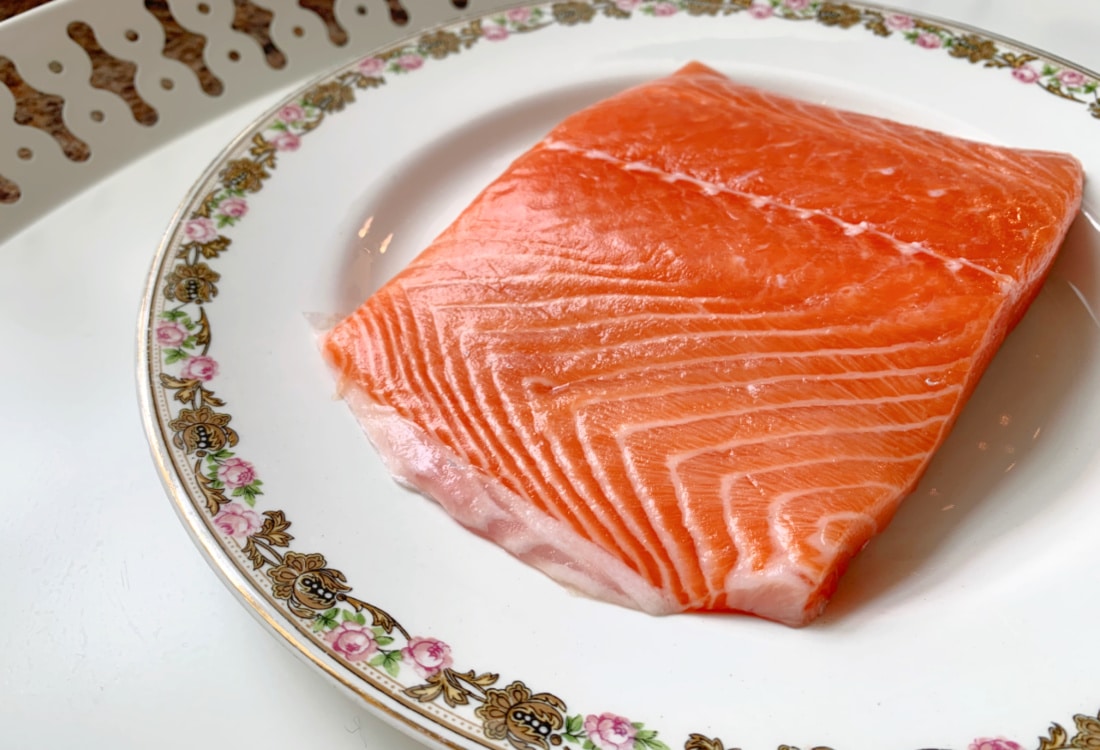
*About the Salmon!
For this recipe we used a 1 lb. fillet of Atlantic salmon from Aldi. They offer an Atlantic salmon fillet that is fresh and never frozen. Try to use the best quality salmon available to you, but don’t get hung up on getting something extremely expensive. Having access to fresh fish can be really tricky in the rural Midwest.
Here are three good indicators to look for:
The salmon should be: bright, smell nice (not strong and fishy), and it should have plenty of fat marbled throughout the fillet.
Directions
- In a small mixing bowl, stir together the curing mix; 1/2 Cup of sugar and 1/3 Cup of salt.
- Prepare the salmon fillet by removing it from its packaging, rinsing, and drying it well.
- On the prepared cookie sheet lay 2 criss-crossing layers of cling wrap. The pieces should be about 24″ long.
- In the middle of the cross of cling wrap, sprinkle about half of the sugar and salt mixture. It should be as close to the same dimensions of the fillet as possible.
- After that, evenly distribute 1 Tbs. of black peppercorns (or peppercorn melange), and 1 Tbs of juniper berries onto the curing mix.
- Place the salmon fillet neatly onto the prepared curing mix, skin side down.
- Next, sprinkle the remaining curing mixture onto the top of the fillet. Be sure to cover every crack and cranny of the salmon so that it cures properly. If you need to mix up a bit more sugar and salt, go ahead!
- Lastly, sprinkle about 3 Tbs of dried dill weed, and 1 Tbs of dried dill seed onto the top of the salmon fillet. The layer of dill should be pretty thick, making the surface of the fish quite dark.
The Curing Process
Now that the fillet is prepared, it’s time to let the curing begin!
- Snuggly wrap the salmon fillet in the prepared cling wrap. Be sure there are no gaps and that it is wrapped tightly.
- Place the salmon into the larger of the two prepared glass storage dishes.
- Next, place the smaller dish on top of the salmon and push down slightly.
- Lastly, place several canned goods (or anything small and heavy) onto the top dish. These act as a weight on the gravlox to make sure it cures well.
- Finally, place the salmon gravlox into the fridge for 24-48 hours for curing.

A Note on the Curing Time of the Gravlox
Depending on your preference, the curing time of the gravlox can vary. The general rule is that when the gravlox is no longer squishy to the touch, like raw fish, it’s ready. I prefer my salmon gravlox to be pretty silky and smooth; tender and easy to pull apart. For a thicker piece of salmon, that takes about 48 hours. If you have a thinner piece, start checking the cure at 24 hours.
Alternatively, if you prefer your gravlox slightly more cured and firm, you may want to give it an extra day. So depending on your taste, and the thickness of your salmon, curing should be done within 24 to 72 hours.
How to Serve Home-Cured Salmon Gravlox
When the homemade gravlox is done curing, remove it from the cling wrap. Rinse the fillet well, removing all of the curing mix and other spices. After it is well rinsed, dry the gravlox well with a clean towel. It can be stored in a ziplock bag in the fridge.
Slice the gravlox thinly, at an angle, with a very sharp knife. A blunt knife will make a mess of the salmon slices.
Delicious Ways to Eat Gravlox
This is the perfect addition to any special event menu. From brunch with friends, to wedding day hors d’oeuvres!
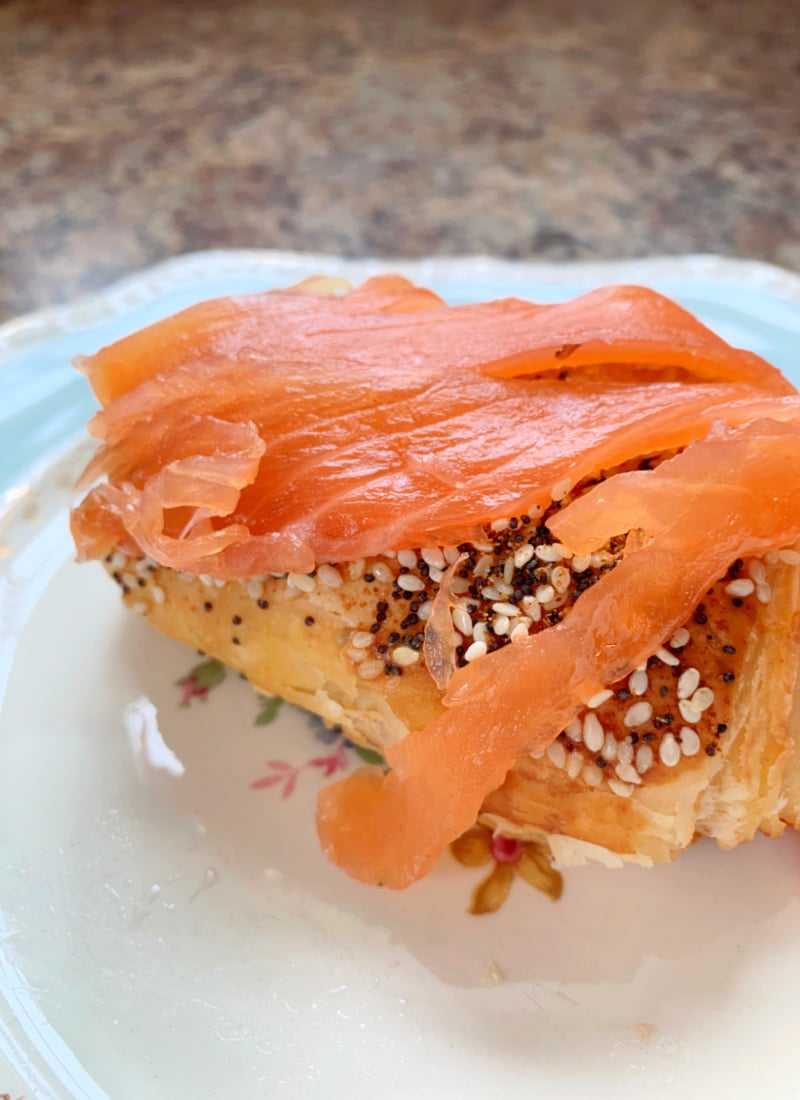
- On an onion and sesame bagel with cream cheese.
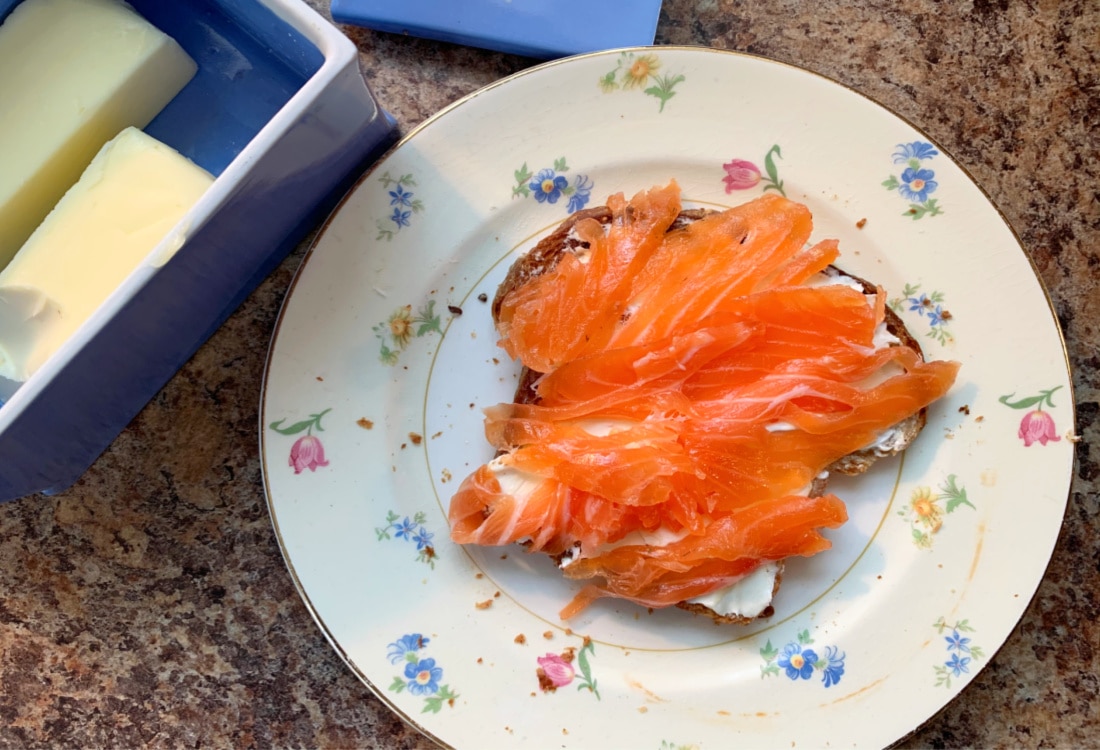
- Layered on a piece of sourdough or pumpernickel toast with butter and cream cheese.
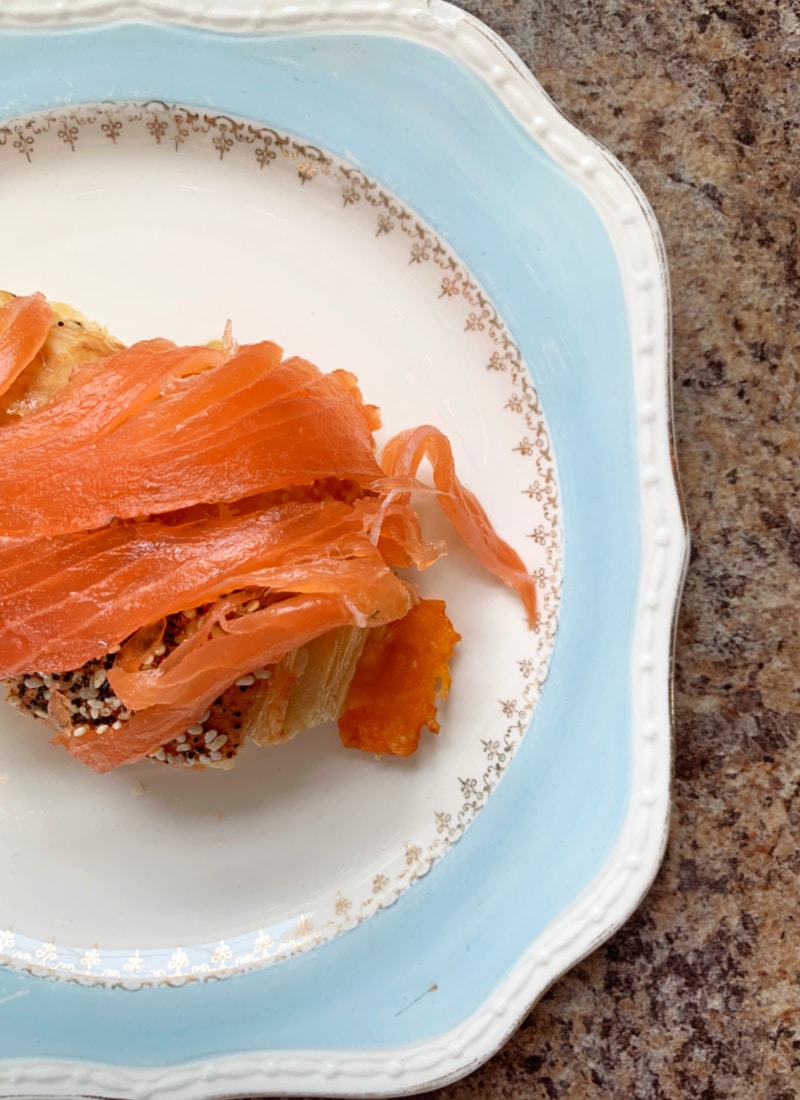
- Piled onto a cheese croissant.
- On a nice green salad, along with a dill dressing.
- Be sure to try it with these delicious complimentary flavors: mustard, dill, thinly sliced onion, lemon, caper, pickled veggies, or radish.
CHECK OUT HOW I SERVED HOMEMADE GRAVLOX AT OUR GALENTINE’S DAY TEA PARTY BY CLICKING HERE!
Gravlox Recipe Variations
Here are some different ideas to try when curing your own, homemade gravlox!
- Add some bay leaf to the bottom layer of the curing mix.
- Throw on some thinly sliced onion to the top of the cure.
- Lemon or lime is also a delicious addition to the curing mixture.
- Use fresh dill instead of dried dill weed.
- For a more traditional flavor, add a splash of gin or vodka to the curing process.
What is the Difference Between Gravlox & Gravlax?
It appears that the difference between gravlox and gravlax is debatable. Some say it has to do with smoking (gravlox) and not smoking (gravlax), but it does not appear there is consensus on this. It may be more of a spelling preference from region to region than anything. Either way, gravlox and gravlax are both deliciously cured salmon. The addition of smoking is completely up to you! The point is to make your own, use what you have, and keep it frugal if possible.
Storing Your Salmon Gravlox
If you can make this delicious gravlox last more than a week, I applaud you! In the case that you don’t gobble it up quickly, it will last in the fridge up to 3 weeks. It can also be frozen up to 2 months. This recipe is so simple and flavorful, you’re sure to try it again soon!
As always, be sure to use wisdom when home-curing. If anything has a slimy texture or smelly odor, be sure to throw it out.
Feeling Inspired? Pin it for Later!
0 Comments