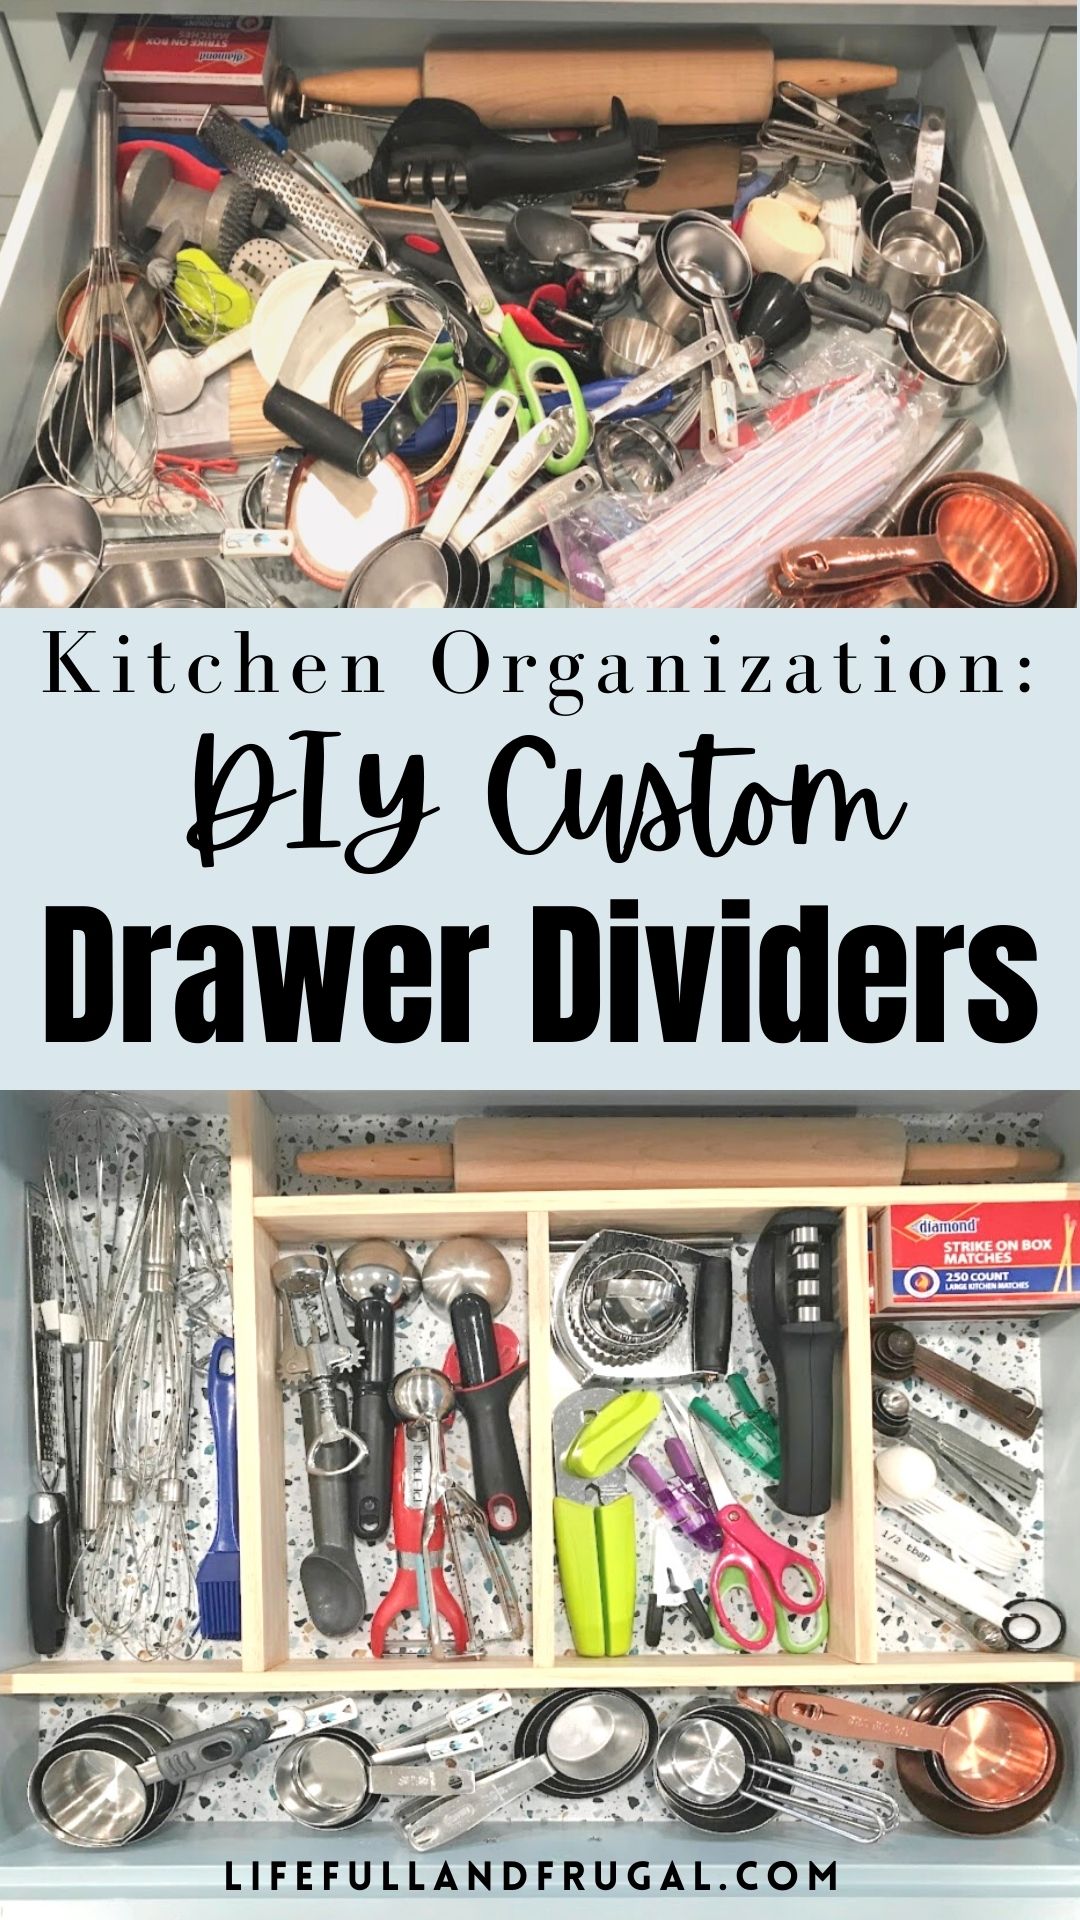
Want your kitchen organization to feel a little bougie, but you don’t want to spend a lot of money? These frugal custom drawer dividers are here to help! This is something that I wanted to do when we renovated our kitchen last year, but honestly, I just ran out of steam! These craft wood drawer dividers are finally bringing order to my “everything drawer” and I can’t wait to share this simple diy project with y’all!
Keep Everything Tidy with Frugal Custom Drawer Dividers
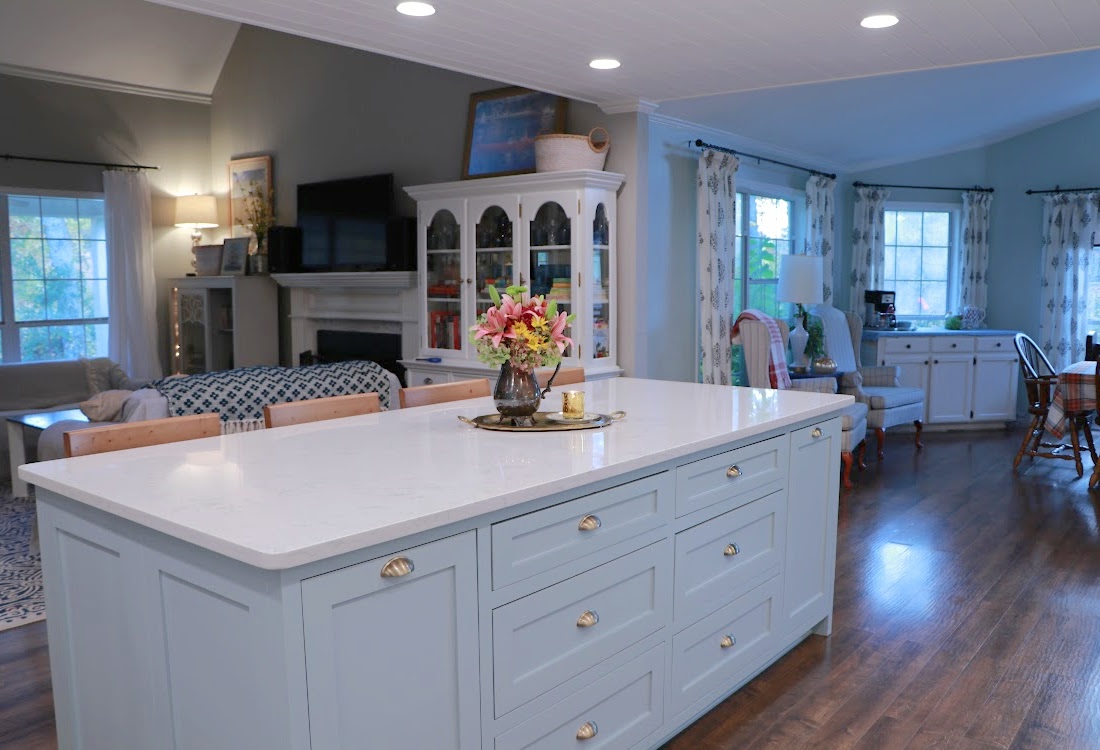
There is just something so satisfying about everything being in its place. It takes all the chaos and frustration out of preparing a meal and cleaning up. It kind of goes along with the idea of working smarter, not harder, doesn’t it? I love that our kitchen functions so well, with plenty of storage. Adding these custom drawer dividers is the final detail to keep everything tidy!
Why Not Just Buy Kitchen Drawer Storage?
There are so many options on the market to customize your drawer storage. I have an expandable bamboo tray for our silverware, and it works just fine. It does leave dead space around it though. That was not a problem for me, because I found a purpose for that real estate. But I have a couple of “everything drawer” that really need to be customized in order to take advantage of all the space.
Custom = Expensive!
You can certainly order custom drawer organization. But, as you can probably guess, ‘custom made’ can get really expensive, really quick!
I know I could have had our cabinet makers fabricate them for me and I know that they would do an amazing job. But I was concerned about keeping our costs under control during our renovation. Plus, I’m not afraid to take on a DIY project. I know I can get the custom look I want, and not spend a lot of money!
Plus, I feel like sometimes it’s better to live in a space before making design decisions. This way, you will know for sure how the space will actually function.
This post contains affiliate links. As an Amazon Associate we earn from qualifying purchases. When you click on our affiliate links and make any purchase, we may make a small commission at no extra cost to you. To read our full affiliate disclosure click here.
What Materials to Use for Frugal Custom Drawer Dividers:
- Cardboard
- Shoe Boxes
- Foam Core Board
- Craft Boards
Craft Boards Are More Durable (And Still Very Affordable!)
Originally, I planned on using foam core board to create my custom drawer dividers. It is a really great option at a minimal cost. However, I really want the quality of my dividers to match the quality of my beautiful kitchen. I decided to use 1/2 inch craft boards from Lowes to create my kitchen drawer organization. It’s still a really affordable option, but the quality and durability are much better.
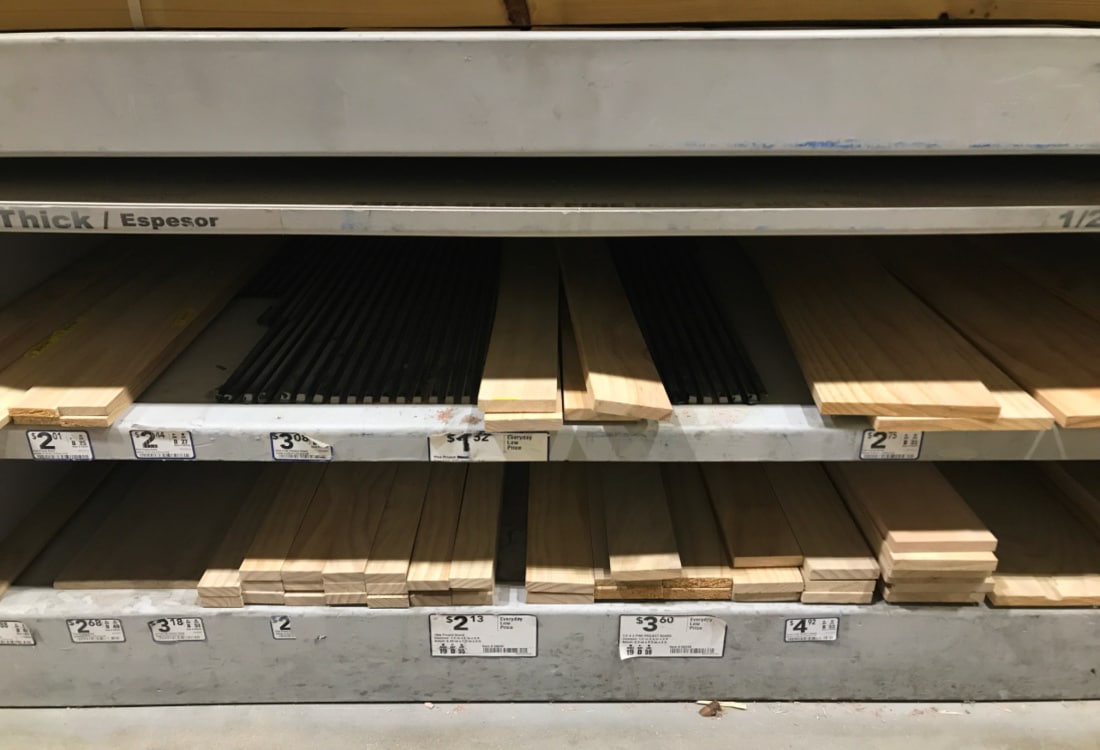
How Thick Should The Boards Be?
The dimensions for the boards you use will depend on the size and depth of your drawer space. I went with 1/2 in. x 3 inch boards. They also had 1/4 inch craft boards, but I prefer the smoother finish of the 1/2 inch option. There’s no need for sanding and they’re easier to work with. It provides more surface area for the wood glue, and space for a little brad nail, if necessary.
Supplies Needed to Make Frugal Custom Drawer Dividers!
How to Make Frugal Custom Drawer Dividers
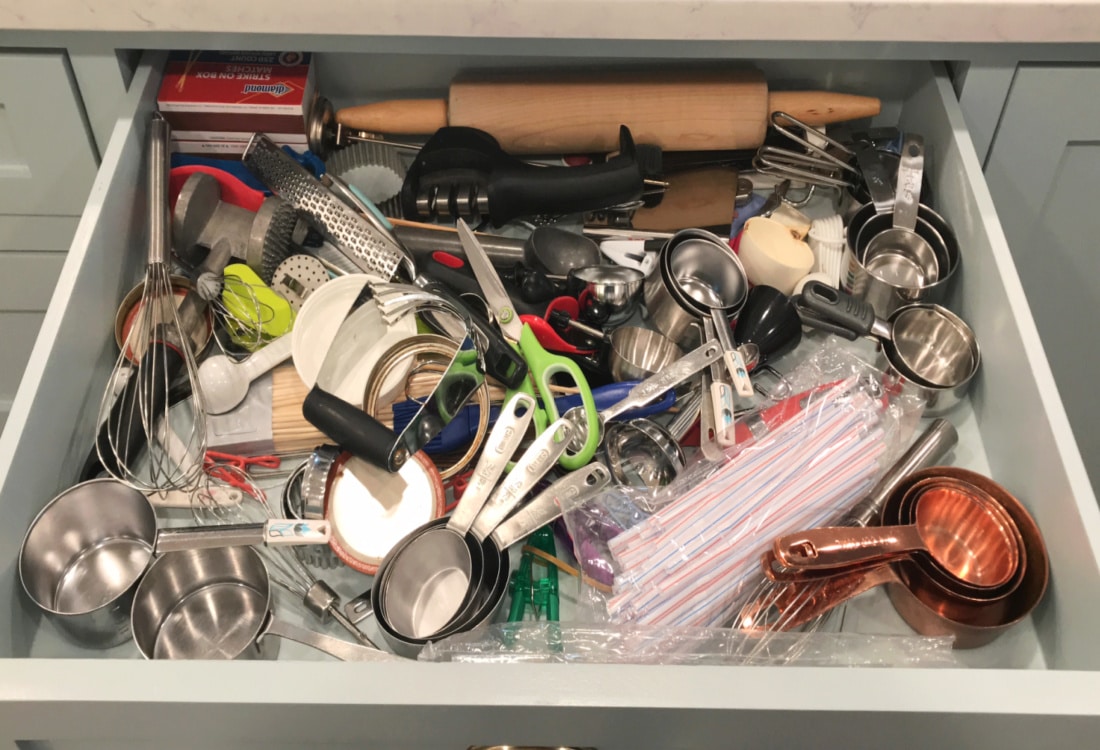
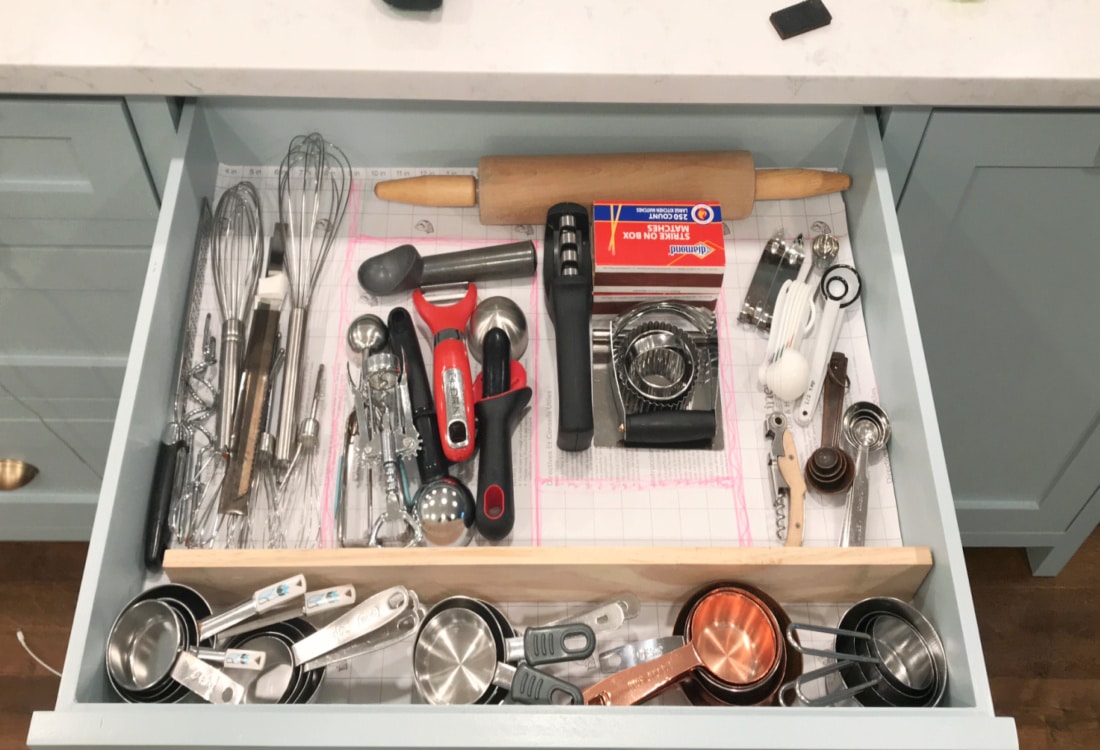
Step One: Empty Drawers
First, empty all the contents of your drawers. This will allow you to take inventory. What do you need to get rid of? Which items need to be relocated? What do I want to keep? Then you can group items together with a common purpose or function. This will let you know how many sections you need to create with your dividers.
Step Two: Plan the Drawer Divider Layout
Now you can plan for the layout of your drawer space. I found all kinds of methods for creating a vision for the layout. Some people mocked the entire drawer space up with cardboard cutouts. One person used Jenga pieces to create her drawer divider grid. Yet another example utilized washi tape.
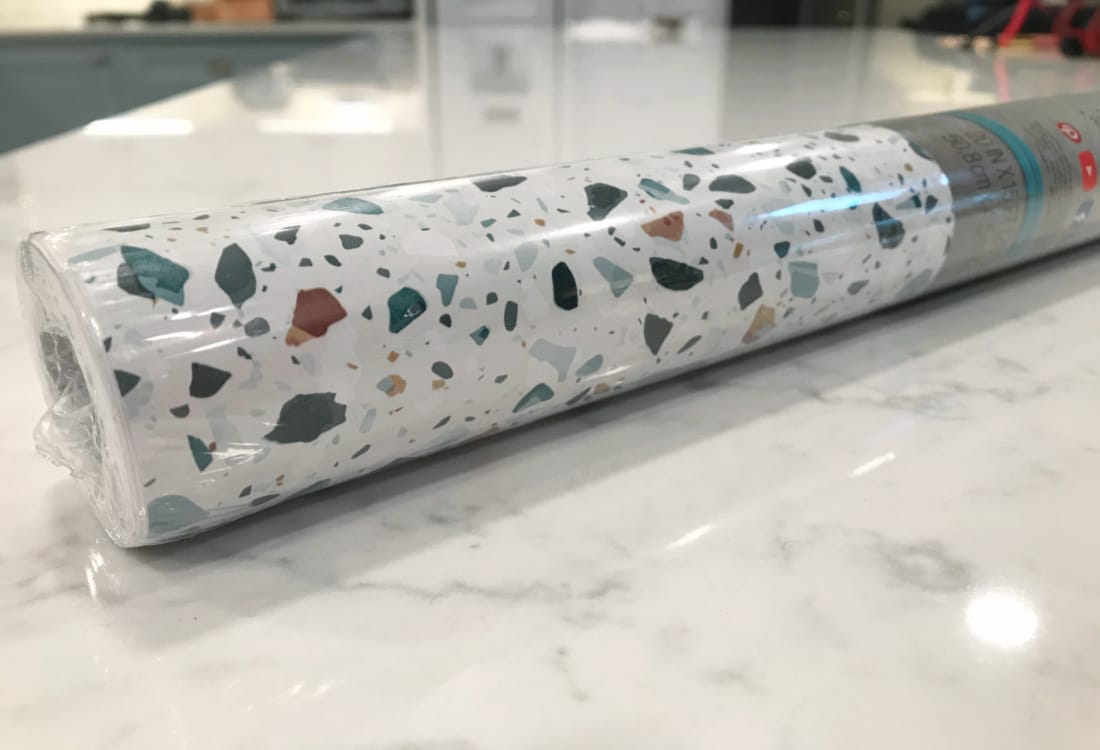
While creating my frugal custom drawer dividers, I also installed drawer liners. I found a really beautiful pattern at Lowes and I can use it for so many things. Multi-functional items give you more bang for your buck! So, I cut out the liner for the bottom of the drawer, then simply marked out the dividers on the back of the paper. There was a grid and measurements marked out on the paper, so this part was super simple!
Step Three: Cut Your Craft Boards
Measure twice, cut once! Here’s the part where you have to get really good measurements. You don’t want to waste your boards, so this takes a little bit of precision. Mark your boards, then cut them to size. I used a miter saw, but you could also use a circular saw. If you don’t have any power tools available, you can purchase a miter box and hand saw for super cheap. Just be prepared for a bit of elbow grease to make those cuts!
Step Four: Glue Drawer Divider Boards Together
Now that you have the boards cut to size, you need to glue them together. If you need to secure them, you can use painters tape to hold them together. Or you can do like I did, and just wedge random items in between! You can also use brad nails to secure the boards together before the glue sets. Next, allow the glue to set up. Then you can either paint the boards, or go ahead and install them with the natural pine finish. If you are using drawer liners, don’t forget to lay those down first.

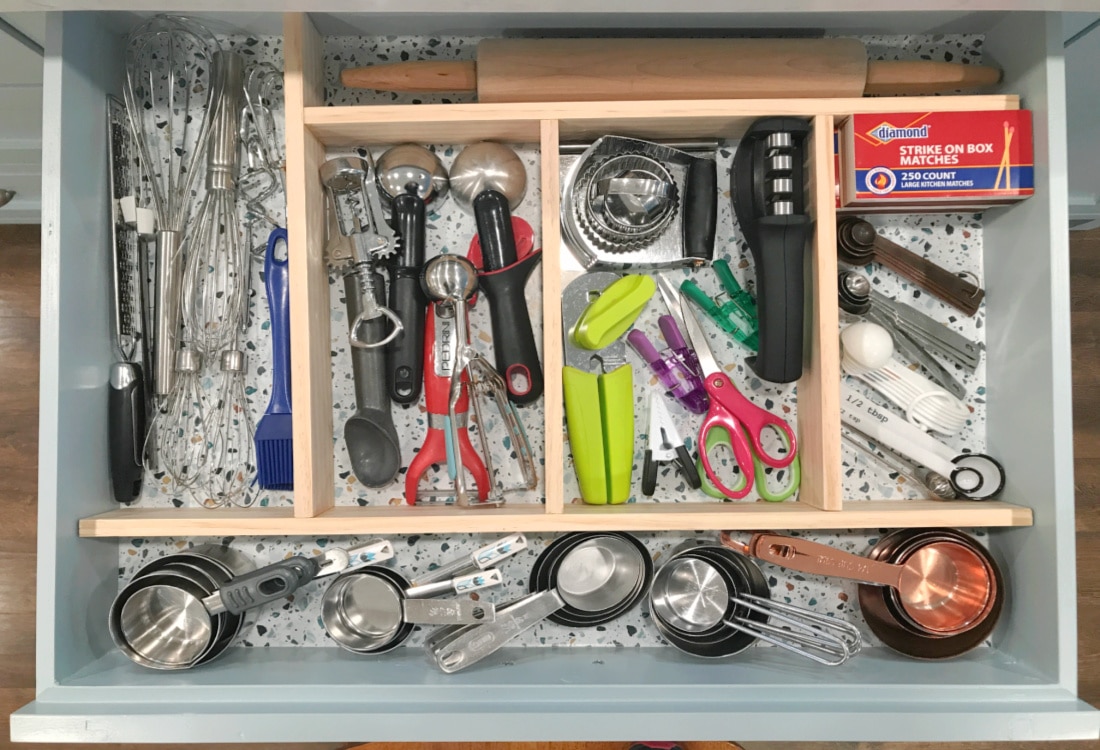
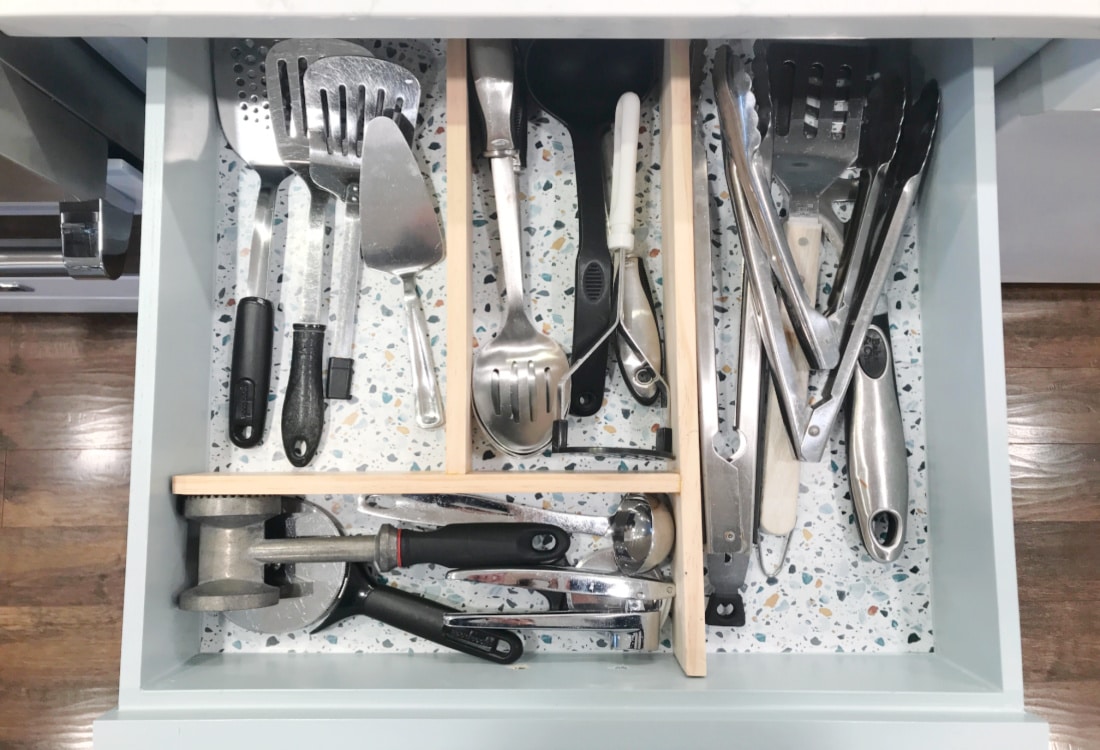
Step Five: Place Items Back Into Your Frugal Custom Drawer Dividers!
Now you have the satisfaction of loading everything back into your newly organized kitchen drawer space! Arrange your items in a functional and beautiful way and give yourself a round of applause!
These Frugal Custom Drawer Dividers are NOT Just for the Kitchen!
The fantastic thing about this little DIY project is that you can use this same method to create organization in your office, bathroom, or even your sock drawer! And, because they are not attached, they are easy to remove for cleaning. It’s a fabulous way to get a really expensive, custom look without breaking the bank!
Finally, we would love for you to tell us about any diy organization projects you’ve tackled! Have you come up with a frugal drawer organization system? Do you have any frugal cleaning and organizing tips to share with us? We would love to hear about it in the comments below!
Need More Cleaning & Organizing Inspiration?
Feeling Inspired? Pin It For Later!
Love this idea!
Thank you so much, Sarah!