We once had a good Indian friend act very surprised that we put up an Easter Tree in our living room. He asked, “People do Easter trees, too?” As in, not just Christmas trees, but Easter trees as well? We had to giggle a bit! Why not celebrate Jesus’ resurrection as much as we celebrate his birth? I say Easter is just as much reason to celebrate and make your home gorgeous as Christmas!

This post contains affiliate links. As an Amazon Associate we earn from qualifying purchases. When you click on our affiliate links and make any purchase, we may make a small commission at no extra cost to you. To read our full affiliate disclosure click here.
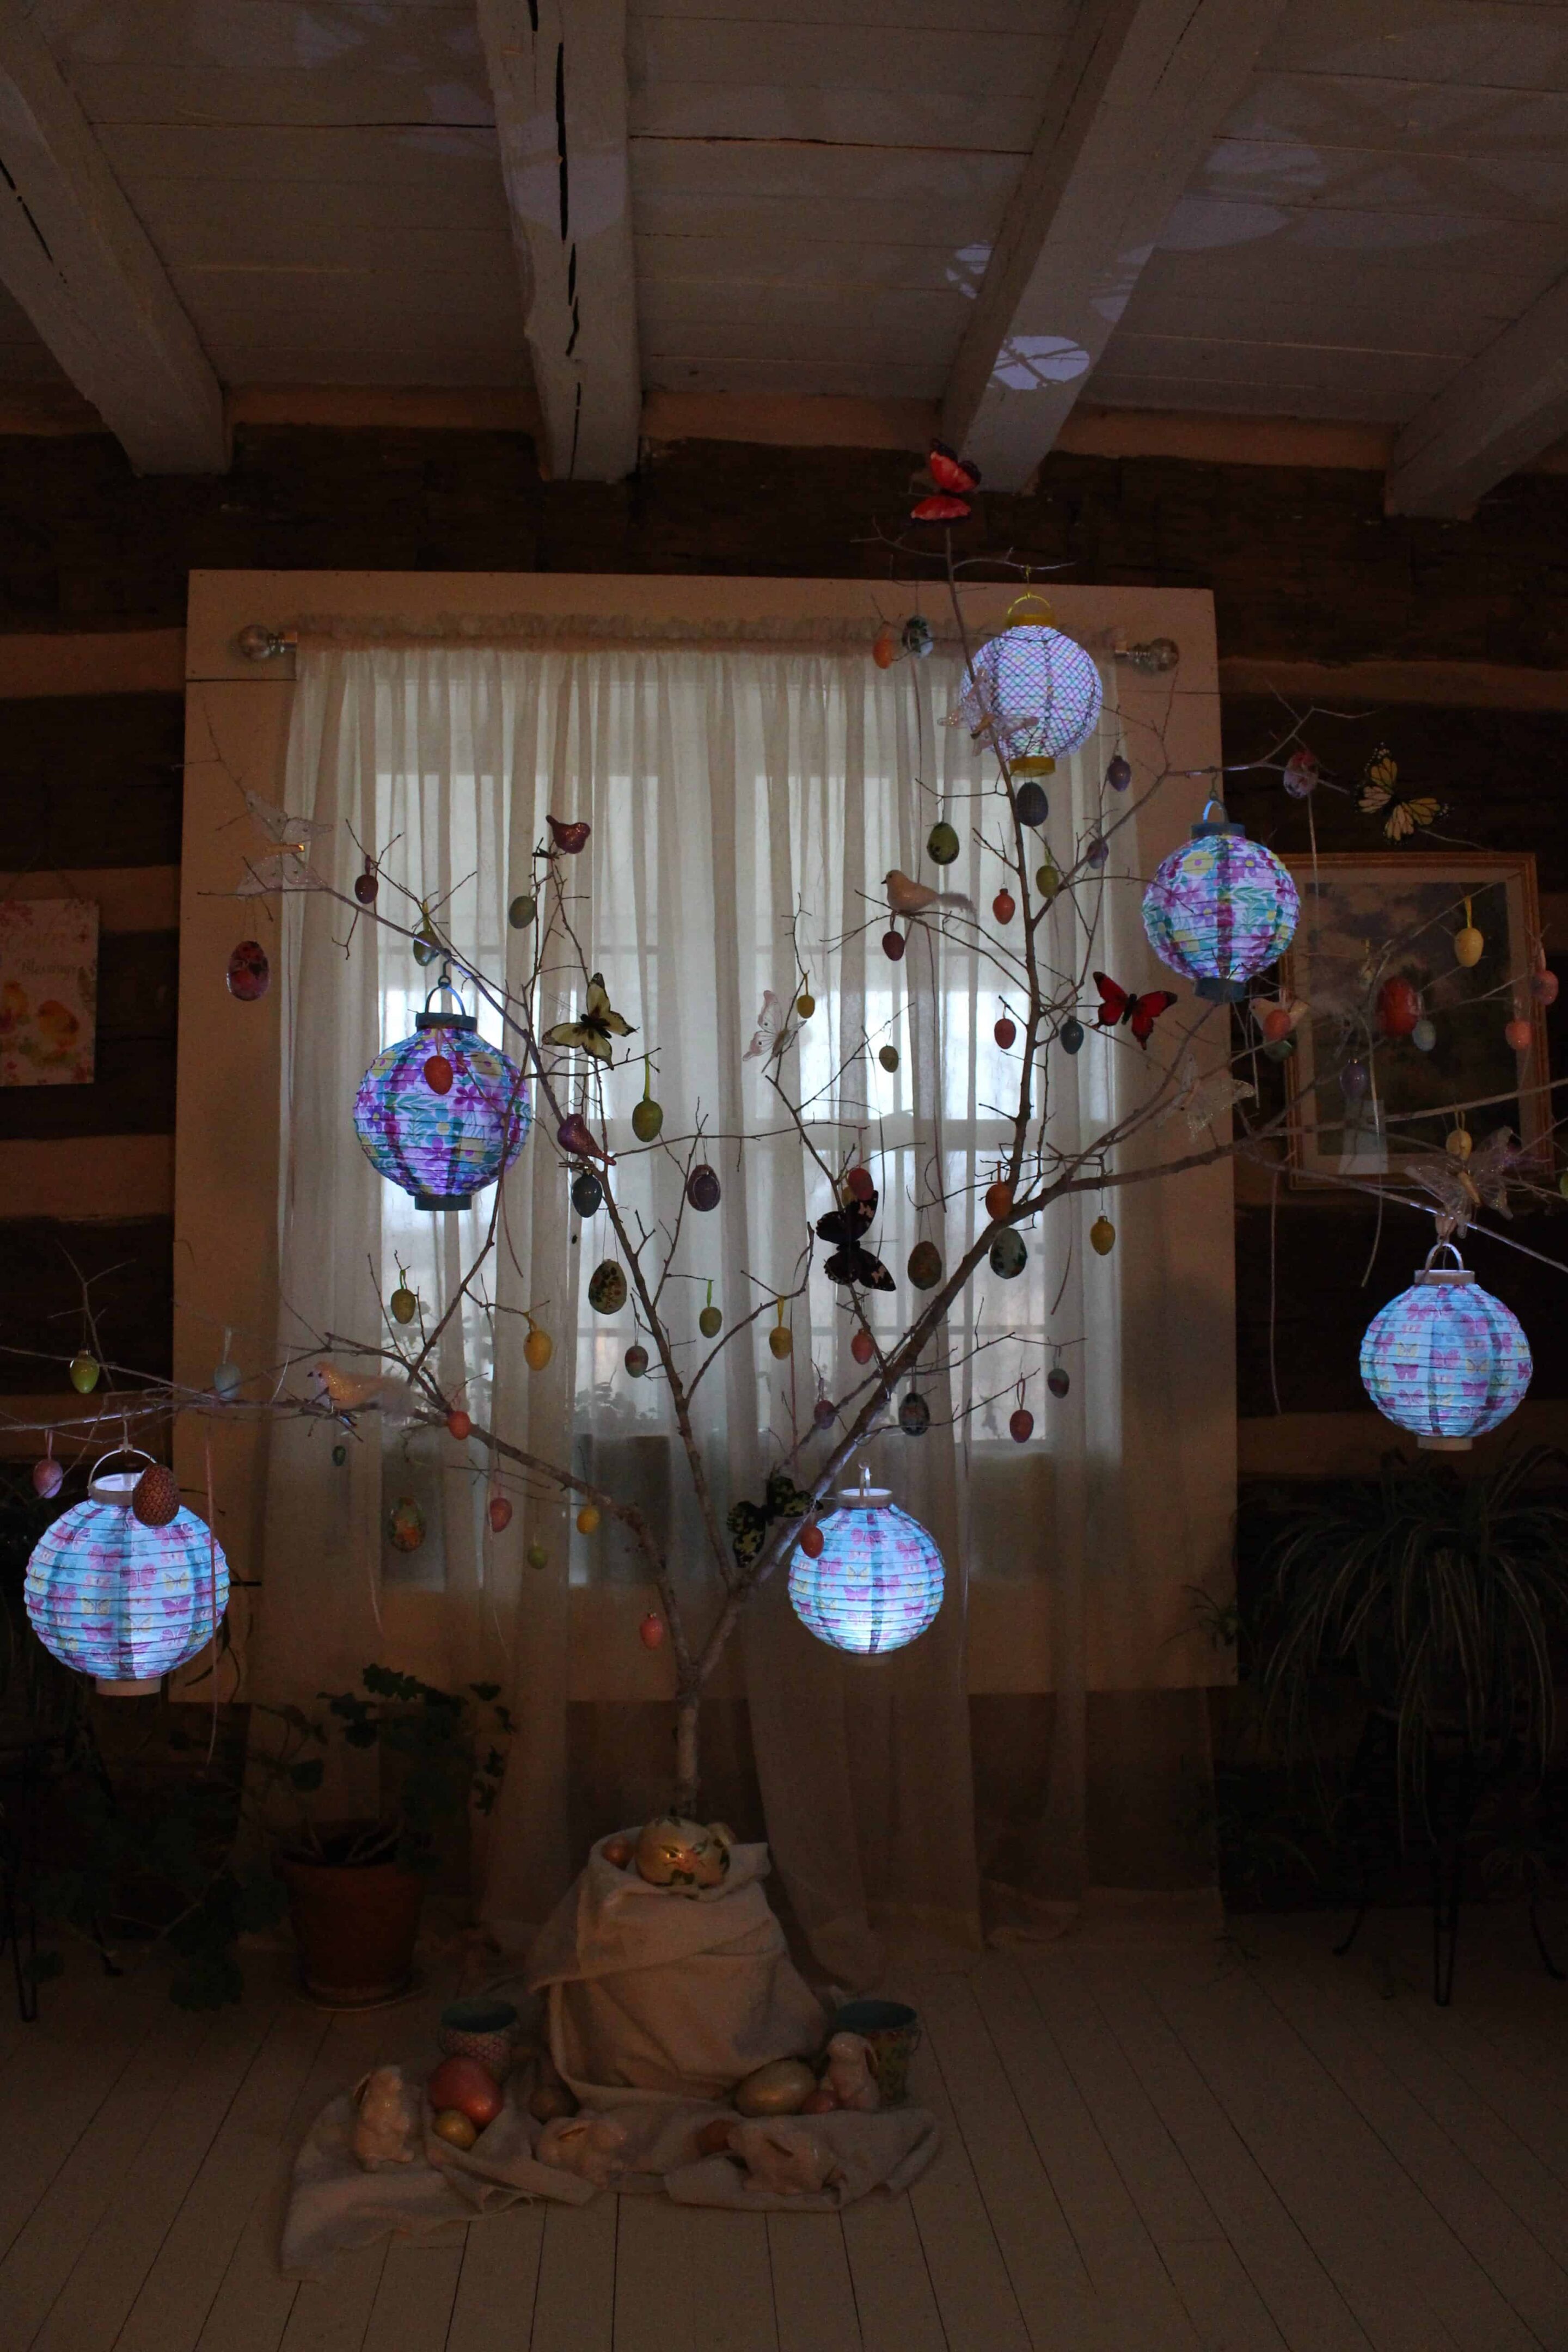
We’ve wanted to make our own Easter branch tree for years. Martha Stewart Living and Williams & Sonoma have been our biggest inspirations! These trees have enchanted us so many times, but we never took the time to make one ourselves…..until now. It was well worth the wait because we think it turned out pretty magical!
*****
What You will Need to Create Your Own Easter Tree:
- A Large branch. Something with a sturdy trunk and lots of smaller twigs/branches is best.
- About 3 cans of white high gloss spray paint.
- White iridescent glitter.
- Newspaper or cardboard to paint on.
- A small bucket and a large block of floral foam. Be sure to weigh the bottom of the bucket with something heavy, like stones.
- Lots of pretty things to decorate! We got ALL of the decorations from either The Dollar Tree or thrifts stores.
Instructions to Make an Easter Tree
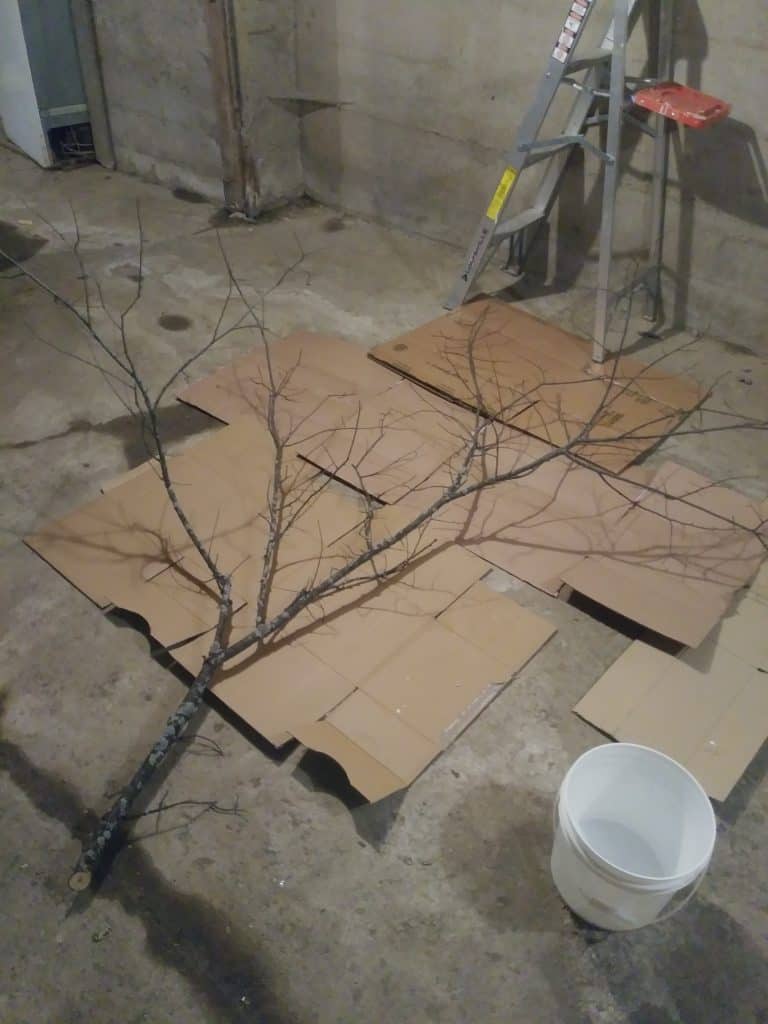
Step 1:Line the floor with old newspaper or cardboard. It is best to do it in an area of the house that can get messy, like the basement floor (what we did.)
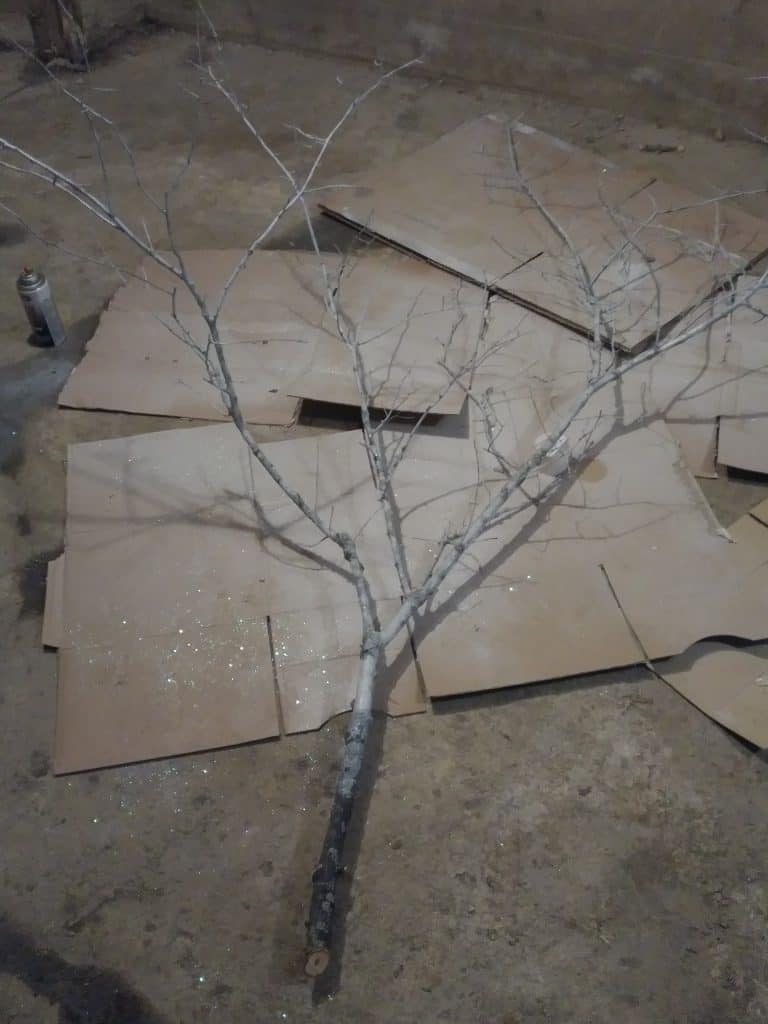
Step 2: Place the desired branch on the prepared cardboard and begin to spray with the high gloss white spray paint. Sprinkle with glitter while the paint is still wet so that it sticks. (They also make glittered spray paint if you prefer!)
Step 3: Allow to dry completely for at least 2 hours.
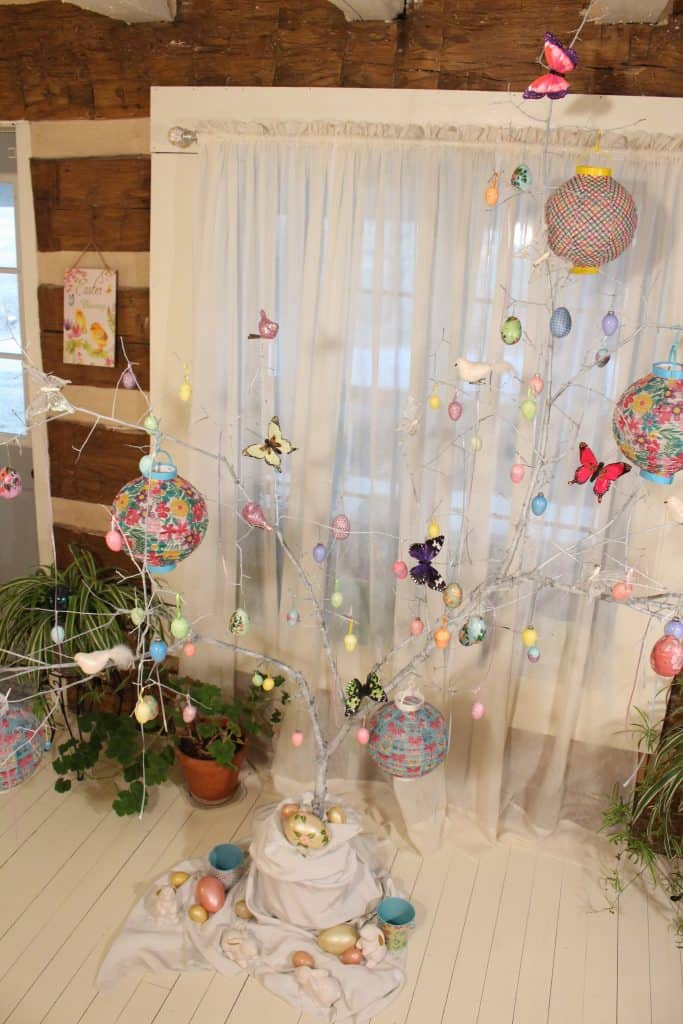
Step 4: Place the branch in a weighted bucket, with a large piece of floral foam. This will help the branch to be secure and stand upright.
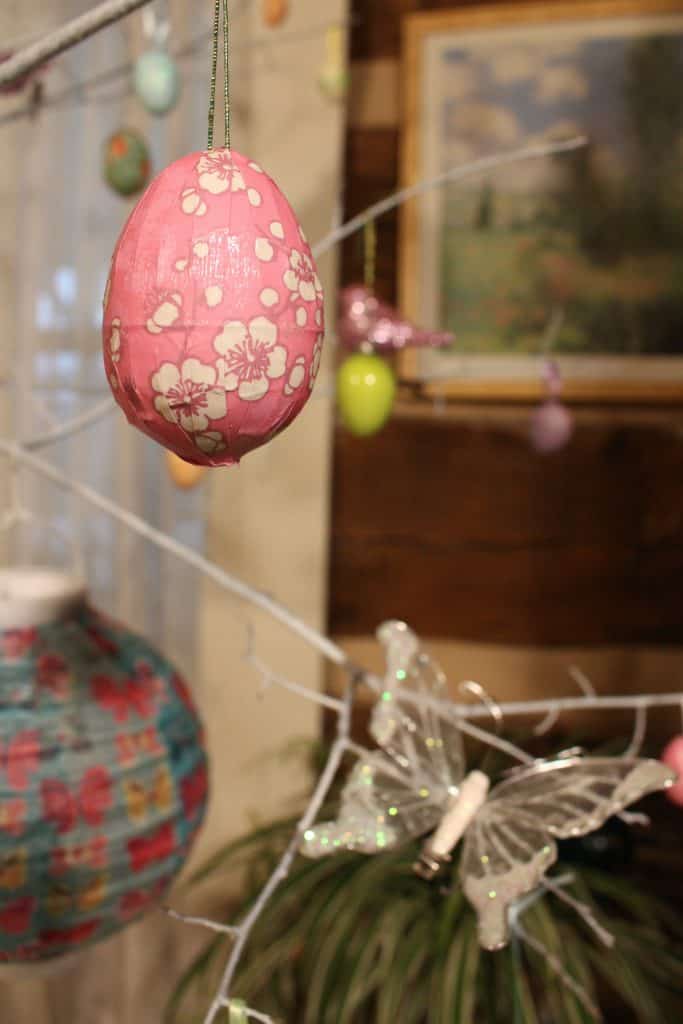
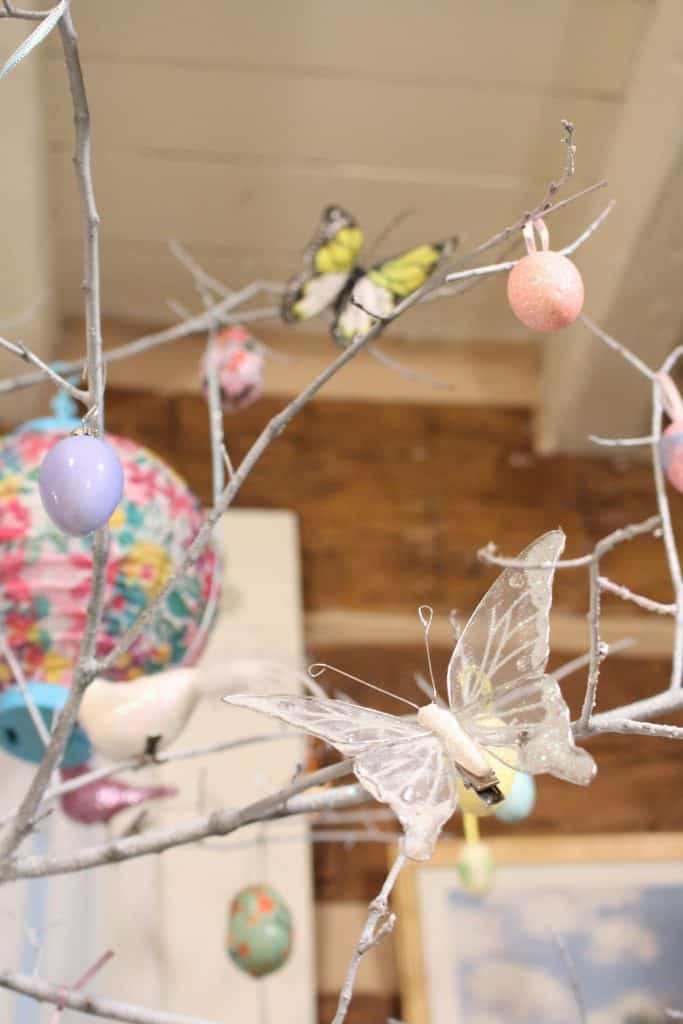
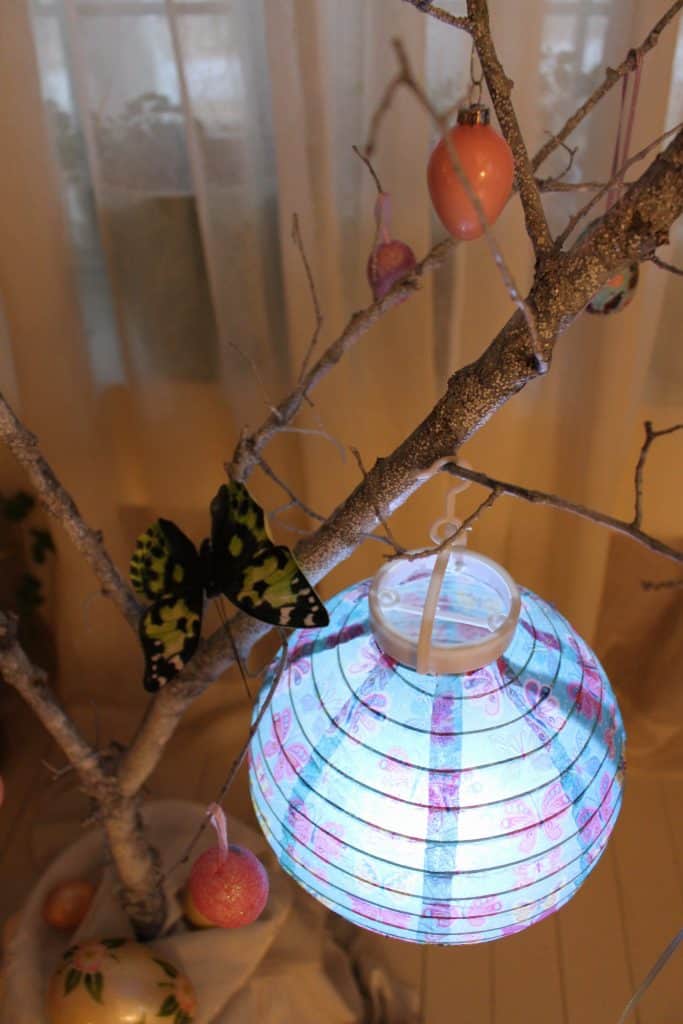
Step 5: After placing the easter branch tree in the living room, begin to decorate as desired! Get creative; strings of white lights, garden lanterns, birds, ribbons, and Easter eggs! Your beautiful Easter tree is now ready to display all of the beauty of spring and NEW life!
For Your Inspiration Boards on Pinterest:

Love this! This is something I never gave much thought about, but you’re right! Why not decorate and make the home just as beautiful In celebration that Christ is risen!! This has truly inspired me. Love you girls and your beautiful way of seeing things!
Isn’t it so true?! Let’s party! Jesus is Risen! Love you girl! Make one of these for your girls:) They will love it! xoxo
Boyfriend is work in progress!
Aren’t we all, Siddarth?:)