This homemade yogurt made in a cooler recipe is one of our absolute go-to’s! Not only is it super simple, but it’s also frugal and so delicious. Who doesn’t enjoy a rich and smooth probiotic treat like yogurt?! The kiddos will love it too!
This post contains affiliate links. As an Amazon Associate we earn from qualifying purchases. When you click on our affiliate links and make any purchase, we may make a small commission at no extra cost to you. To read our full affiliate disclosure click here.
Why Make Your Own Yogurt?
There are many benefits to making your own yogurt (and especially with this cooler method!) Here are a few good reasons:
- Making homemade yogurt is a more frugal option than buying yogurt from the grocery store! With current prices, you can make your own yogurt for a fraction of the cost of a quart of organic yogurt from the store.
- Making your own yogurt reduces plastics. Recycling glass jars to make yogurt in is a great way to reduce the use of plastics, which is always a win!
- It’s super simple! No need for fancy yogurt incubators or unusual kitchen tools. You won’t believe how quick and easy this recipe is!
- The health benefits of yogurt are wonderful. This creamy, smooth treat is packed with probiotics to promote good gut health. Homemade yogurt is also rich in protein, along with other important building blocks of health!
- It’s just delicious! Perfect for breakfast, smoothies, or dips, this yogurt recipe simply tastes great.
Equipment Needed for Cooler Method Yogurt
Here’s what you’ll need to get started with this yogurt recipe:
- A heavy bottomed cooking pot
- Candy thermometer
- A small mixing bowl
- Whisk
- 2 quart jars with lids
- A cooler
Yogurt in a Cooler Recipe Ingredients
- 1/2 Gallon of COLD milk
- 1/2 Cup of store bought (preferably organic) plain yogurt
Directions for Making Cooler Method Homemade Yogurt
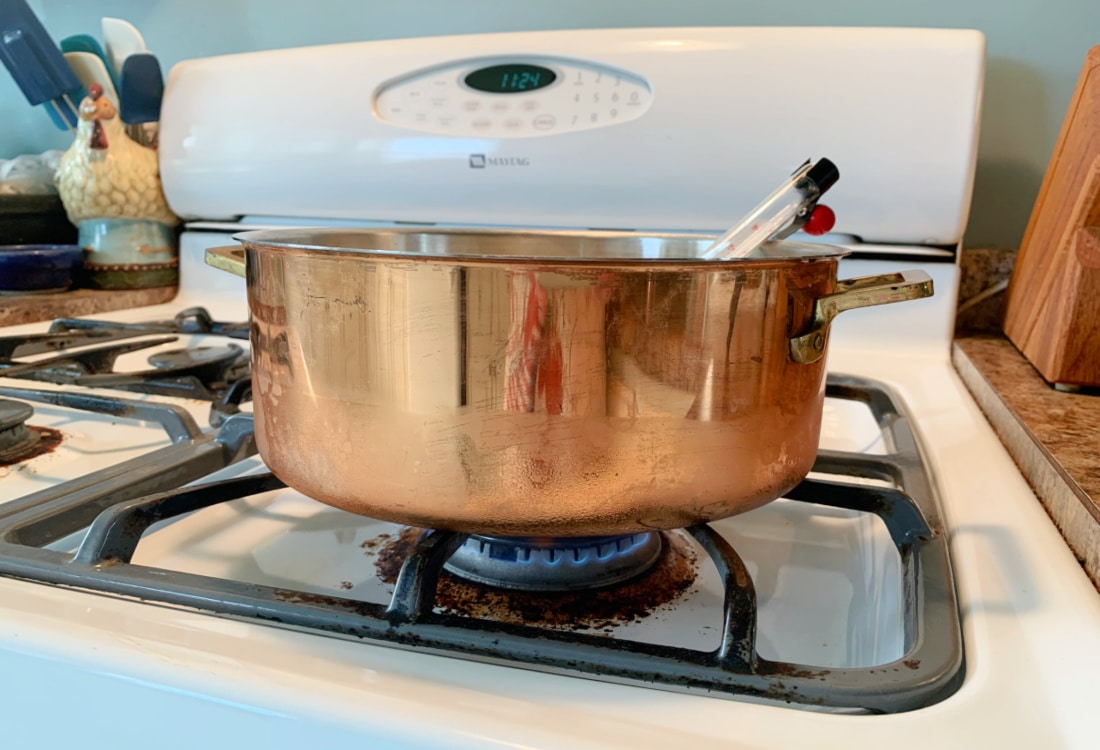
WARMING THE MILK
- In a heavy bottomed pot, place 1/2 Gallon of cold milk. Be sure the milk is cold!
- Place the prepared candy thermometer into the milk.
- Next, the pan should go onto the stovetop on low heat. The milk should heat up very slowly, so be sure to keep the heat on the lowest setting.
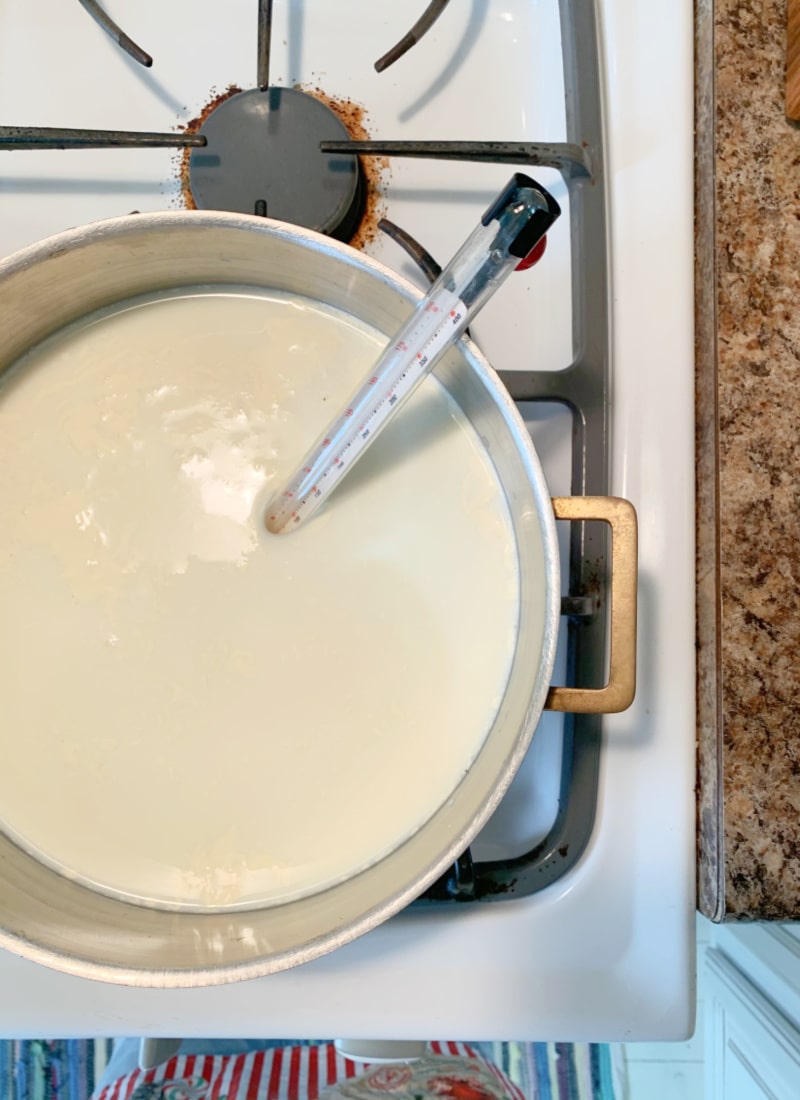
- Allow the milk to come to 180 degrees. Be sure to pay close attention, checking the thermometer often. You are essentially pasteurizing the milk. This process guarantees that the only culture that will inoculate the milk is the yogurt culture.
- Once the milk has come to 180 degrees, turn off the heat and remove the pan from the hot surface to cool.
- After that, allow the milk to cool to 110 degrees. Be sure to keep watch on the thermometer so you know when the milk is just the right temperature!
ONCE THE MILK IS COOLED
- In the prepared small mixing bowl, add 1/2 Cup of store bought yogurt. This yogurt contains the cultures needed to inoculate the milk and make it into yogurt. (Organic is best, but use what you have!)
- Add about a Cup of the warm milk to the 1/2 Cup of yogurt. Mix well with a whisk.
- Lastly place the prepared yogurt mixture back into the pot with the warm milk.
- Stir well with a whisk until the yogurt mixture is well incorporated into the milk.
LET’S MAKE SOME YOGURT!
Carefully pour the mixture into 2 prepared quart jars.
Place lids on each jar securely.
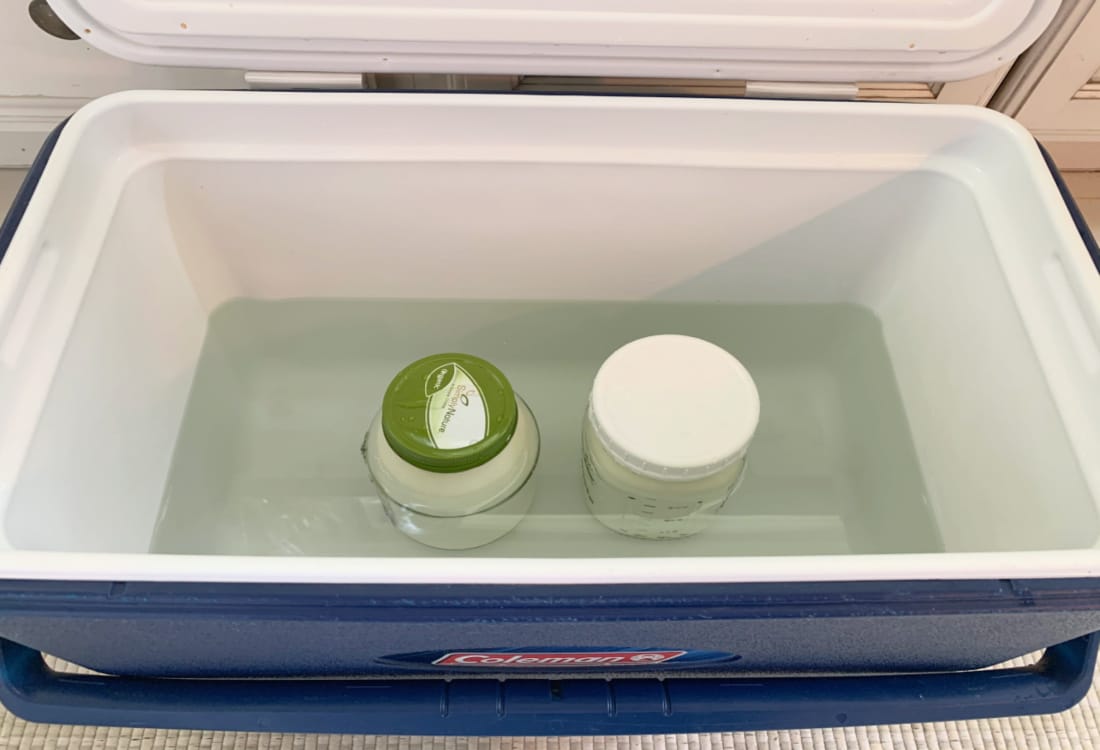
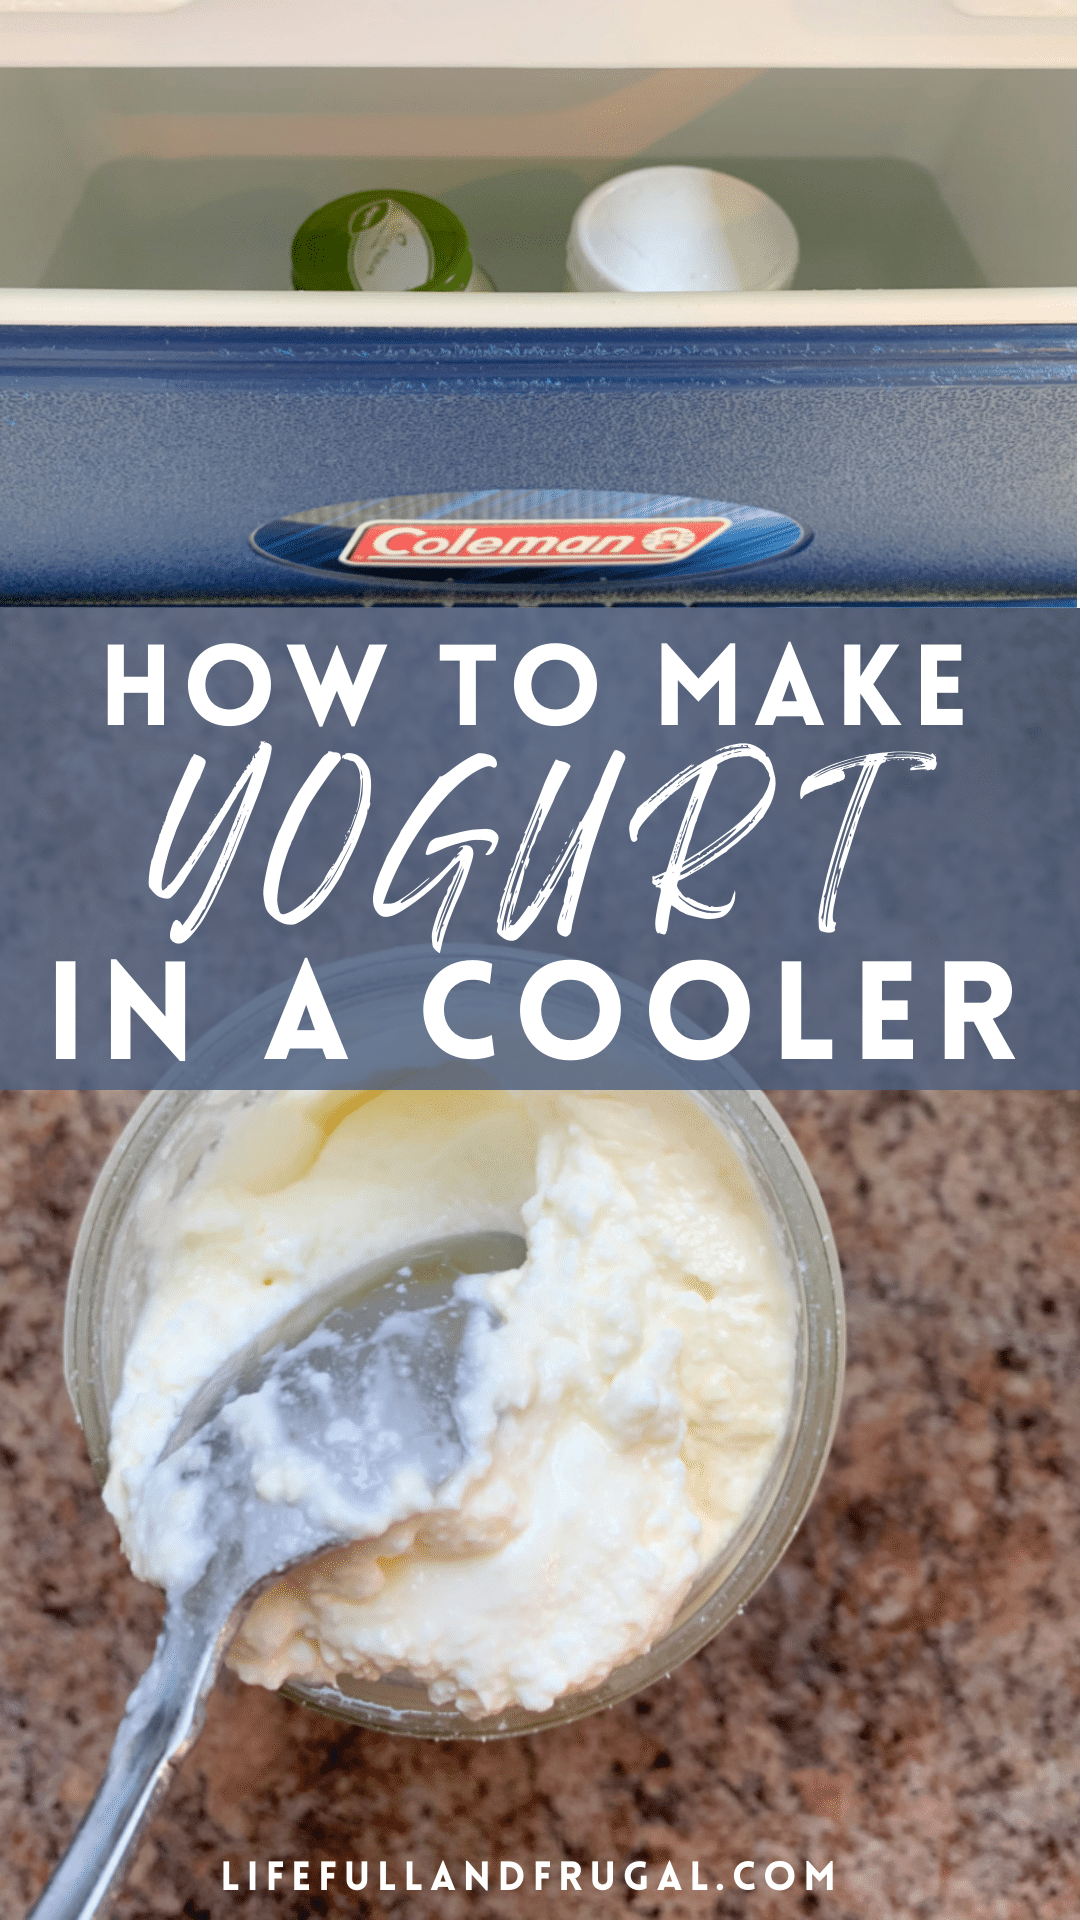
Next, place the jars into a small cooler.
Add 2 to 3 Gallons of hot tap water (NOT boiling) to the cooler.
BE SURE to only add enough water so that there is about an inch of space between the top of the water and the bottom of the lids. It’s important that no water gets into the jars!
Now We Wait! The Yogurt Develops in the Cooler
- Close the lid of the cooler tightly.
- Place a heavy blanket or some towels over the lids of the cooler. This ensures the heat stays in as long as possible.
- BE SURE not to move or disturb the cooler if you can help it!
Allow the jars of yogurt to stay in the cooler for 12 to 24 hours.
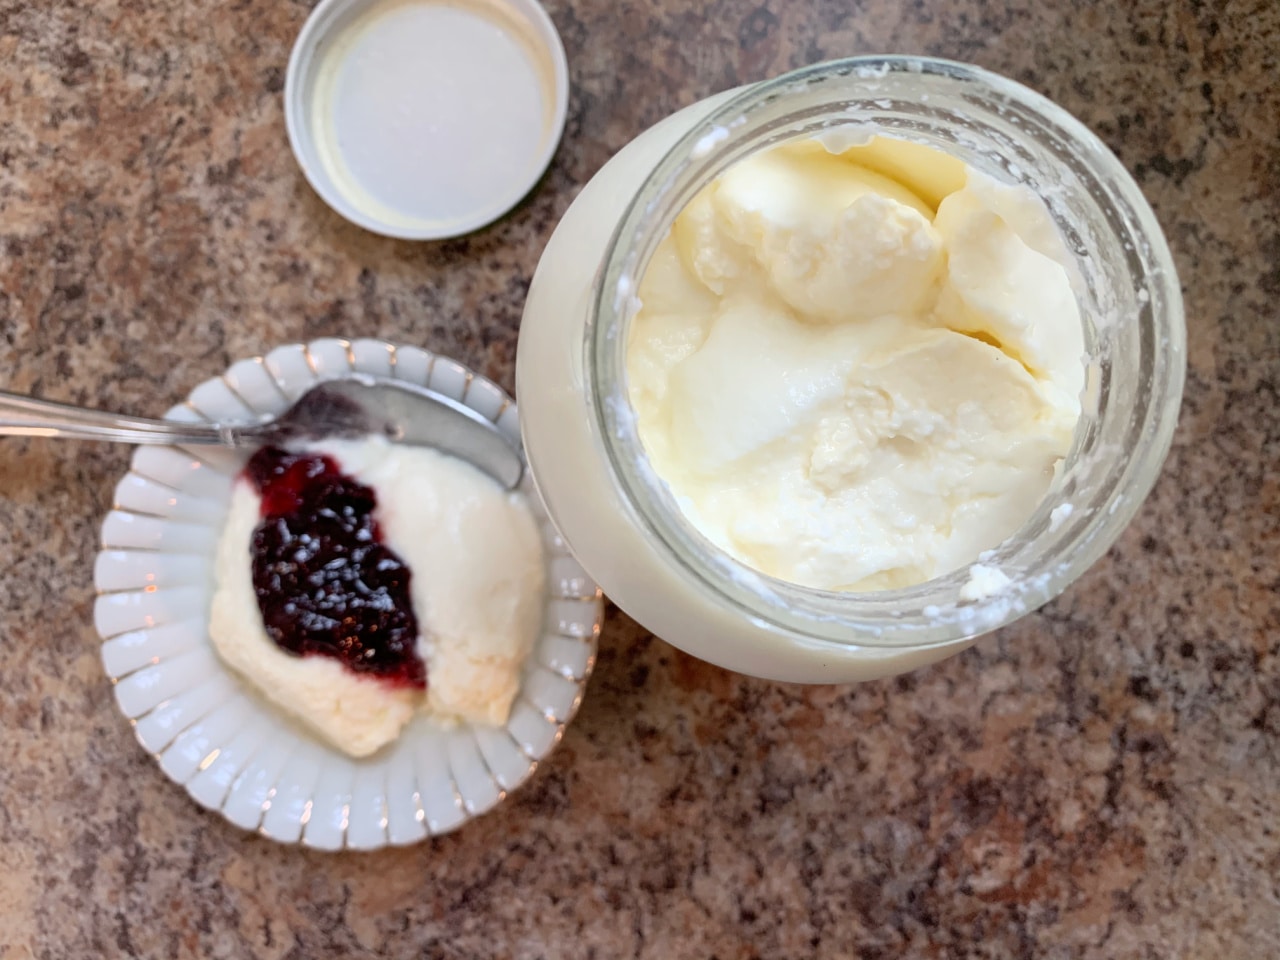
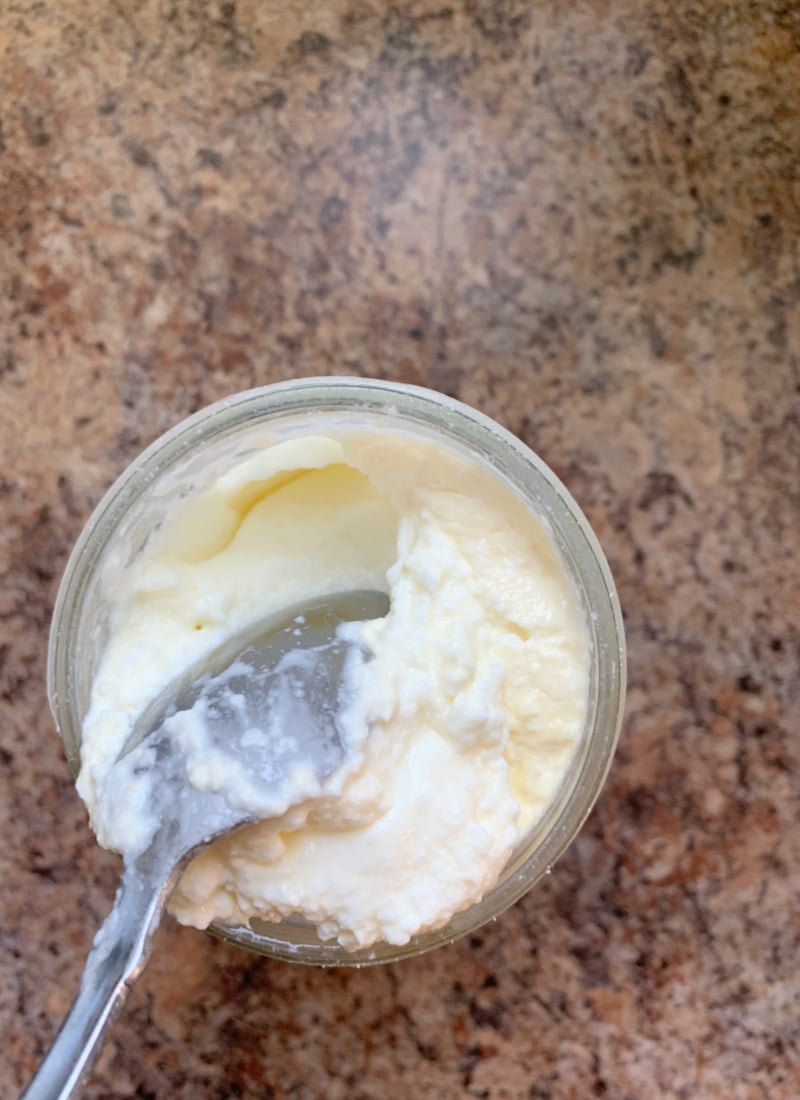
Once the time is up, open the cooler and the yogurt should be developed and firm! Place the jars in the fridge for several hours, then you’re ready to enjoy your creation!
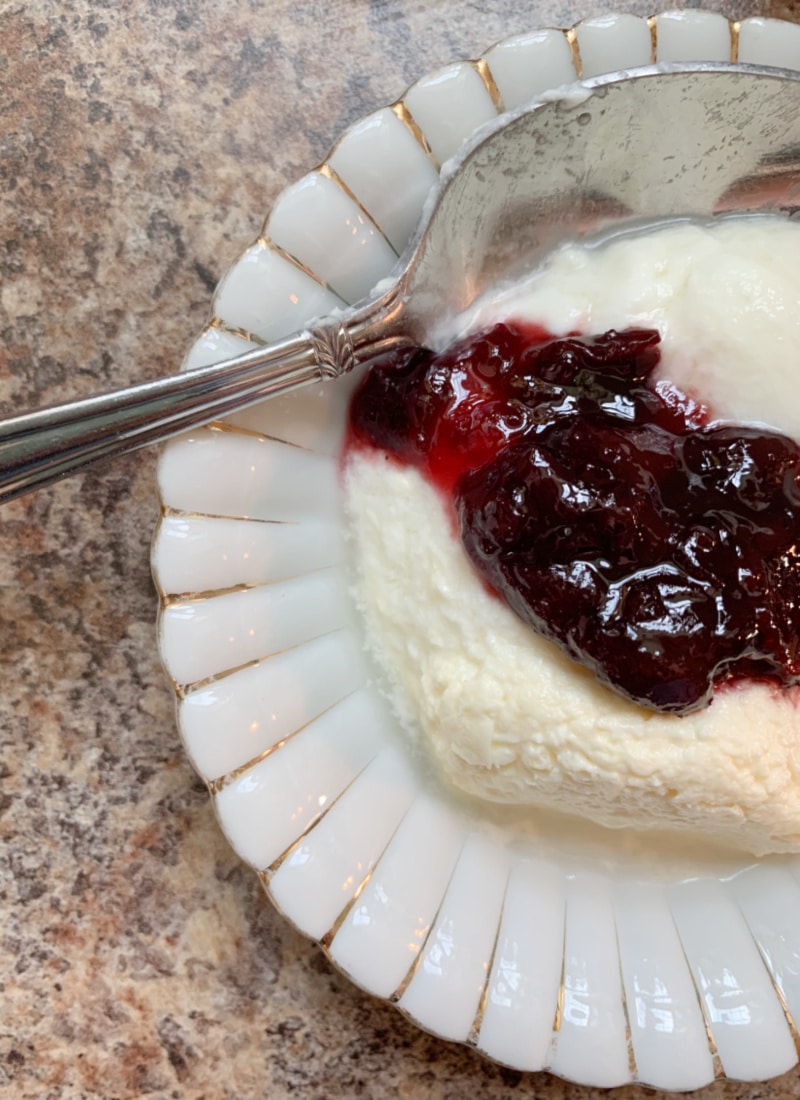
Ways to Enjoy Your Fresh Homemade Yogurt
Related Content
Inspired?! Pin it for Later!
What is max amount of time do you let it stay in the cooler? My wife is pushing 24 hours. I have been doing 12 hours or less.