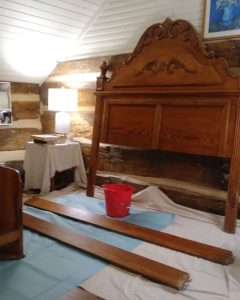
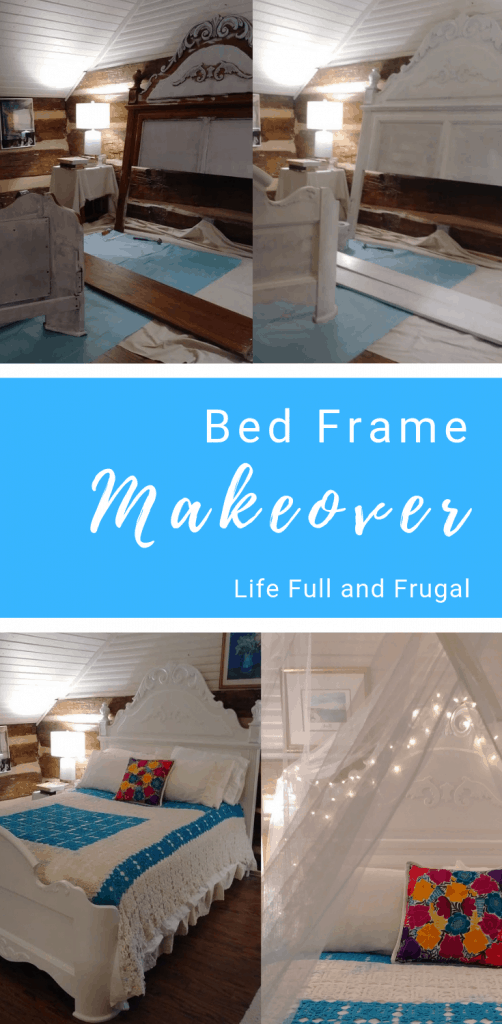
Today I am sharing how simple it is to take something old and revive it into something new with my bed frame makeover. Do you have a piece of furniture that is well made but could use a make over to give it new life? In this post I’ll show you how I transformed an old bed frame into something truly unique and beautiful.
Bed Frame Makeover: From a Single to a Queen
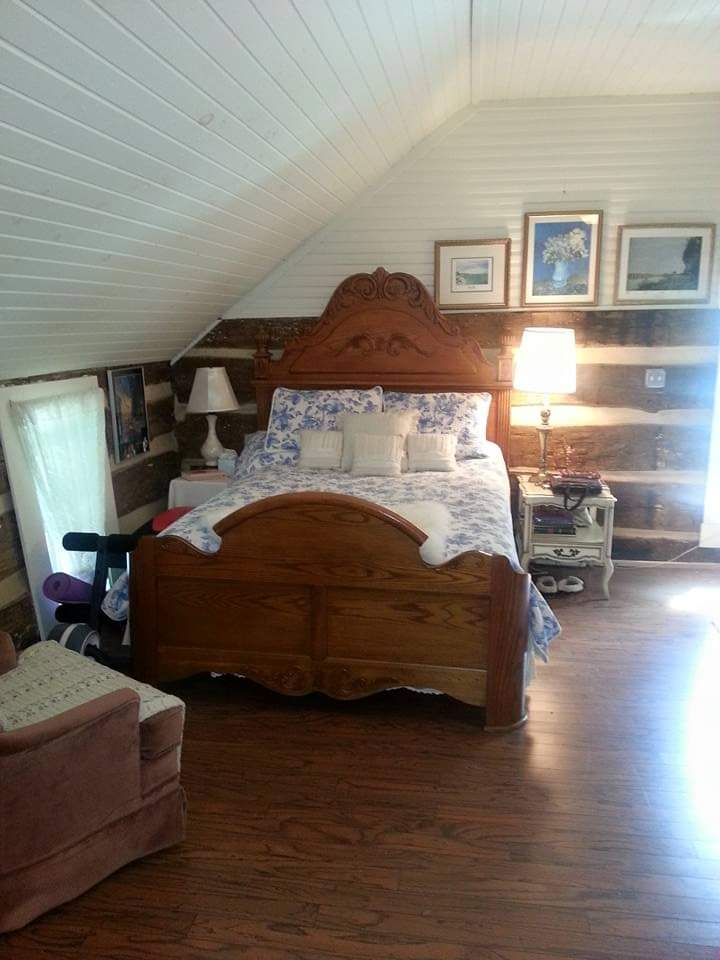
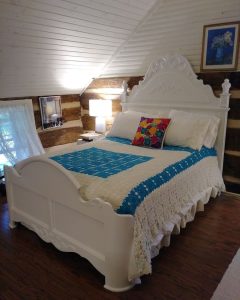
I used to have a bedroom the size of a large closet, so I only had space for a single bed. That’s what you get living in a house trailer! When we moved, getting a “big girl” bed frame from my aunt felt like the thrill of a lifetime. Our new home provided enough space for all kinds of pretty things, but this bed frame definitely felt like the crown and glory of my new bedroom.
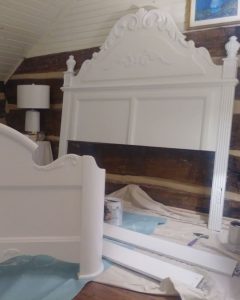
White Paint can fix Anything
Project Cost Breakdown
- Bed frame: Free from my aunt (It was sitting in their garage not being used). Take free stuff, guys!
- Mattress and box springs: $75 from a second hand furniture store.
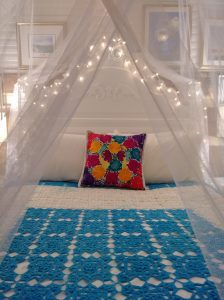
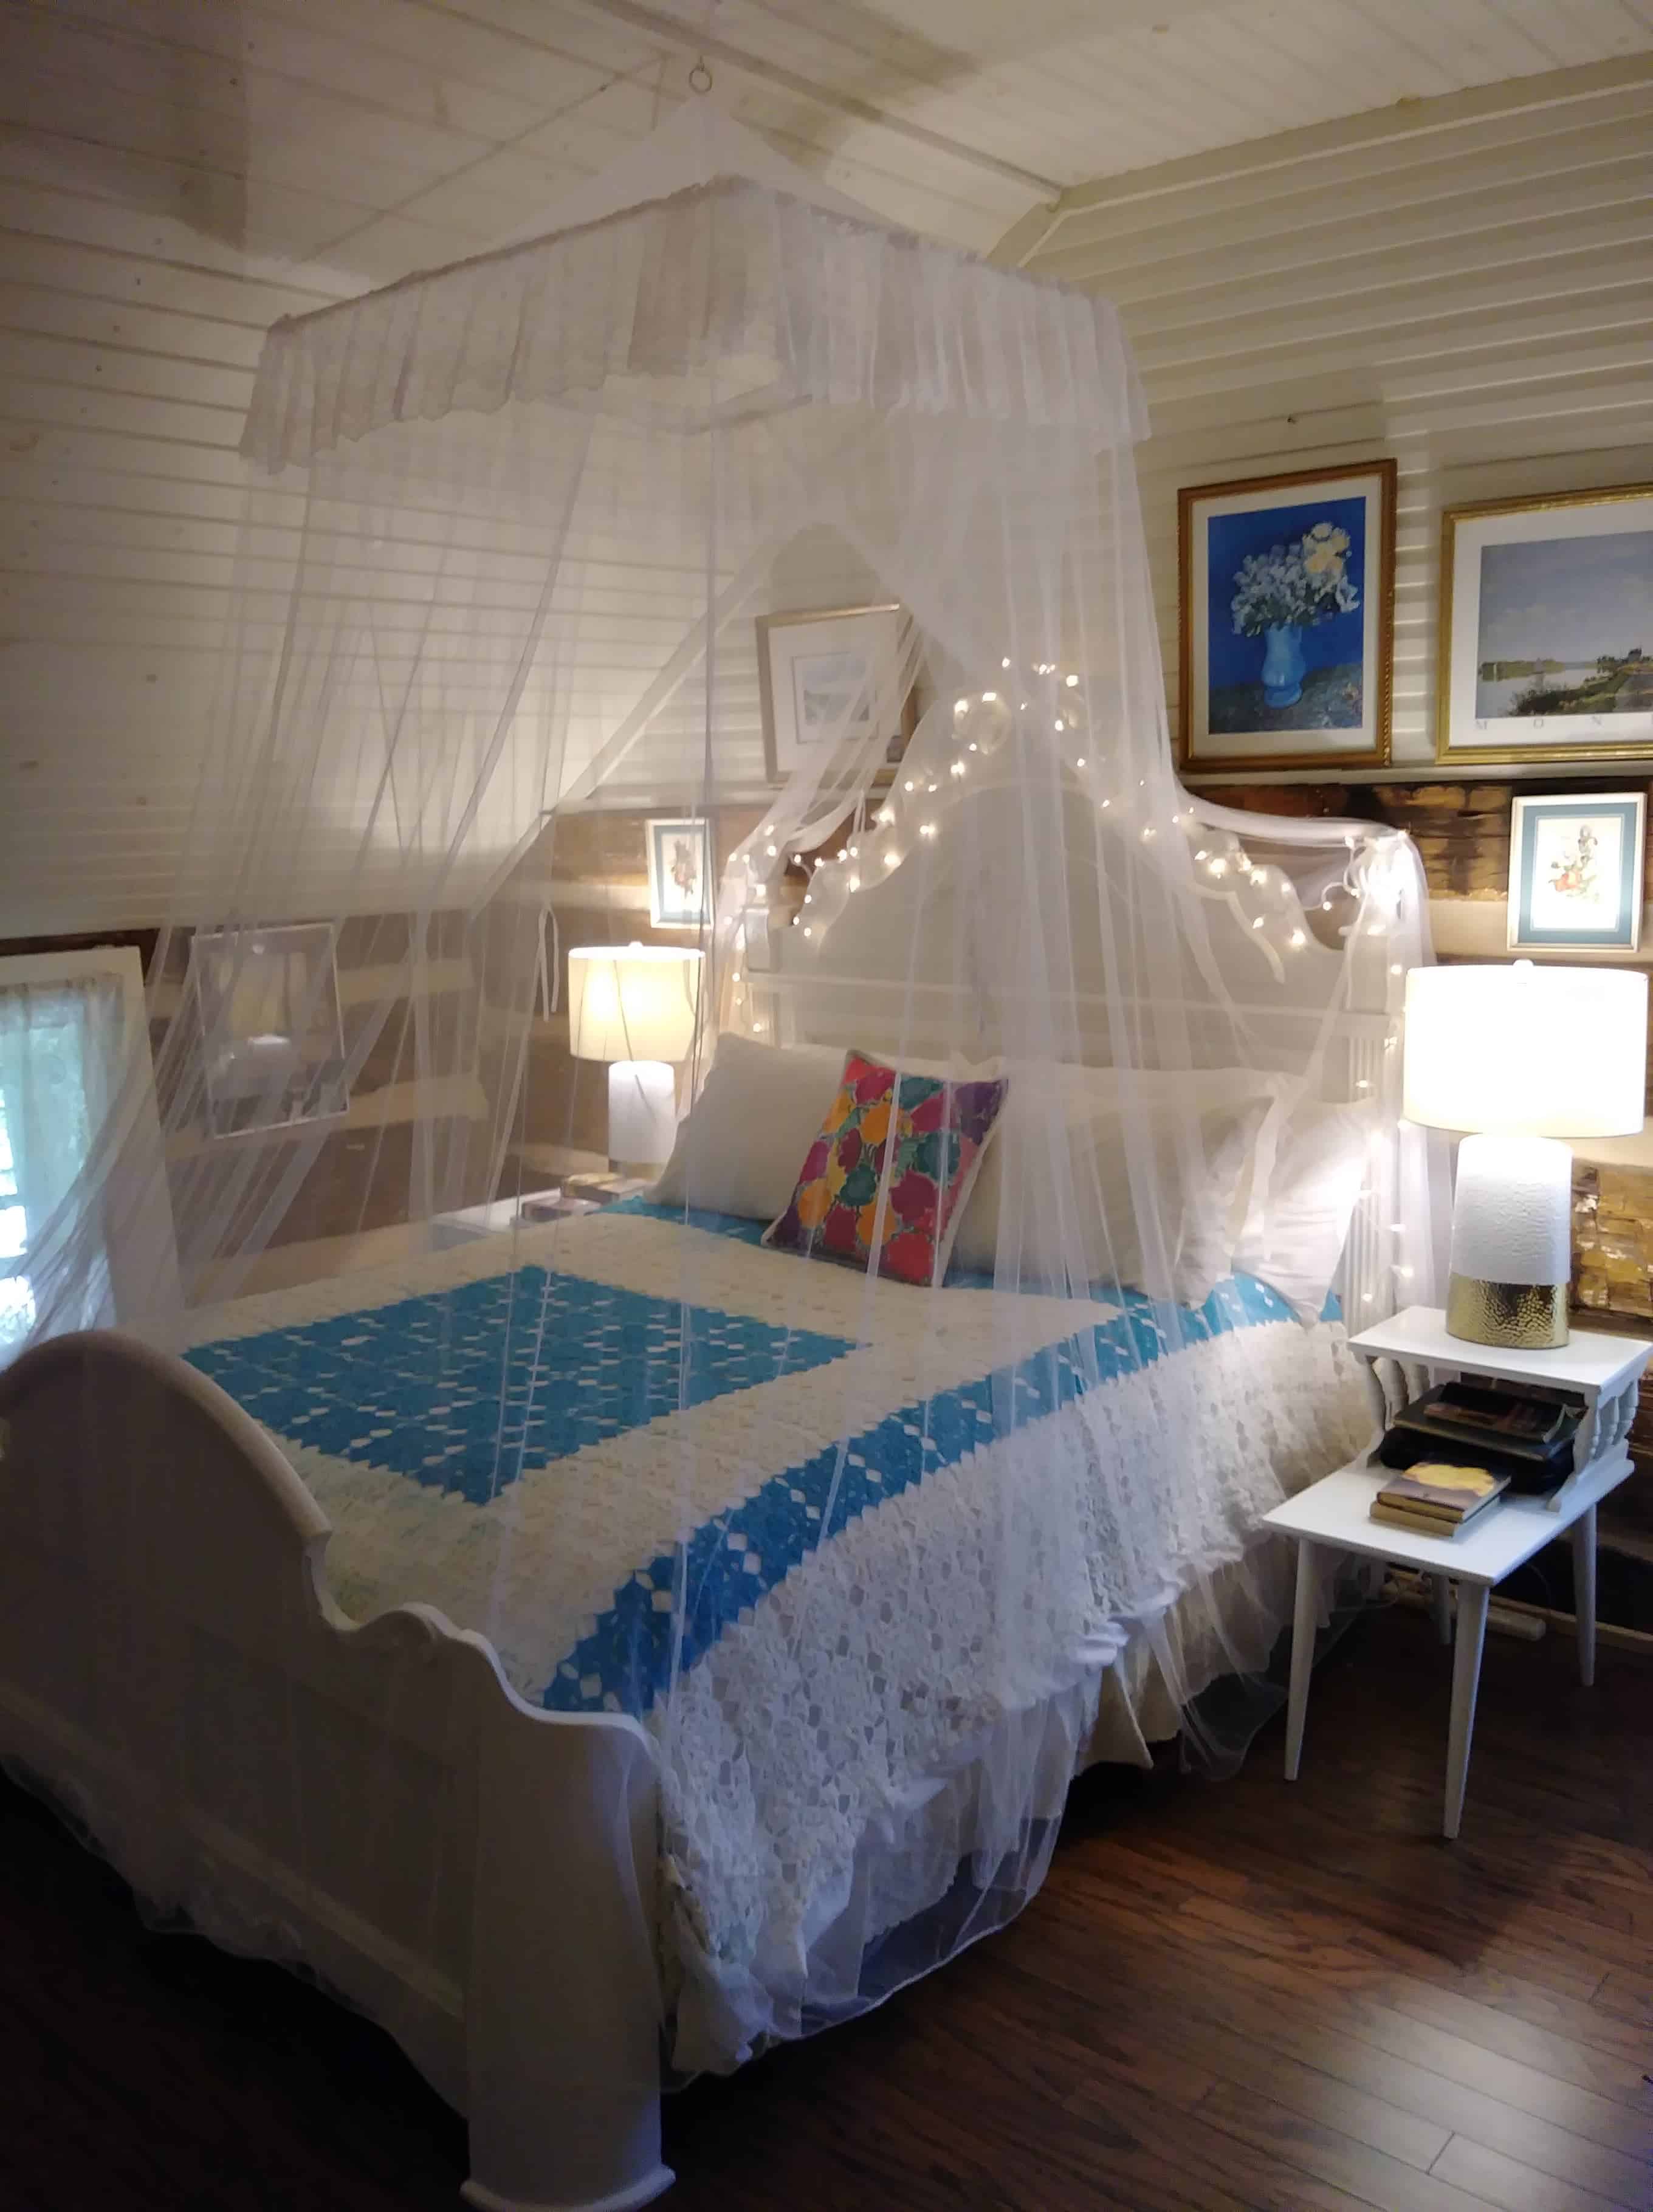
- Canopy: $40 from an antique mall.
- Gorgeous crocheted blue and white coverlet: From an antique place in Louisiana, $50.
- Bedside tables: The left one was from a set of “French Provincial” pieces a friend gave to us when we moved to the trailer, so that was free. I bought the right side table from Goodwill for $3.99
- Paintings: All of the art was thrifted, no more than $4 each.
- The paint used is the Sherwin Williams HGTV Showcase brand from Lowe’s. I paid $36.99 a gallon, but I would have been fine with a few quarts. (Lowe’s is also running sales on paint for Labor Day 2018!)
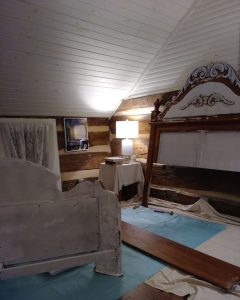
- I also used an oil based primer that covers stains and varnish so that I didn’t have to sand the pieces before painting. The brand is Zinsser Cover Stain and you can find it Lowe’s for about $28 a gallon.
- White lights: Brand new from Goodwill, $2.
A lot of these things were collected over the last several years, so the only real cost I had for this project was the bedside table from Goodwill, the white lights, and the paint. That makes the total cost about $50, including the painting supplies.

Make your Bedroom a Haven
The older I get, the more I realize how important it is to make our bedrooms a haven for tranquility. Every woman wants to have a place she can retreat to relax, read, do her makeup and dress pretty. All women have a deep desire in our hearts, to bring beauty to this world. Every girl, no matter how old, wants to feel like a princess. Your bedroom is a good place to start.
I hope this inspires you to make your own bedroom a place of beauty and peace! -Sierra
Shop local where you can!
Shop this post:


For your inspiration boards on Pinterest:
0 Comments